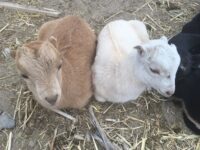
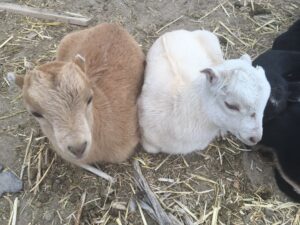
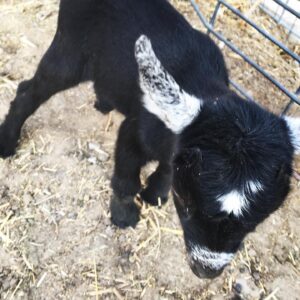
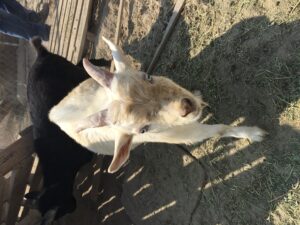
Daisy’s three baby boys: Phillip, Legalos and Tucker
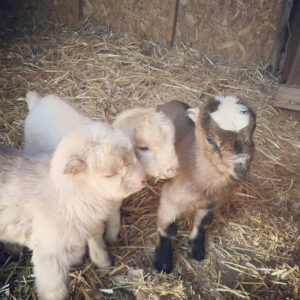
Rosemary and her babies: Robert, Primrose, Petunia,
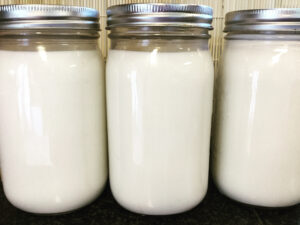
Kidding season was especially successful for the farm this year. Last summer we worked on expanding our herd, thus expanding our milking operation, increasing the output and extending the season. Using the term “milking operation” might be a bit of an exaggeration. We went from two small sized milking goats to five full sized goats. Not all of our goats will be in milk at the same time, we breed on a six month schedule in order to have milk all year and allowing for our ladies to have a little rest between milking and kidding.
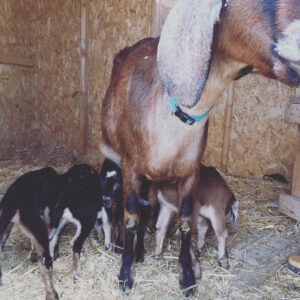
Dorothy’s girls: Bluebell and Ivy
This spring we had three of our lady goats expecting in March. They were right ready to kid when our whole family came down with Covid. It made things a bit more difficult. Twice a day I would slowly walk down to the goat paddock, sit and rest at the gate, go inside and check all the expectant moms, rest, then slowly walk up to the house and take a nap! Thankfully Miss Daisy, our first to kid, waited until we were feeling better to have her babies, three healthy boys! Then about a week later Rosemary had four, yes FOUR, babies with the sweetest floppy ears, three little girls and a brother. Two days later, last and least Dorothy had two baby girls, one of which we will be keeping. All the babies came without assistance and healthy as can be. We couldn’t ask for a better kidding season.
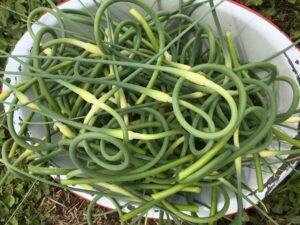
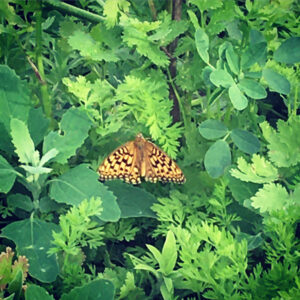
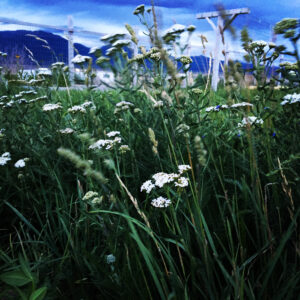
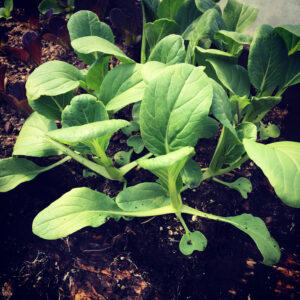
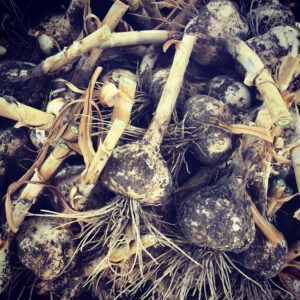
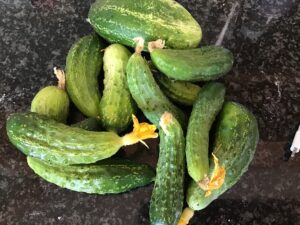
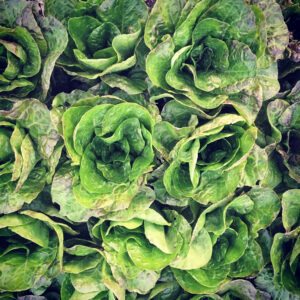
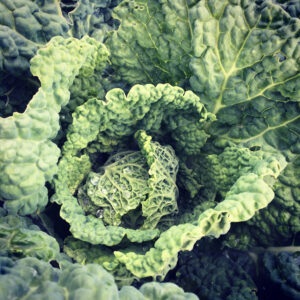
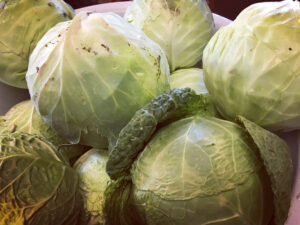
Summer has come and gone without a single post on this blog. That’s not too surprising, as summer is one of our busiest seasons and this summer seemed especially packed. We rearranged our business model, added in milk, took care of an elderly parent who had a fall and hosted our niece for two and a half months. All the while the garden grew, presented new challenges and fed our family. I decided to do a photo dump of our summer, since I don’t have the time to recapture it all. Summer 2020 will go down in the record books as strange and wonderful.
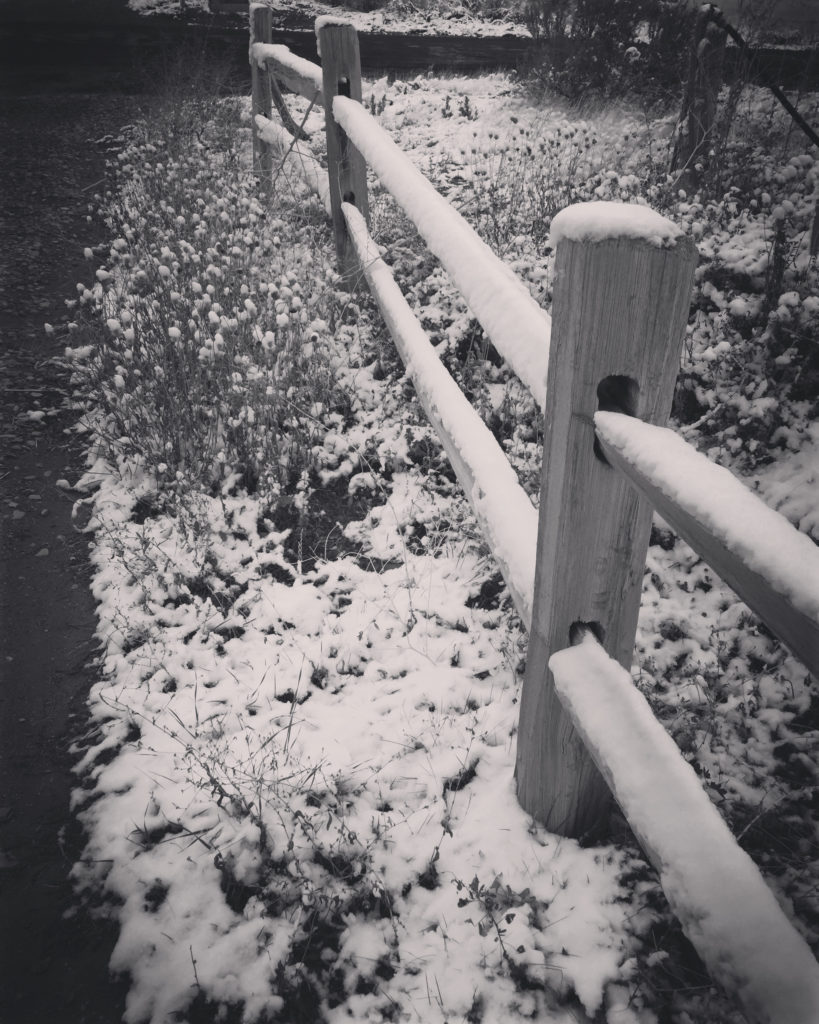
Despite being February and technically still winter, it is spring here on the farm.
I love spring.
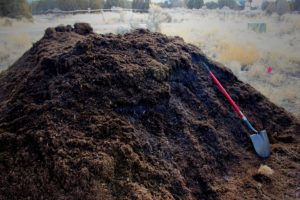
All summer long I am busy making compost, in “cold” piles and with the chickens but as much as I work to make as much compost as I can there is never enough. Because of this and because we are adding 450 feet of market beds we purchased and had compost trucked in. Last Fall we staked out the new garden. Previous it had been a big pumpkin patch, but we needed to move it because of squash bug issue and I wanted my new market beds closer to the established garden area. The pumpkins will go in the new, raw area, they are a good plant to break in a new place. We made each bed 30″ wide and 50′ long. Not wanting to disturb the soil already there and not wanting to churn up weed seeds we are laying six inches of compost right on top of the soil and not mixing it in. Well made compost can be planted directly in, it won’t be too hot. The isles will be planted with mini clover, that will help keep the weeds and dust down and when it is mowed we will rake the clippings right into the garden beds, and as the plants grow we will add mulch and cover crops. I love this picture, it shows the steaming compost both in the pile and in the wheelbarrow. This shows how well the microbe activity is, good healthy microbes mean good healthy soil. It is also nice on a cool morning to be able to warm up at the pile!
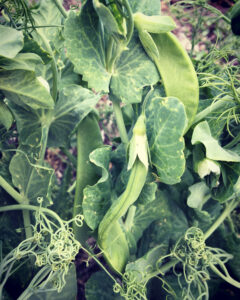
Our beds are all ready to go. In about two weeks I will be starting seeds indoors to be planed out the first part of April. The Peas will be direct seeded mid-march, carrots and beets will also be direct sown in April.
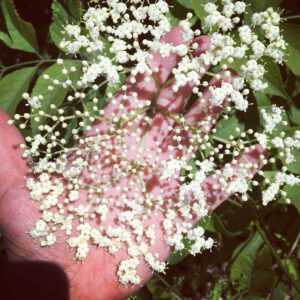
For a lot of people crocuses, daffodils, blossoms, tulips are the first signs of spring.
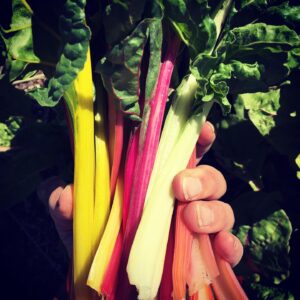
Not me. As soon as I can I am sticking my fingers in the dirt looking for two things:
Rhubarb and Comfrey.
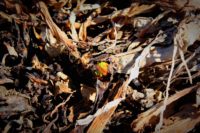
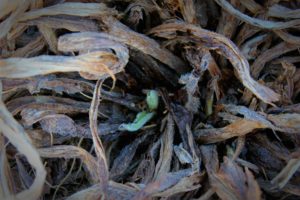
Yes, Rhubarb and Comfrey are the very first plants that start showing themselves in my garden. As soon as those red balls of crinkly rhubarb leaves start pushing up through the old, dead leaves of last summer I know that we have turned the corner. Sure we will have cold days and nights ahead, but the endless frozen days of winter are over. And look what I found.
Rhubarb and Comfrey.
Welcome Spring.
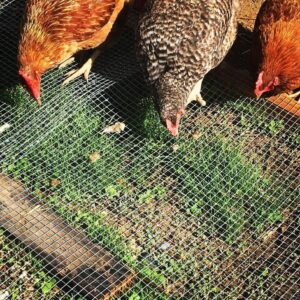
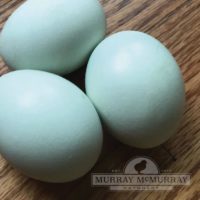
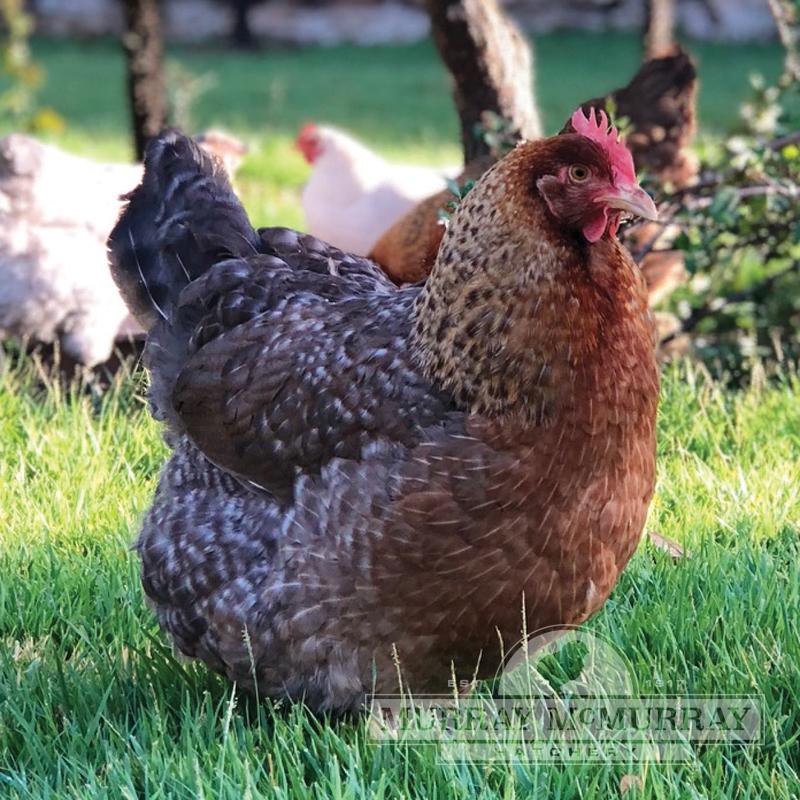
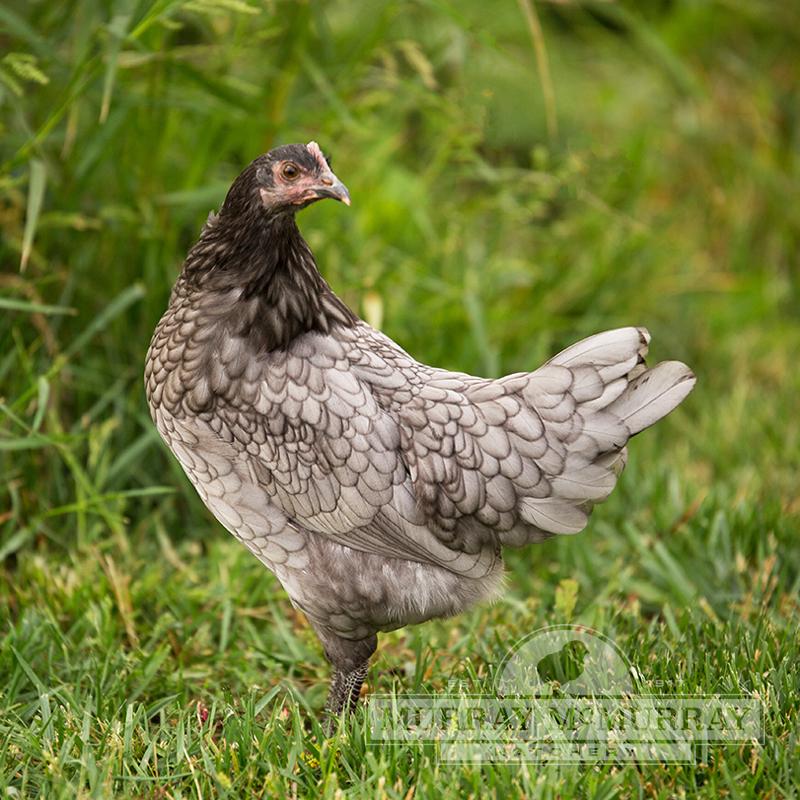
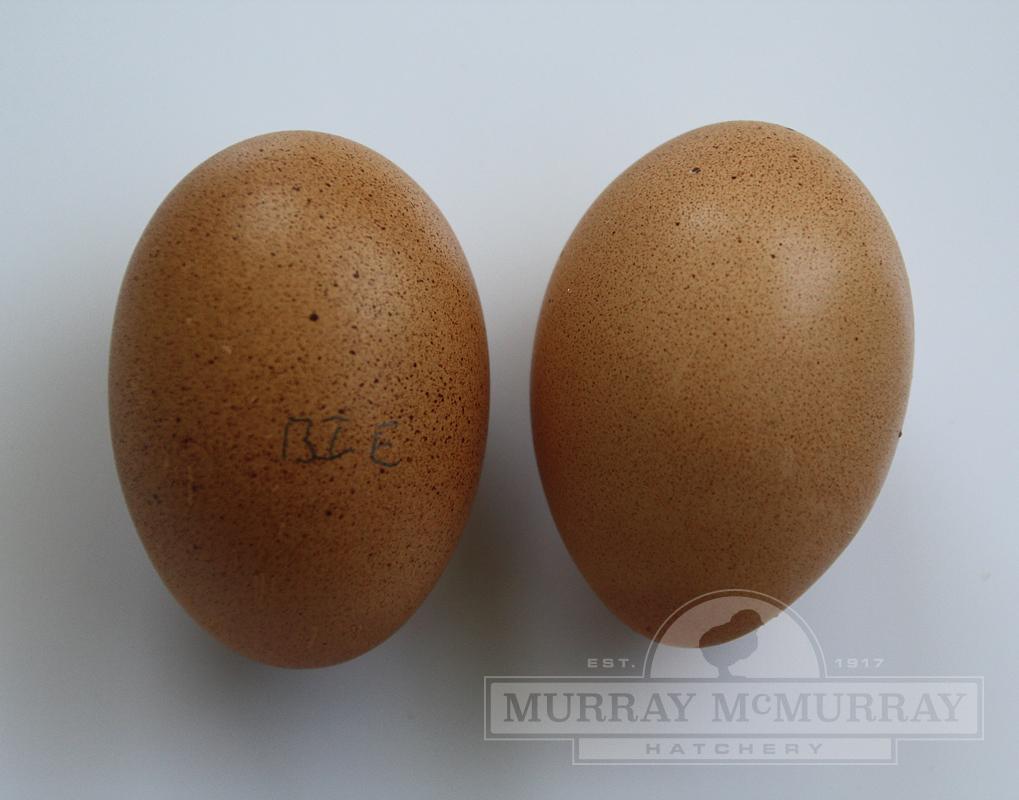
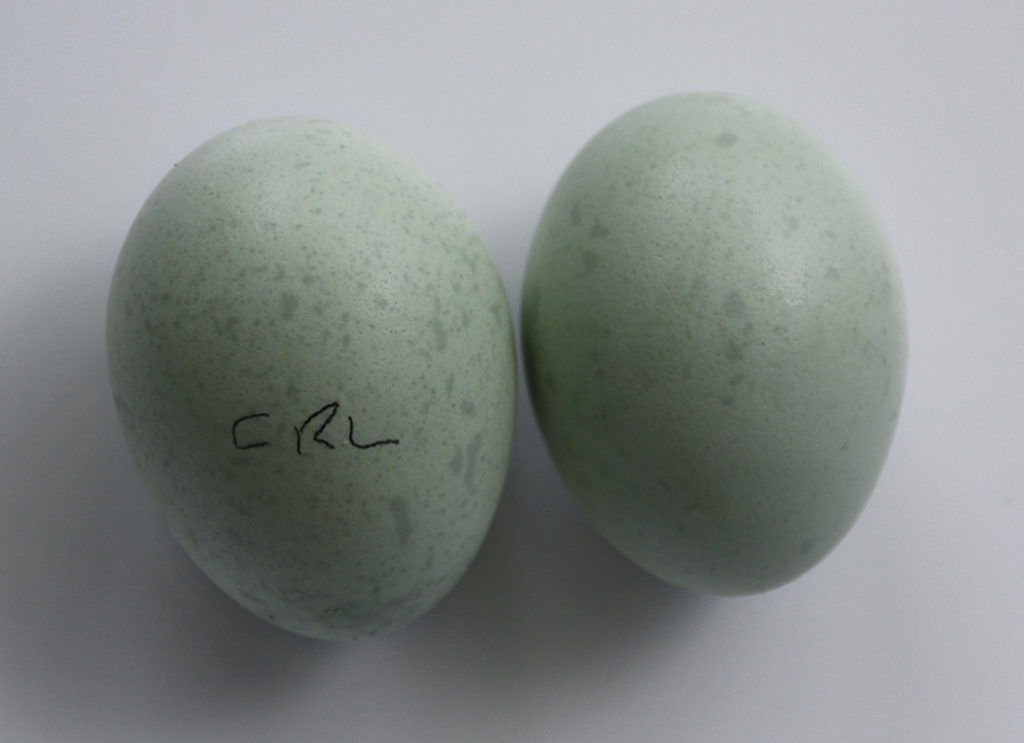
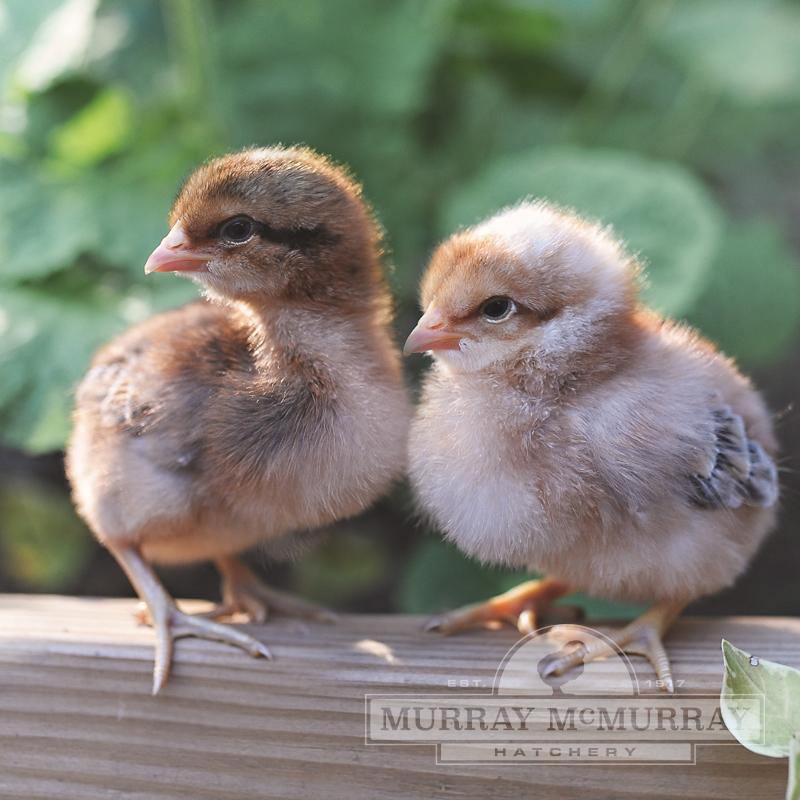
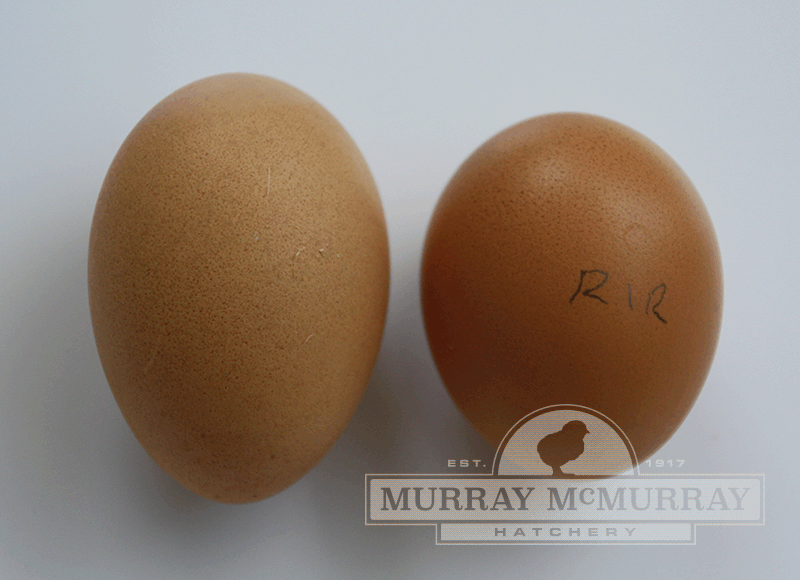
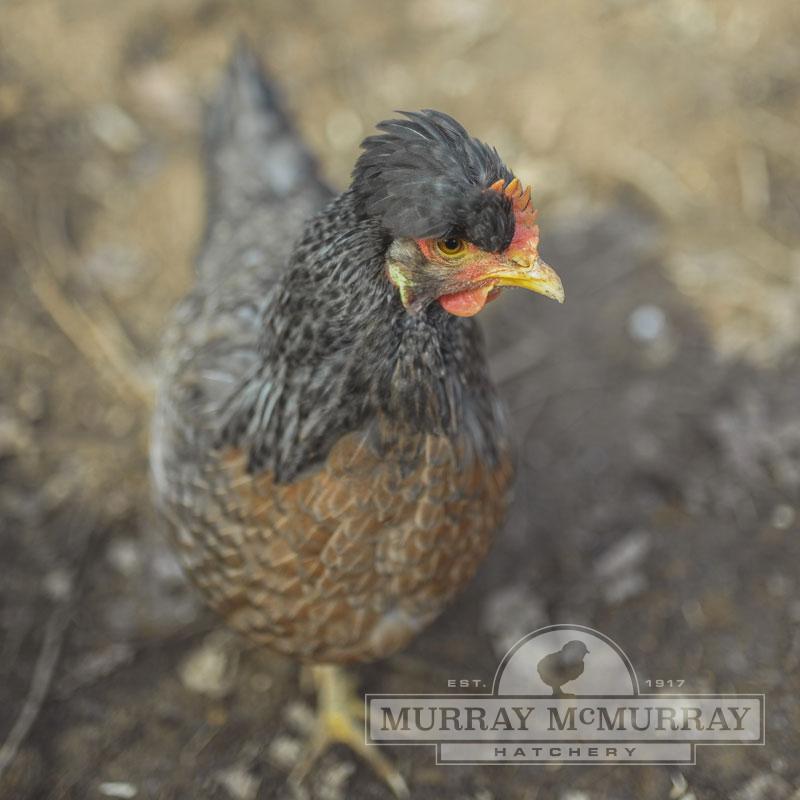
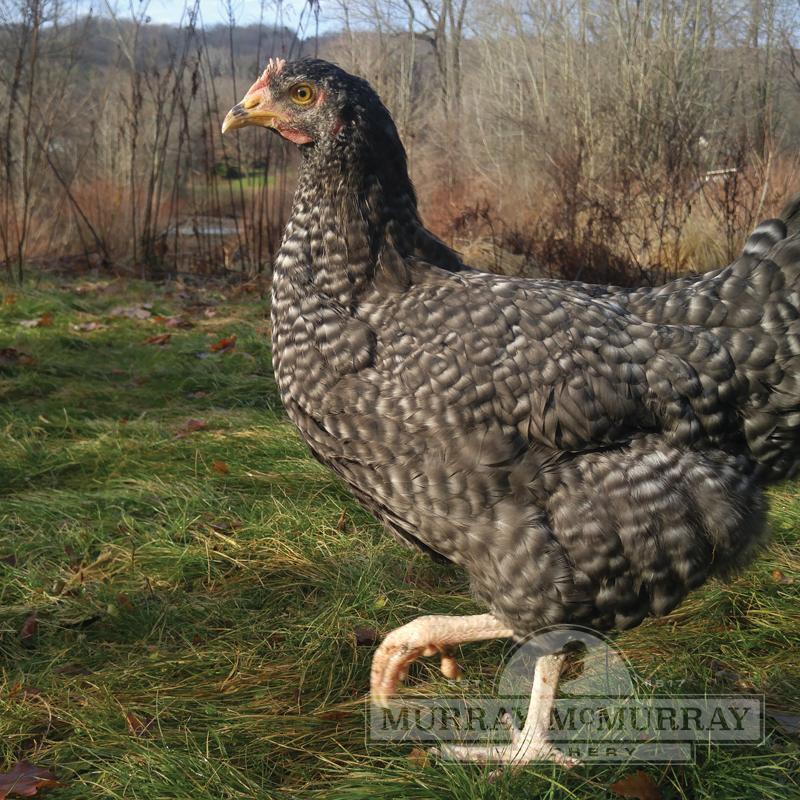
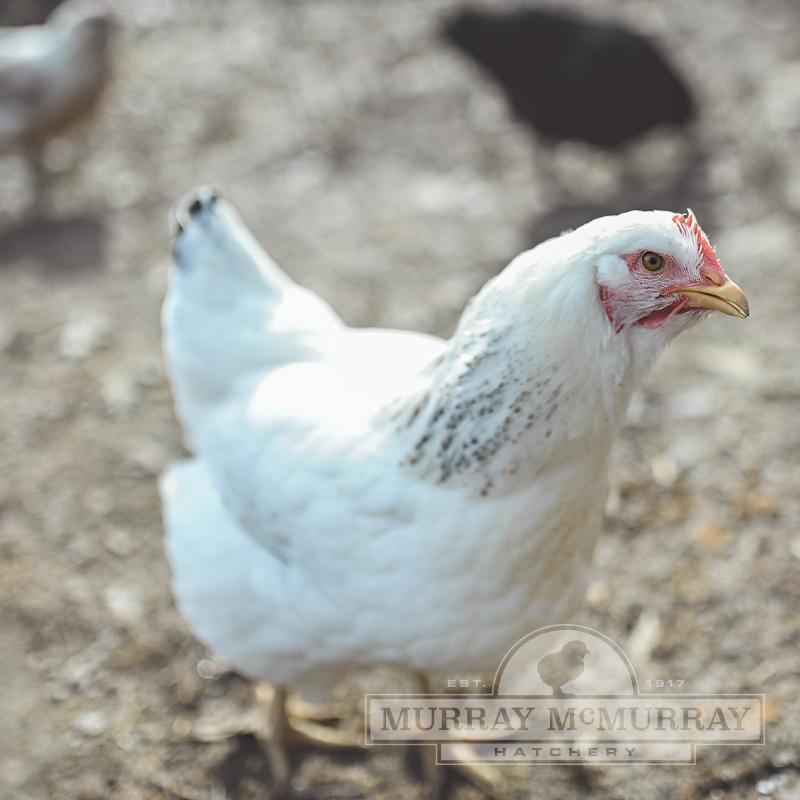
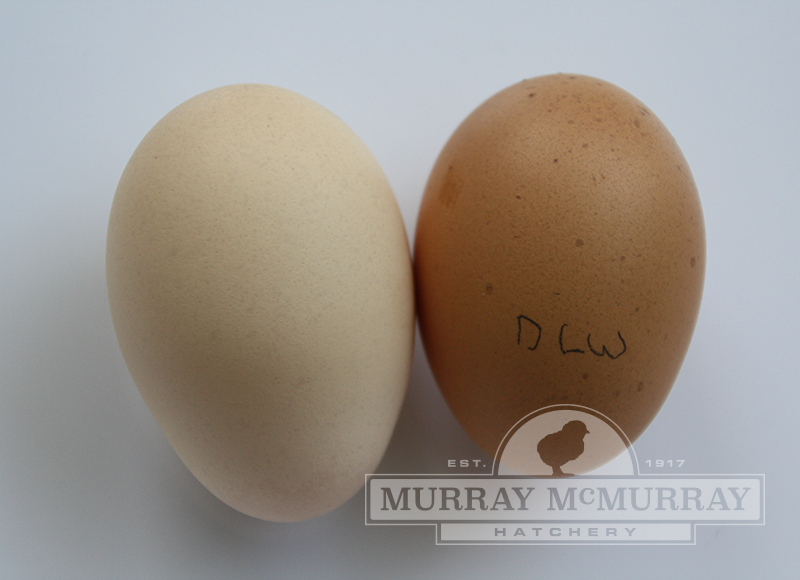
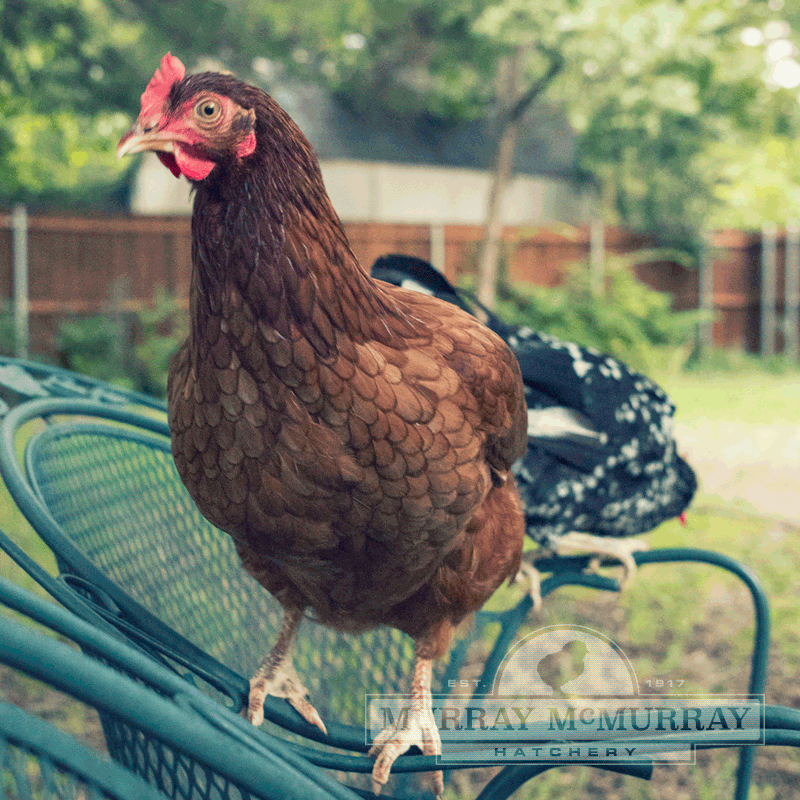
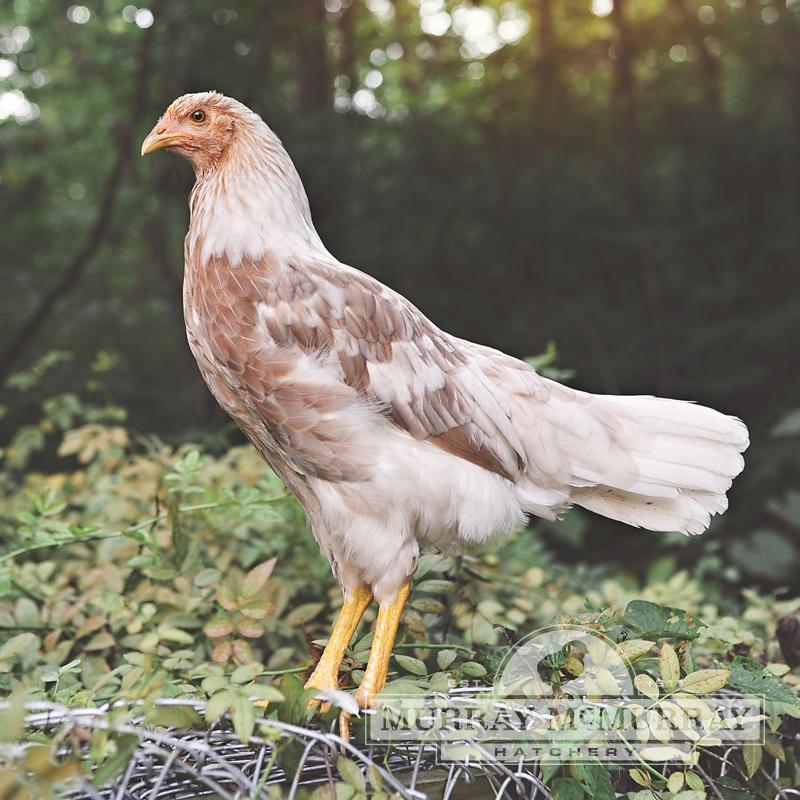
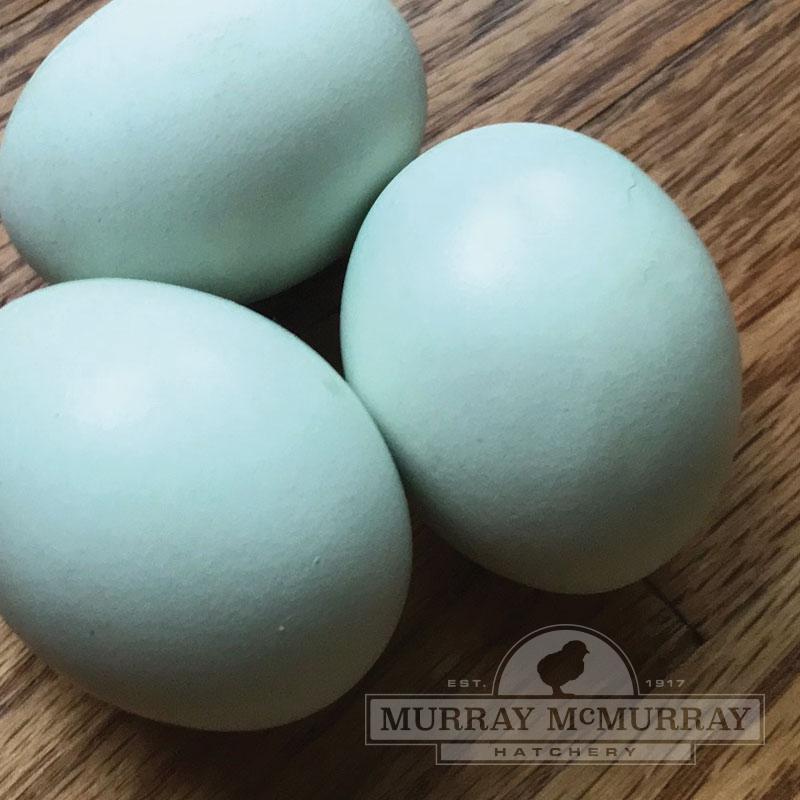
Spring is such a busy, exciting time on the farm, there are so many different things going on. Preparing for planting, planting and all the baby animals. This year we will have two sets of goats born, 36 new chicks and we are planning on adding piggies. We will be doubling our flock this year, to better serve our customers as our eggs are always in high demand. When ordering chickens I like to do things a little differently than most, my highest priority isn’t production. I pick my birds for the color of eggs they lay, how they look (I love variety in the barnyard), how common they are and their willingness to free range and brood. One breed that I have been ordering for years now is the Delaware, they are on conservation lists as breeds that are in danger of being lost. They are a pretty, plump, duel purpose (meaning they lay eggs and are good for meat) breed out of Delaware (hence the name) that were once common on family farms that are now disappearing in favor of commercial breeds. I like my flock to be diverse, my eggs colorful and fun, and my birds hearty and willing to free range.
All of our chicks come from Murry McMurray Hatchery. I have been ordering from them for over 10 years when I first started out with a little flock in my suburban back yard. I’ve always been happy with the quality of chicks and if there has been a problem they were pleasant, friendly to work with and quick to make things right. The pictures on this post come from their site and are the chickens we will be adding. If you are wanting to start a flock I highly recommend them and you can find them here: https://www.mcmurrayhatchery.com/index.html
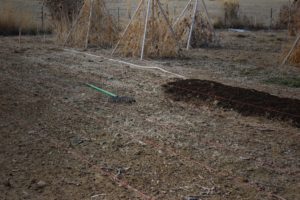
Working on the future raspberry patch. There are twelve 50 foot rows.
One of the projects we have been discussing and planning for almost forever has been a rather large raspberry patch. Ultimately we would like to run some sort of pick-your-own or selling shares of some sort, but to get to that point we have a lot of planning, planting and work to do.
As we have talked about before, the soil here is very barren and can be challenging to grow in. When its wet it is thick and sticky, when dry its almost like powder. We have found various permaculture methods that work very well in our arid climate and low fertility, including deep mulch, no-till and low-till. Another methods that is quite effective is the combination of hugelkultur and swales, often called “drop dead swales”.
Hugelkulturs are hills or various sizes made by piling old logs and branches then covering the up with compost and soil. The hugelkultur then naturally collects moisture in the old, dead wood and as it breaks down creates nutrients for the plants that are planted in the hugelkultur. The problem with classic hugelkulturs in our climate is that we have a hard time having enough natural moisture to keep it wet enough. We are just too dry, in my opinion. So we add in the swale. A swale is a man made natural depression in the land that helps collect rain water. Instead of the rain water running off it collects and soaks into the earth naturally crating pockets of fertility. a swale can be as big or little as needed.
We combine the two.
Loads and loads of horse manure hauled down from our very gracious neighbors.
In areas where we will be planting perennial beds and trees we use the “drop dead swale” method to help create water retention and fertility to places that cant always have piles of compost added easily. In theory once the perennial plants get going they will naturally create their own fertility as long as they have enough water.
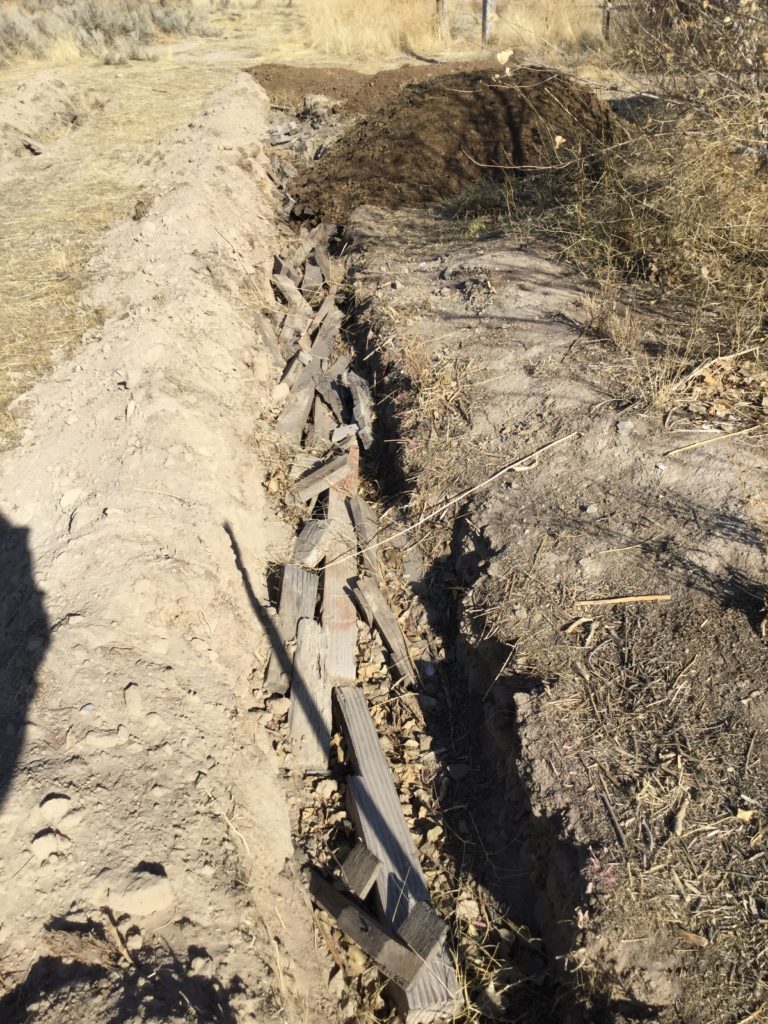
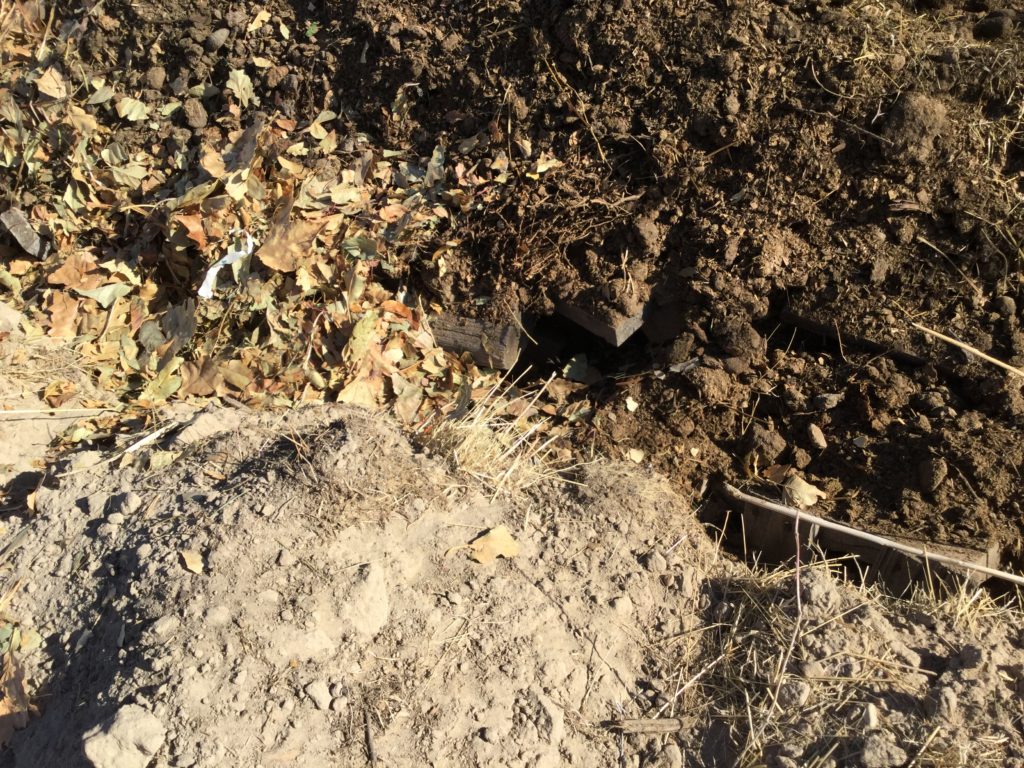
A swale filled with old wood, ready to have leaves and manure added.
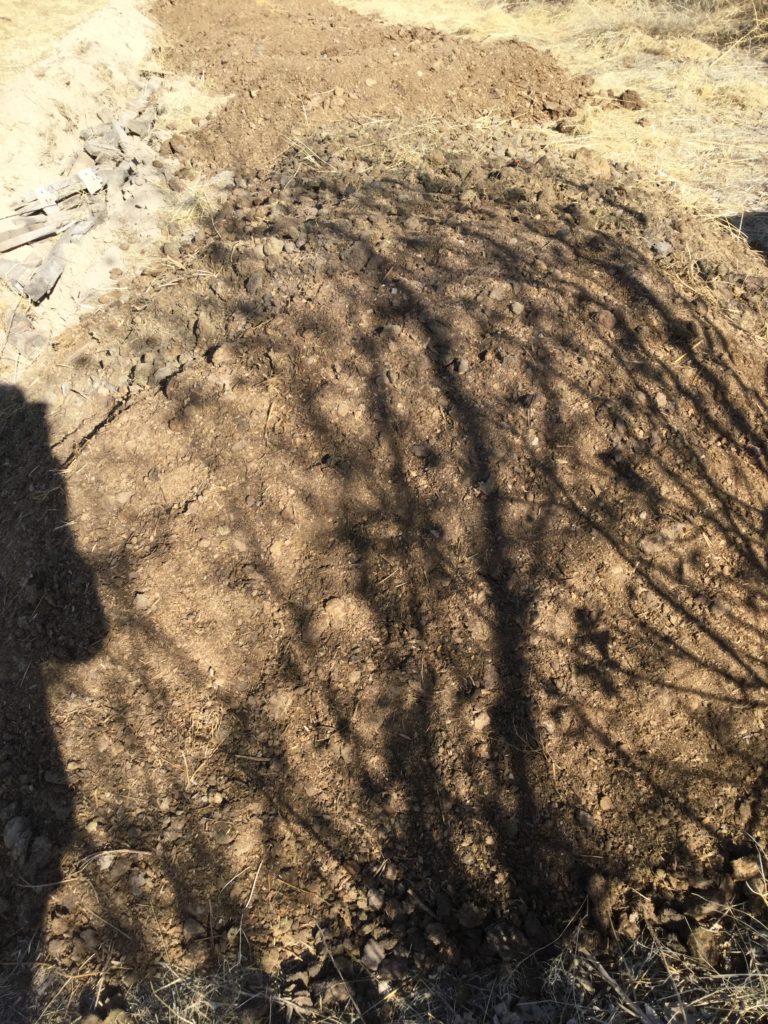
To create a “drop dead swale” we first dig a nice big trench, about two feet deep. Then we add wood. Our property came with a lot of old, dry construction debris. Mostly 2×4 ends that have been laying exposed for close to 15 or more years. This stuff is dry, and perfect. We fill the trenches about half way.
On top of the old wood we add dead leaves and then horse manure and bedding. We almost completely fill the trenches. This adds organice matter that will increase the water storing ability of the soil and the manure adds nutrients. These will also attract beneficial micro-organisms and worms.
A swale with wood, leaves and manure.
When the trenches are filled in there is enough dirt to leave a nice ridge on the downward slope side of the field, so as rain comes and snow melts the water wont just run off the land, it will stop and soak into the dry wood waiting for it. This will reduce the need for supplemental water during the long, hot, dry summers.
A swale being cover with a small ridge left to catch water run off.
We are furiously working on this before the snow comes, we want it ready for raspberry planting this spring. This is long hard work, with the promise of fields of raspberries some day.
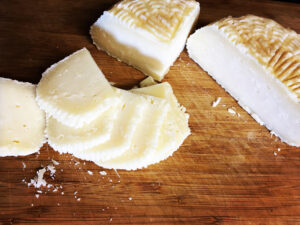
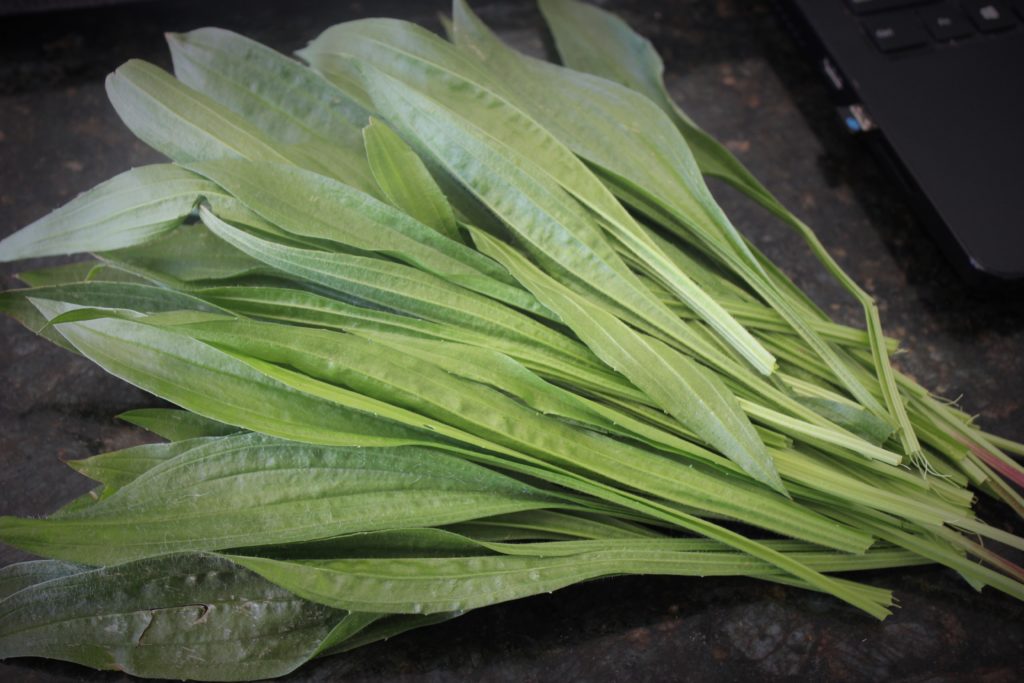
Plantain salve is one of my very favorite salves and I have been making it for several years now. I use it for any type of bug bite or sting and all sorts of cuts, scrapes and burns, with nine children, family and friends bumping around the place that means a lot of salve. During the summertime plantain can be used fresh, but it isn’t always convenient, chewing up a leaf, applying and covering a mosquito bite with a band-aid isn’t as simple as dabbing on a bit of salve. It is also nice to be able to keep a small pot in my purse or bag to have on hand when I am not where plantain is growing. So every fall and winter I am sure to make plenty of salve to have on hand and some to sell to family and friends. The process though starts in the summer time when the days are long and the plantain is thick under the apple trees.
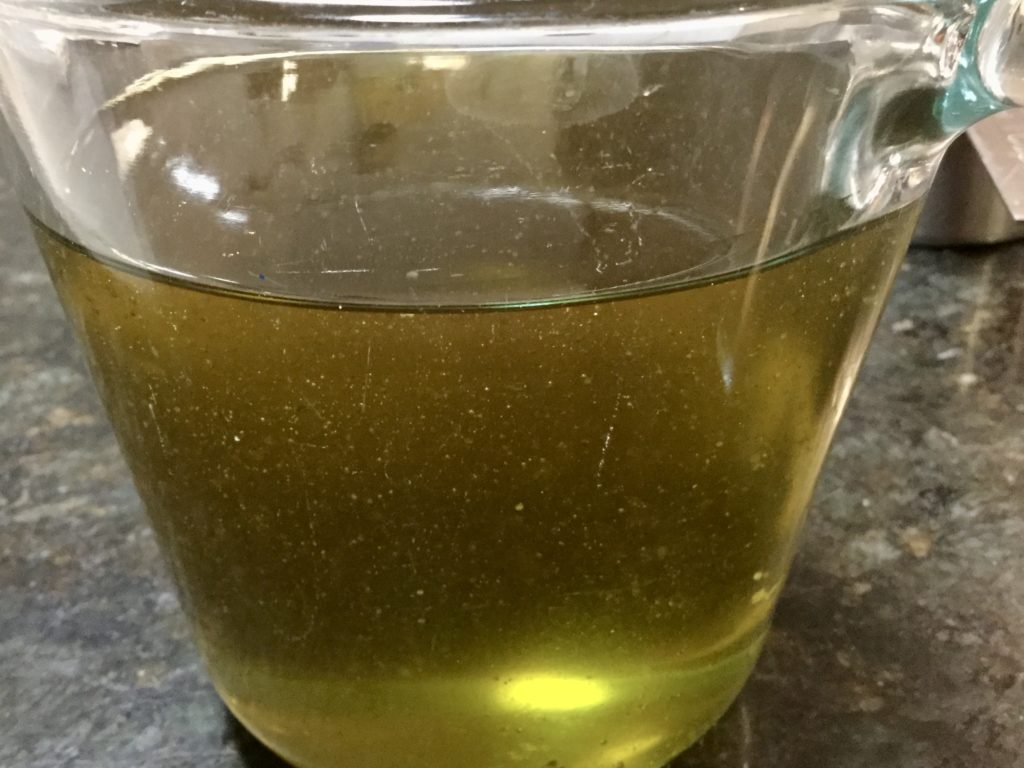
Handfuls of plantain is harvested, washed, cut and packed in quart bottles, then pure olive oil is poured over the top until all the plant matter is covered. It then sits in my sunny kitchen window for at least six weeks, being shaken daily, sometimes longer. This makes a beautiful green infused oil. this oil itself is nourishing and healing for the skin, but a bit messy. When the oil is properly infused it is poured into a fine wire mesh colander that is lined with a clean cotton cloth to slowly drip for several hours. After all the oil has dripped through I will take and ring it tight, getting every last drop of the oily goodness. My hands are so happy after these days of wringing oil out, the plantain infused oil is so good for the skin. After the Plantain has been strained out of the oil it is stored in quart jars in the refrigerator to keep it as fresh as possible until salve making time. I, using low heat, slowly melt beeswax in with the oil. As soon as the bees wax is completely melted I take the salve off the heat and let it cool some more, then I add lavender essential oil and yarrow essential oil. While still warm is it is poured into jars and closed tightly. They are kept refrigerated until used. My family uses this salve exclusively, even my littlest kids know where the “green salve” is and know to put it on cuts, scrapes and burns. Plantain salve mixed with calendula salve is very effective when dealing with suborn diaper rash. We always have a little jar sitting by my tinctures and herbs ready for use and usually you can find a jar in my purse or diaper bag. This year we will be sharing our favorite “green salve” with our customers in our shop and at the farmers market. This green goodness is too wonderful not to share!
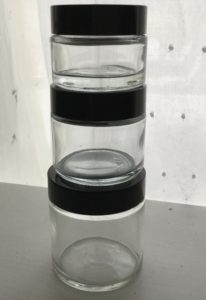
Jar for our line of medicinal salves sitting on my desk as inspiration.
When the weather turns cool and the garden work isn’t as urgent or time consuming my thoughts and attention turn to my herbs and herbal preparations. My sister-in-law calls this kitchen witching and its a description that is echoed by my husband and children who call me the witch doctor. I am not against conventional medicine, not even a little, my family benefits from it, my life has been saved by it. That being said conventional medicine is usually my last resort. I much prefer gentle at home than a quick, but often harsh, fix.
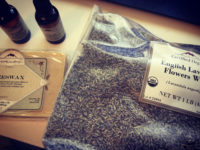
Essential oils, beeswax and lavender for soaps and salves. This lavender will be infused in Sweet Almond Oil for six weeks then made into a relaxing salve to help with sleep.
I have kitchen witched for many, many years dreaming of a time when I would be able to bring my preparations and education to more than just my family and a few friends. After our success this year at the farmers market I decided that this is the time to go for it. After years of thinking about things, taking a timid step here or there, but not fully committing I am going to do it. I am working very hard in the little in-between-times on our on-line store, recipes and products. And I’m loving every minute of it.
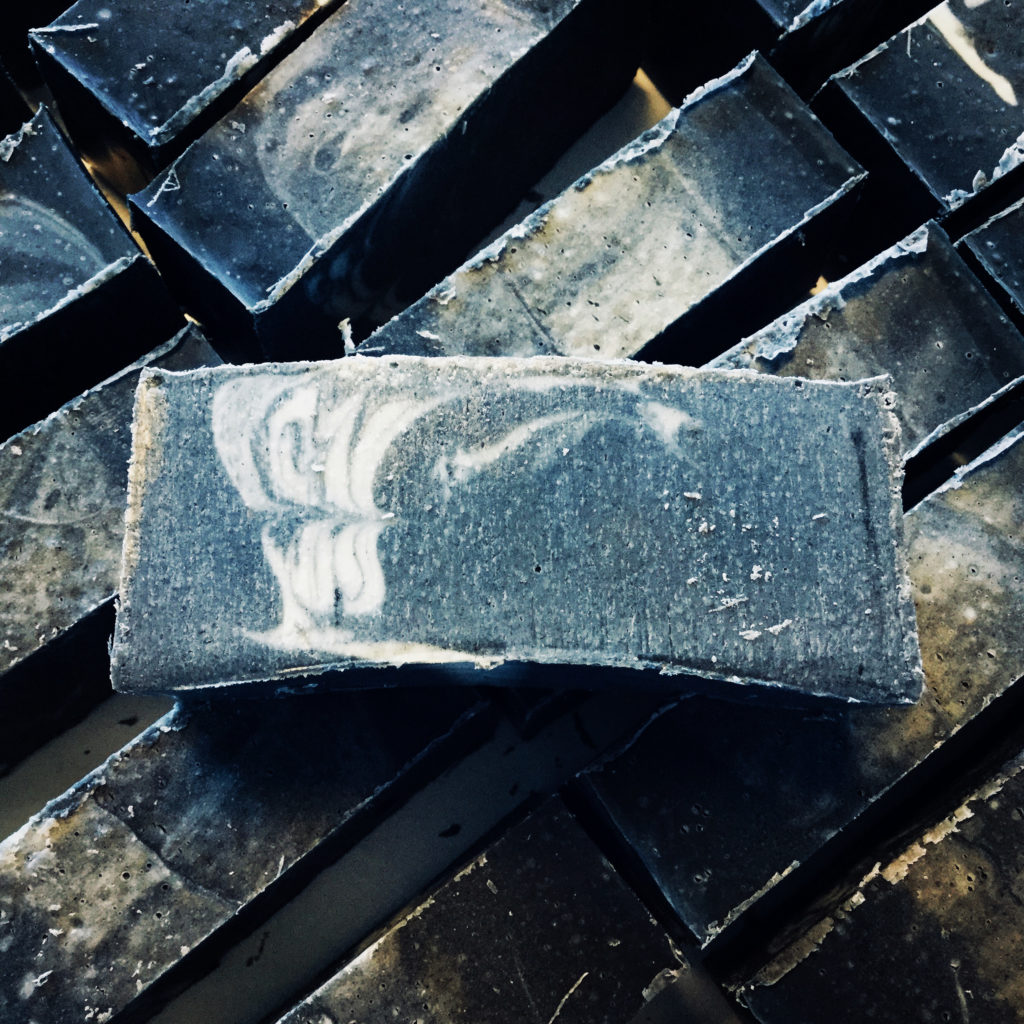
First batch of Charcoal soap cut and ready to sure for six weeks.
I will be offering several types of tinctures to help with everything from sickness to hormone balance and anxiety. Many different salves that help sooth the bite of an insect, to calm pain and help heal a diaper rash. I will also be offering all natural, handmade soaps that do not have any harsh dye or fragrance, such as: Castile,Goat Milk, Charcoal, Honey Oatmeal and Dead Sea Clay. There will also be a handful of miscellaneous items like bath teas, key chains, baby skin care packs and more.
I am so excited to bring these products to you and your family in the coming weeks.
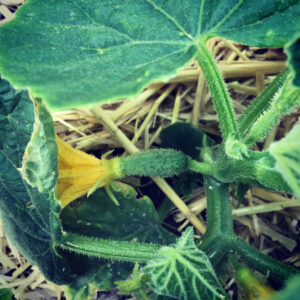
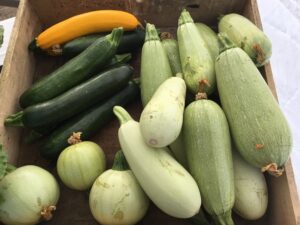
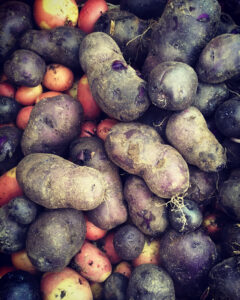
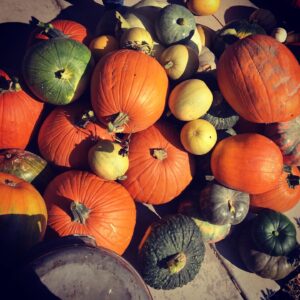
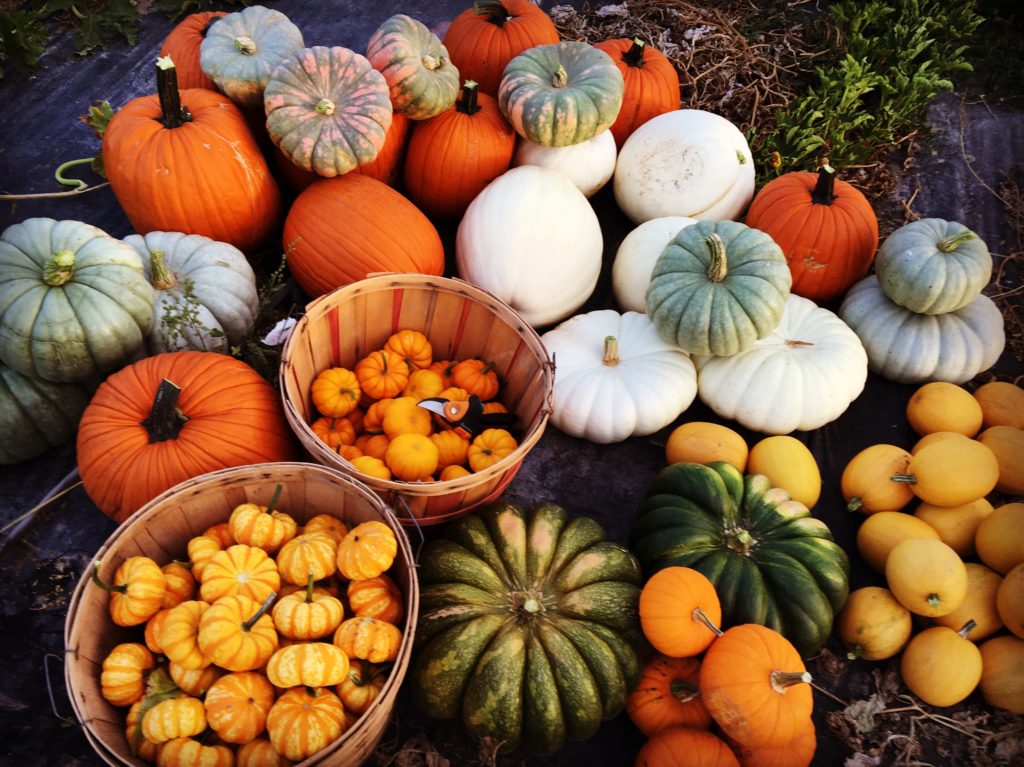
We were really excited about our pumpkins this year. I for one, love pumpkins and all their various shapes and sizes, I can never have to many. They did fairly well at the farmers market this year, however we are planning a different marketing strategy for next season.
One of the biggest struggles with pumpkins, or any squash for that matter, is the squash bug. It will take out a whole squash plant in one day and once you see the all too familiar wilting on your vine the plant is gone and so are all the pumpkins on that vine. Then the buggers march on over to the next plant and before you know it your patch is ruined. There are a few things you can do, but nothing is one hundred percent effective and the best plan is to be proactive from the very beginning, meaning the fall before you sow your pumpkins.
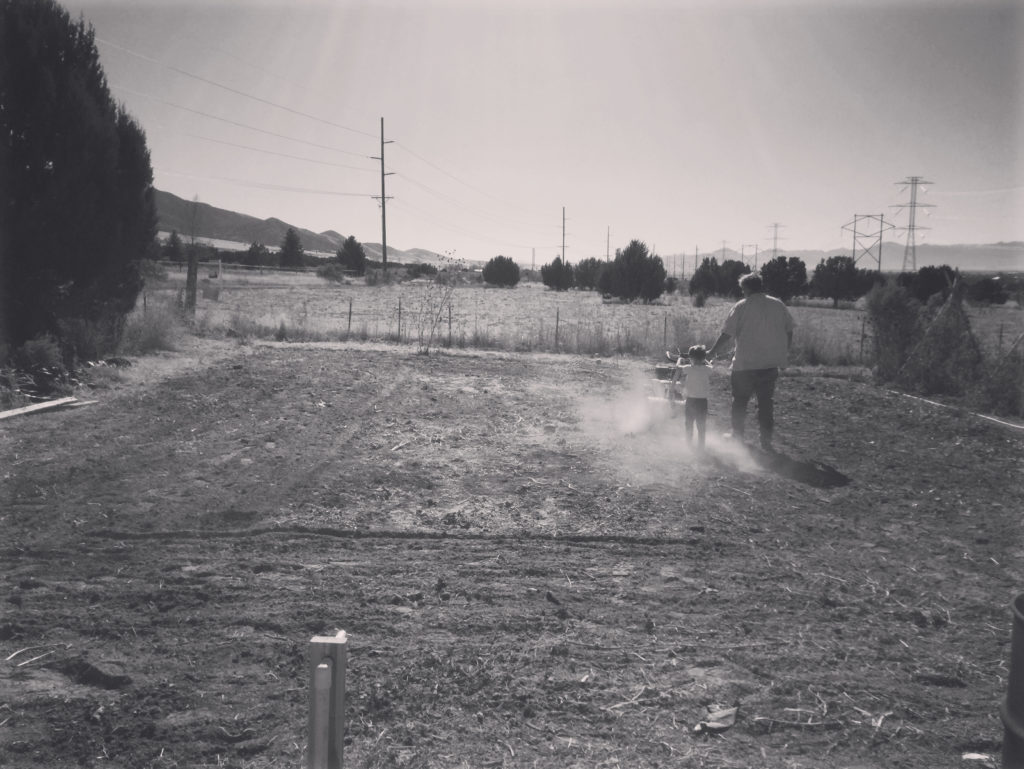
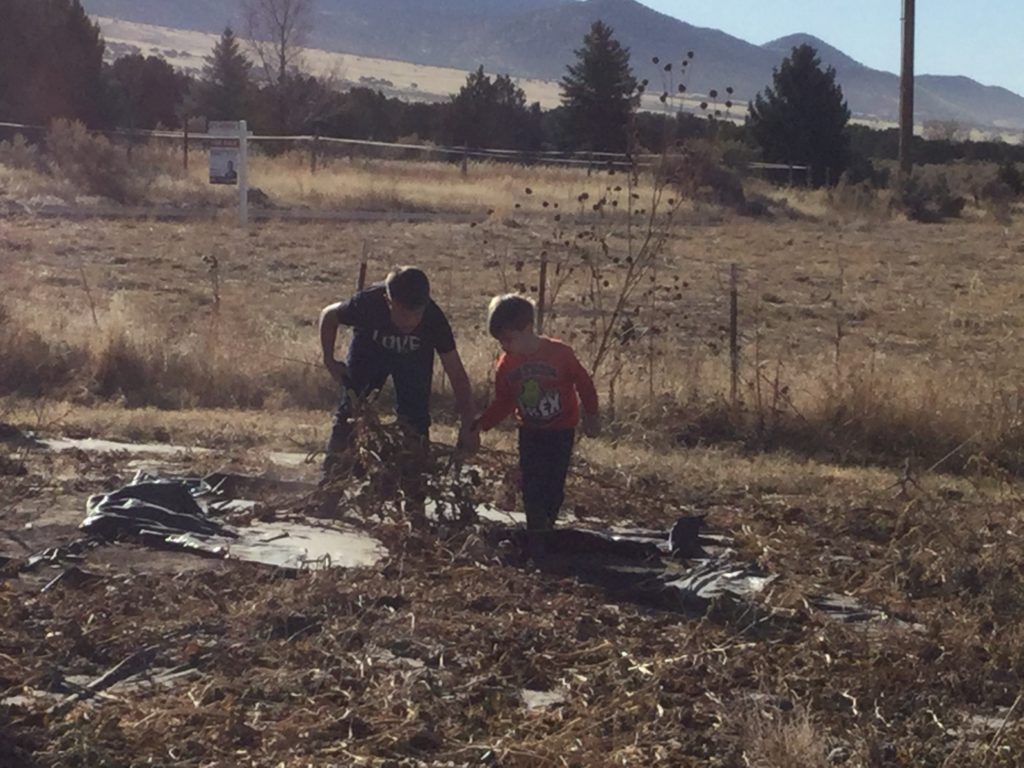
The year before we lost about half our pumpkins, this season we maybe lost a third and next season will be even better. This year I was very vigilant, I would get up around 5:00 am and check under every leaf for eggs and bugs, scraping the eggs and destroying the bugs. Any vines that showed the least bit of wilt were cut off at the base and thrown away, not composted, not fed to the animals, they were removed from the property. I couldn’t chance a squash bug escaping back to the patch. Our preparations for next season started this Saturday with a massive clean up. Squash bugs will hibernate in old plant debris, the spent vines, leaves and straw left on the garden. This is problematic for me as a “compost in place, no-till, leave nature to do its job” kind of girl. However the squash bugs had gotten so bad, it was time to re-think this philosophy a bit. We needed to pull up as many of the old vines as possible and dispose of them in a way that killed the over wintering bugs. We also needed to clean up the old plastic we used as a mulch for weeds. Instead of composting or feeding them to animals all the vines were burned. There were too many vines to send out with the trash, burning and then mixing the ashes in with the soil make me feel a little better about things. Another thing that helps combat the hibernating bugs is a light till. I don’t loving tilling, in my research the soil does better when left to do what is does best, but I’ve also learned that a very light till can have some benefits and little of the draw backs. So Mike and the boys gave the whole patch a little fluffing, this brings the bugs up and exposes them to the elements and kills them. And lastly, the pumpkin patch will be moved. Rotation is very key and I am embarrassed to admit, I have never rotated pumpkins off this patch. This has always been a family garden so I didn’t manage it as carefully as I ought to have, but now that its a market garden rotation must be done with much thought and exactness. It is critical I get pumpkins off this bit of ground. The Pumpkin patch will be relocated and doubled in size to a new area that was cleared and prepared this summer. The old pumpkin patch will have new market beds with some classics like peas, beans and carrots with a colorful twist, which I love.


 Pep
Pep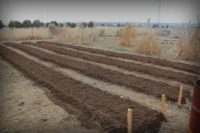
 Last Fall we staked out the new garden. Previous it had been a big pumpkin patch, but we needed to move it because of squash bug issue and I wanted my new market beds closer to the established garden area. The pumpkins will go in the new, raw area, they are a good plant to break in a new place. We made each bed 30″ wide and 50′ long.
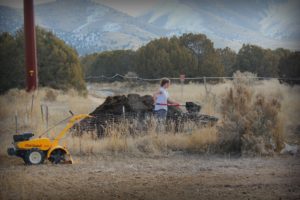 Not wanting to disturb the soil already there and not wanting to churn up weed seeds we are laying six inches of compost right on top of the soil and not mixing it in. Well made compost can be planted directly in, it won’t be too hot. The isles will be planted with mini clover, that will help keep the weeds and dust down and when it is mowed we will rake the clippings right into the garden beds, and as the plants grow we will add mulch and cover crops.
 I love this picture, it shows the steaming compost both in the pile and in the wheelbarrow. This shows how well the microbe activity is, good healthy microbes mean good healthy soil. It is also nice on a cool morning to be able to warm up at the pile!
 For a lot of people crocuses, daffodils, blossoms, tulips are the first signs of spring.
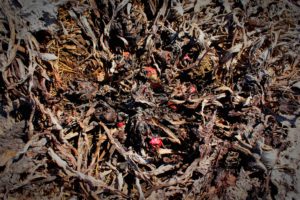 As soon as I can I am sticking my fingers in the dirt looking for two things:
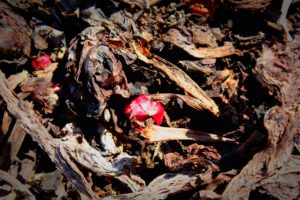 And look what I found.


 Plantain salve is one of my very favorite salves and I have been making it for several years now. I use it for any type of bug bite or sting and all sorts of cuts, scrapes and burns, with nine children, family and friends bumping around the place that means a lot of salve. During the summertime plantain can be used fresh, but it isn’t always convenient, chewing up a leaf, applying and covering a mosquito bite with a band-aid isn’t as simple as dabbing on a bit of salve. It is also nice to be able to keep a small pot in my purse or bag to have on hand when I am not where plantain is growing. So every fall and winter I am sure to make plenty of salve to have on hand and some to sell to family and friends. The process though starts in the summer time when the days are long and the plantain is thick under the apple trees.
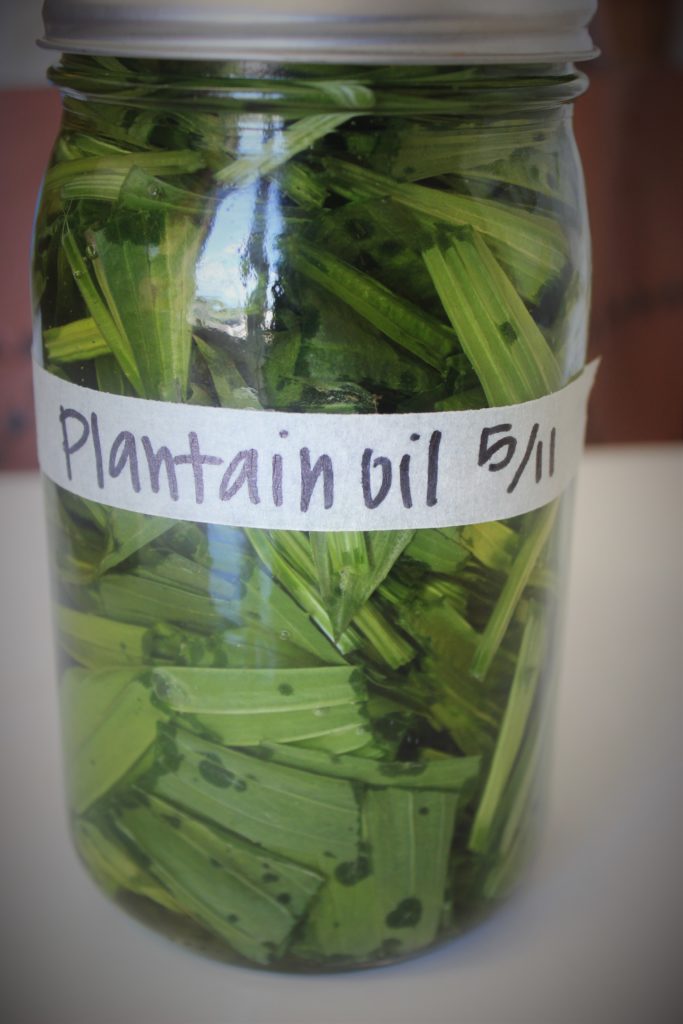 Handfuls of plantain is harvested, washed, cut and packed in quart bottles, then pure olive oil is poured over the top until all the plant matter is covered. It then sits in my sunny kitchen window for at least six weeks, being shaken daily, sometimes longer. This makes a beautiful green infused oil. this oil itself is nourishing and healing for the skin, but a bit messy.
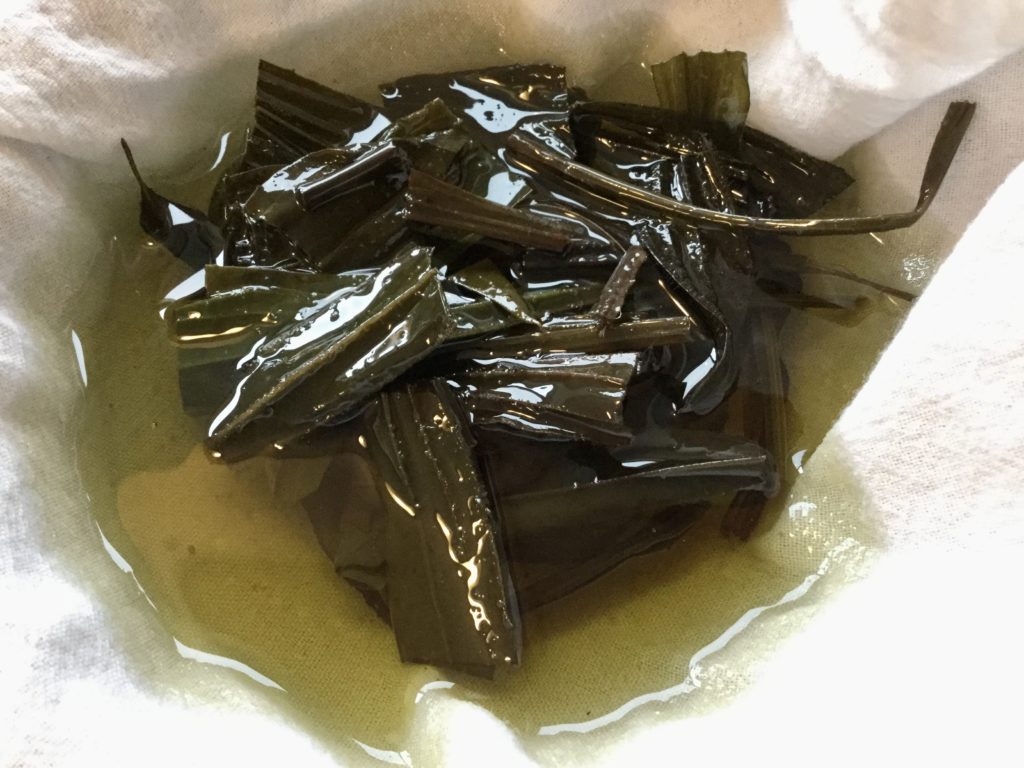 When the oil is properly infused it is poured into a fine wire mesh colander that is lined with a clean cotton cloth to slowly drip for several hours. After all the oil has dripped through I will take and ring it tight, getting every last drop of the oily goodness. My hands are so happy after these days of wringing oil out, the plantain infused oil is so good for the skin.
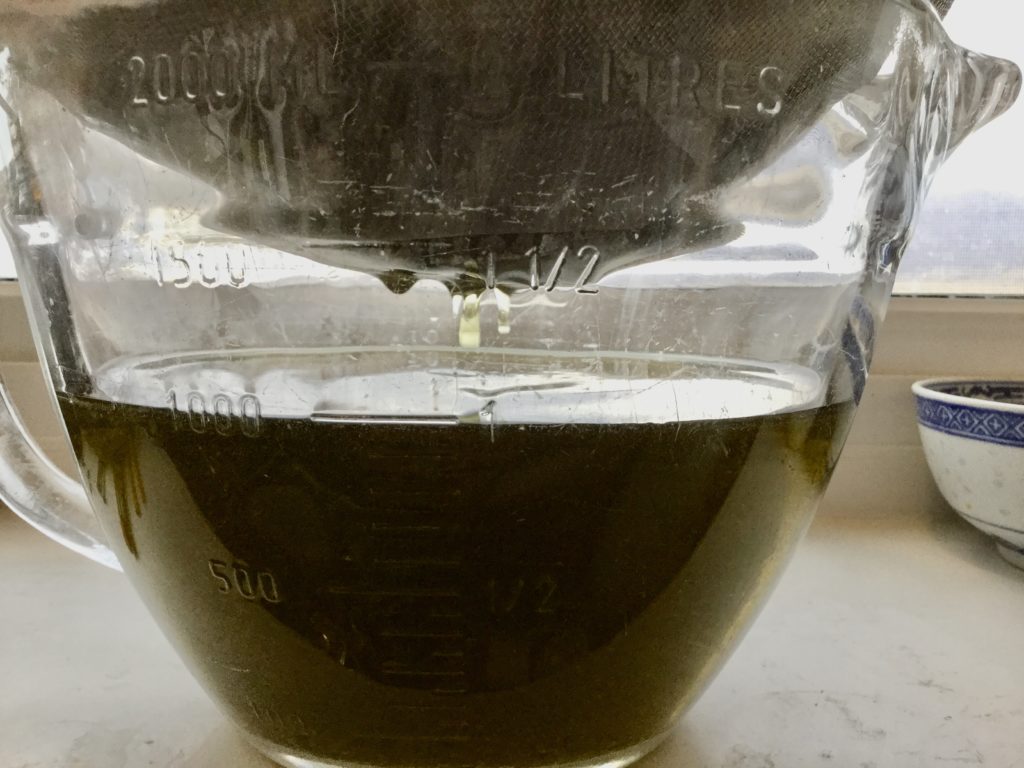
 After the Plantain has been strained out of the oil it is stored in quart jars in the refrigerator to keep it as fresh as possible until salve making time. I, using low heat, slowly melt beeswax in with the oil. As soon as the bees wax is completely melted I take the salve off the heat and let it cool some more, then I add lavender essential oil and yarrow essential oil. While still warm is it is poured into jars and closed tightly. They are kept refrigerated until used.
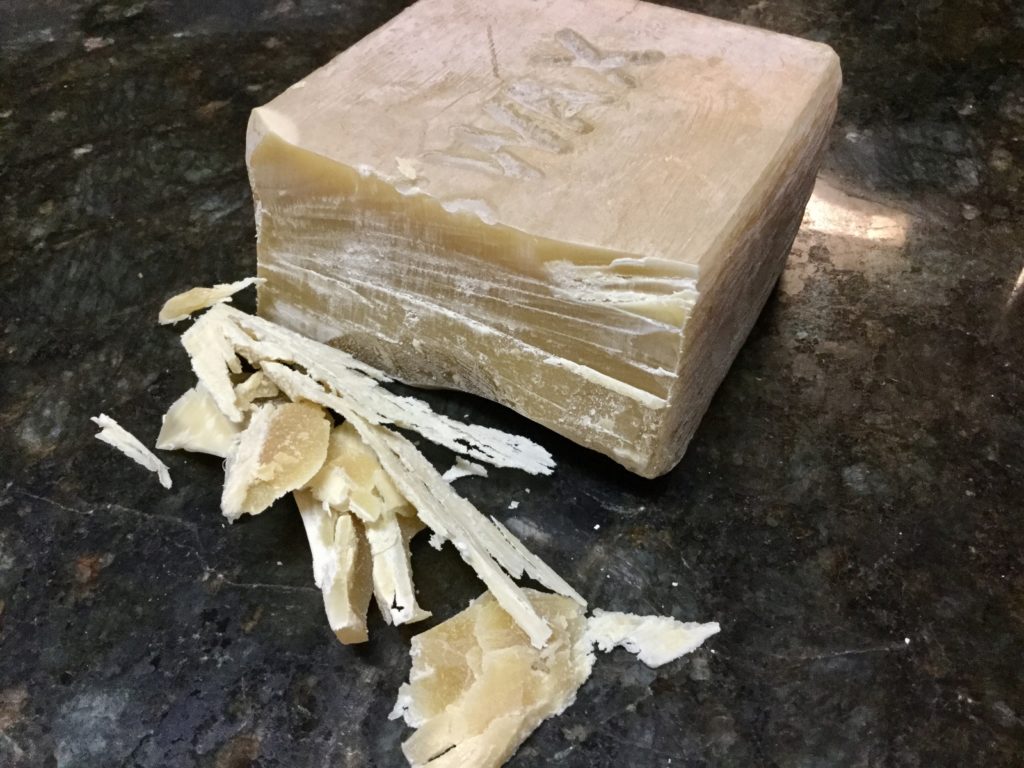 My family uses this salve exclusively, even my littlest kids know where the “green salve” is and know to put it on cuts, scrapes and burns. Plantain salve mixed with calendula salve is very effective when dealing with suborn diaper rash. We always have a little jar sitting by my tinctures and herbs ready for use and usually you can find a jar in my purse or diaper bag.
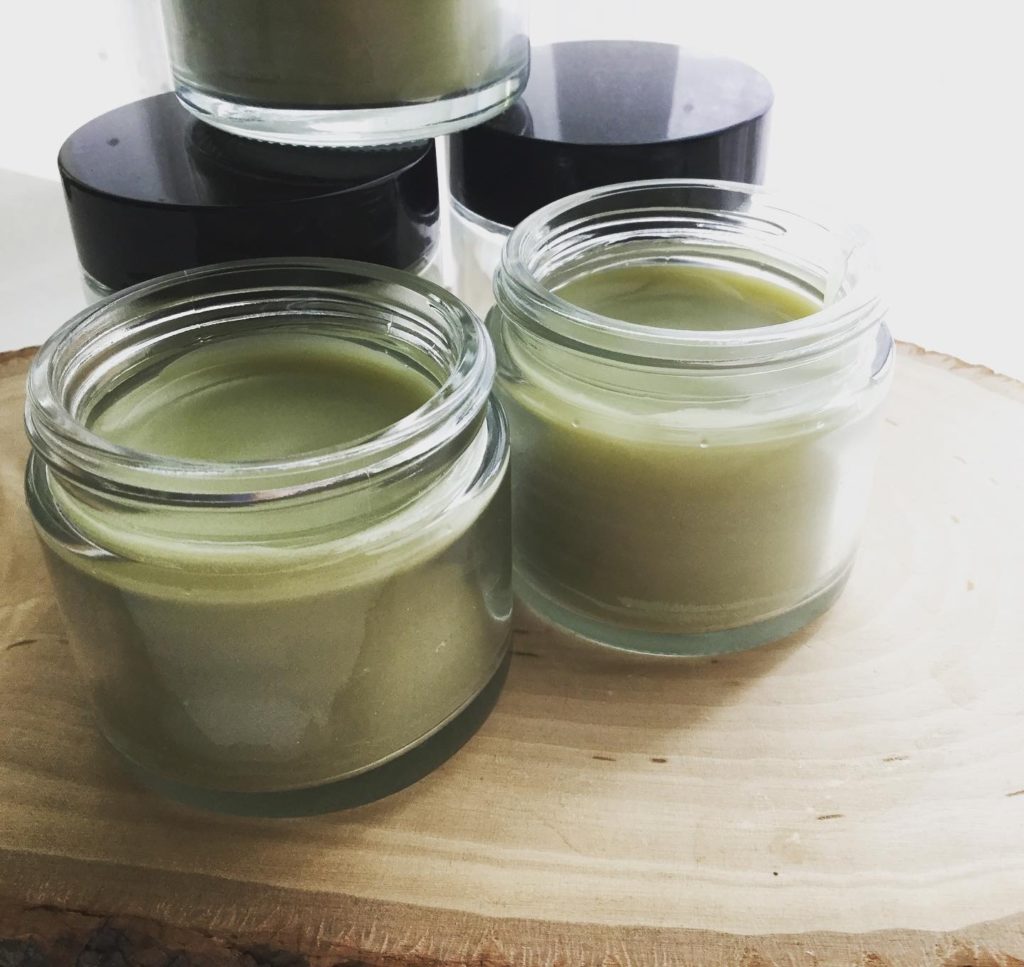 This year we will be sharing our favorite “green salve” with our customers in our shop and at the farmers market. This green goodness is too wonderful not to share!
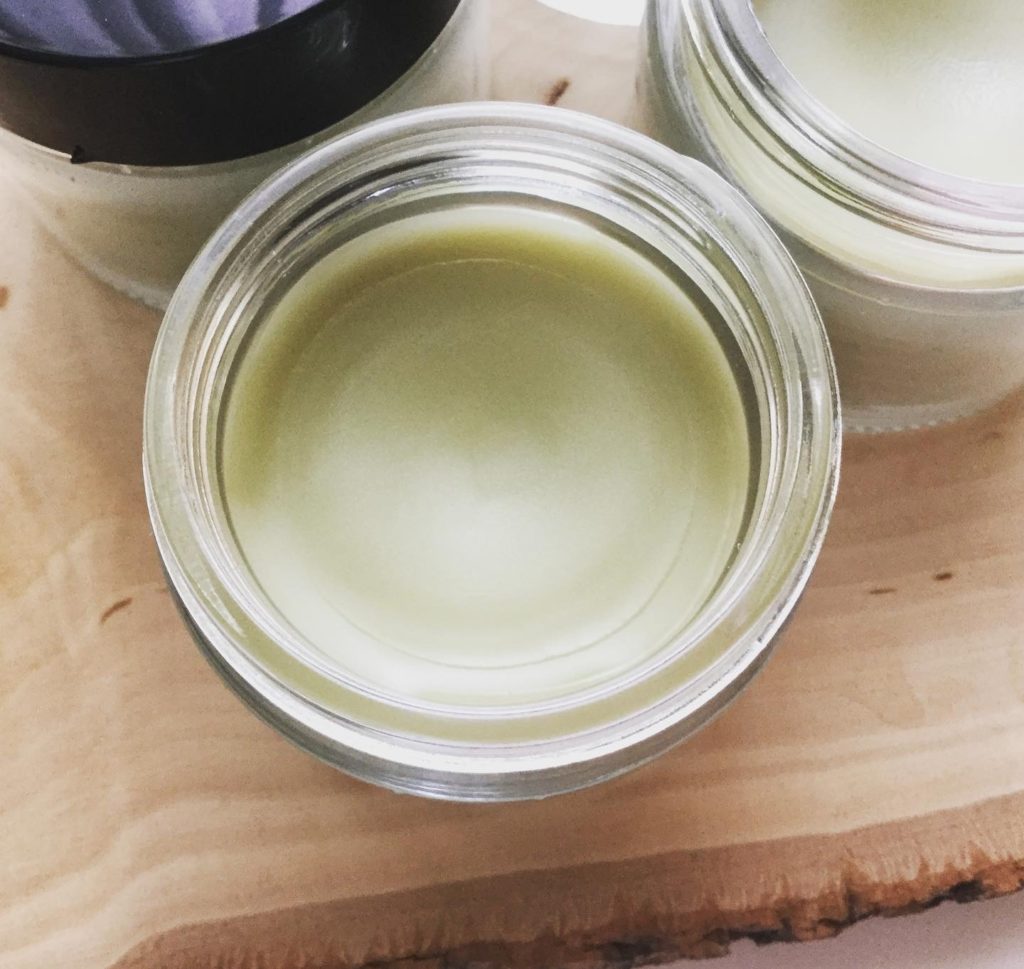


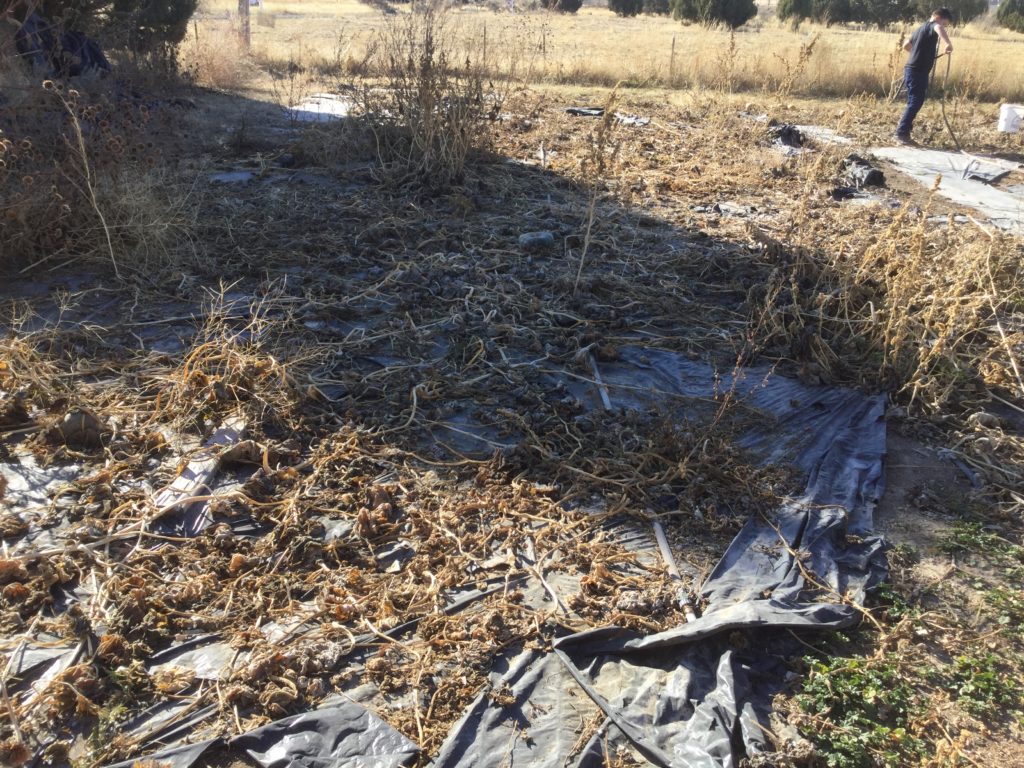 Our preparations for next season started this Saturday with a massive clean up. Squash bugs will hibernate in old plant debris, the spent vines, leaves and straw left on the garden. This is problematic for me as a “compost in place, no-till, leave nature to do its job” kind of girl. However the squash bugs had gotten so bad, it was time to re-think this philosophy a bit. We needed to pull up as many of the old vines as possible and dispose of them in a way that killed the over wintering bugs. We also needed to clean up the old plastic we used as a mulch for weeds.
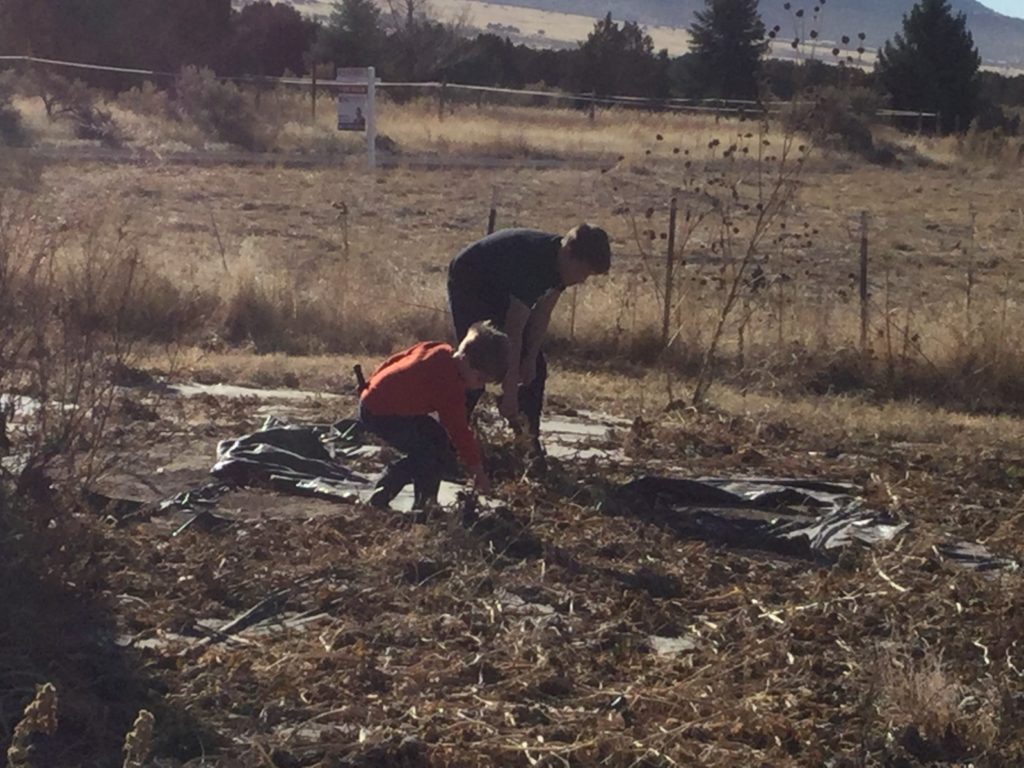
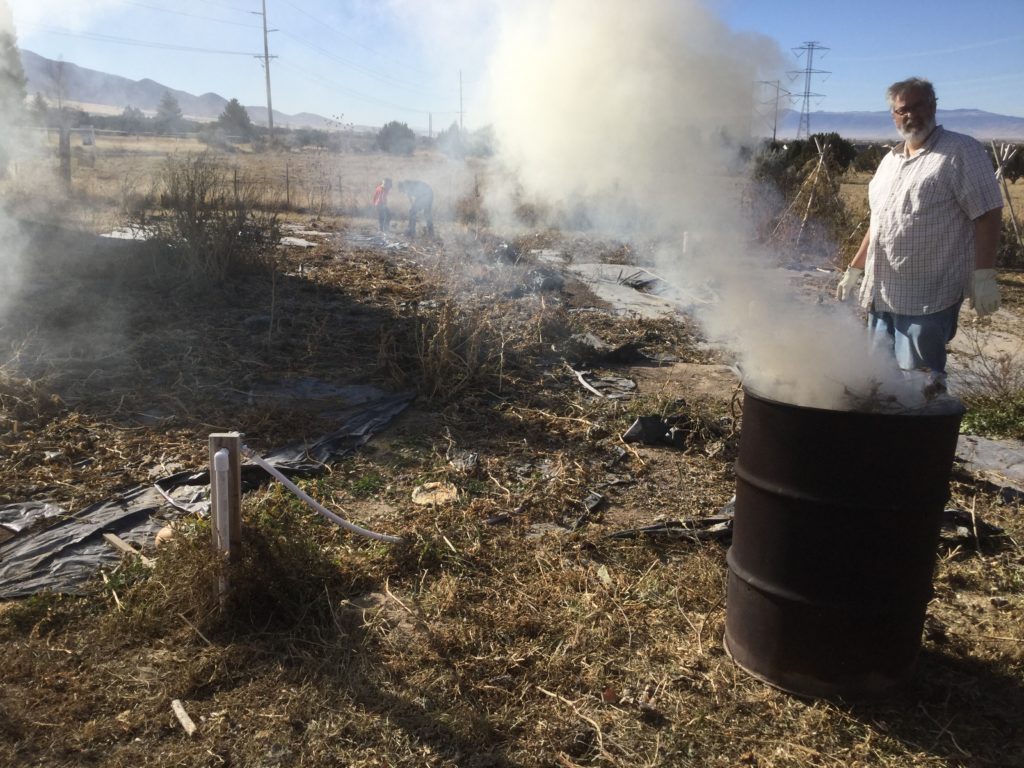 Instead of composting or feeding them to animals all the vines were burned. There were too many vines to send out with the trash, burning and then mixing the ashes in with the soil make me feel a little better about things.
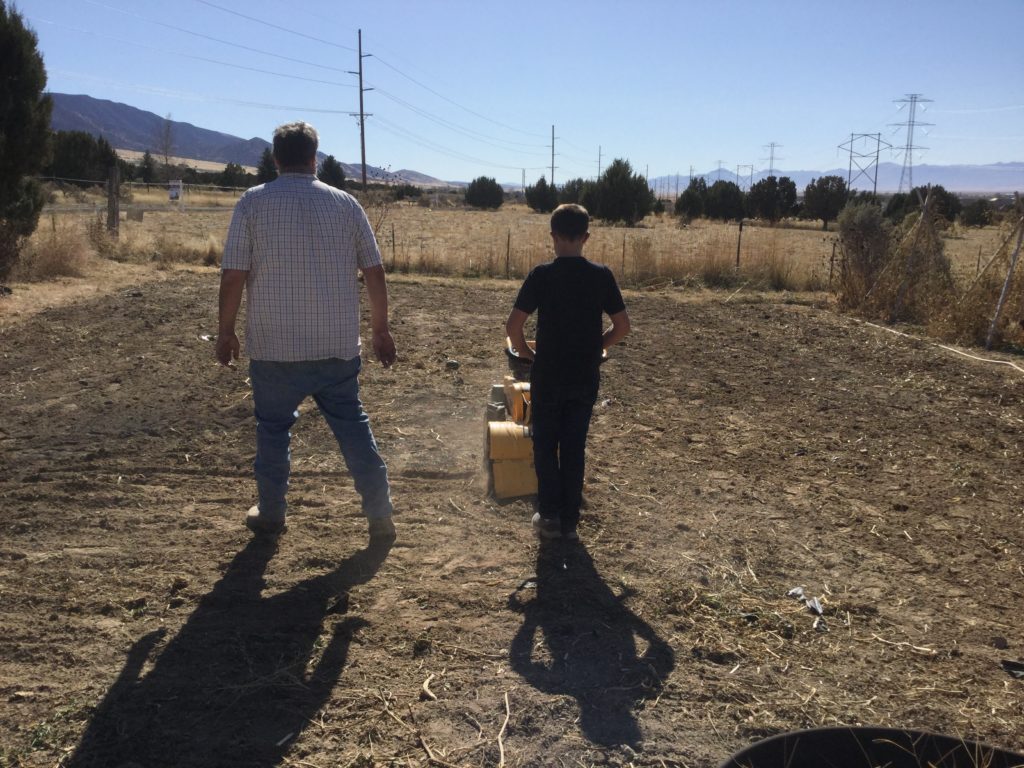
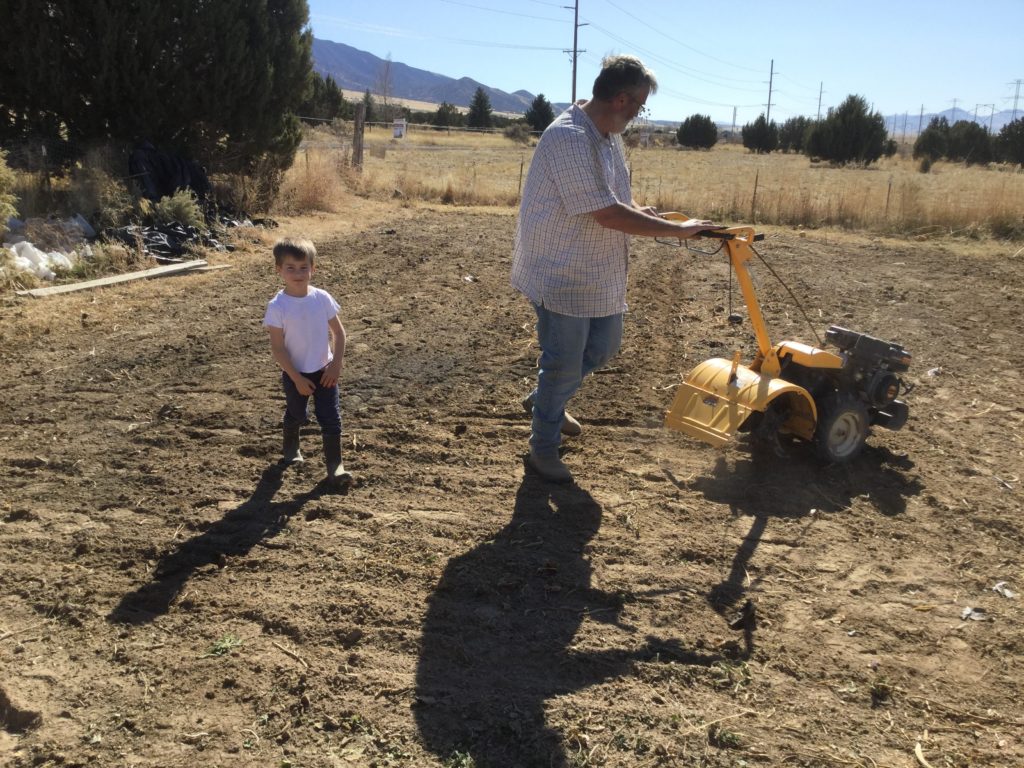 Another thing that helps combat the hibernating bugs is a light till. I don’t loving tilling, in my research the soil does better when left to do what is does best, but I’ve also learned that a very light till can have some benefits and little of the draw backs. So Mike and the boys gave the whole patch a little fluffing, this brings the bugs up and exposes them to the elements and kills them.
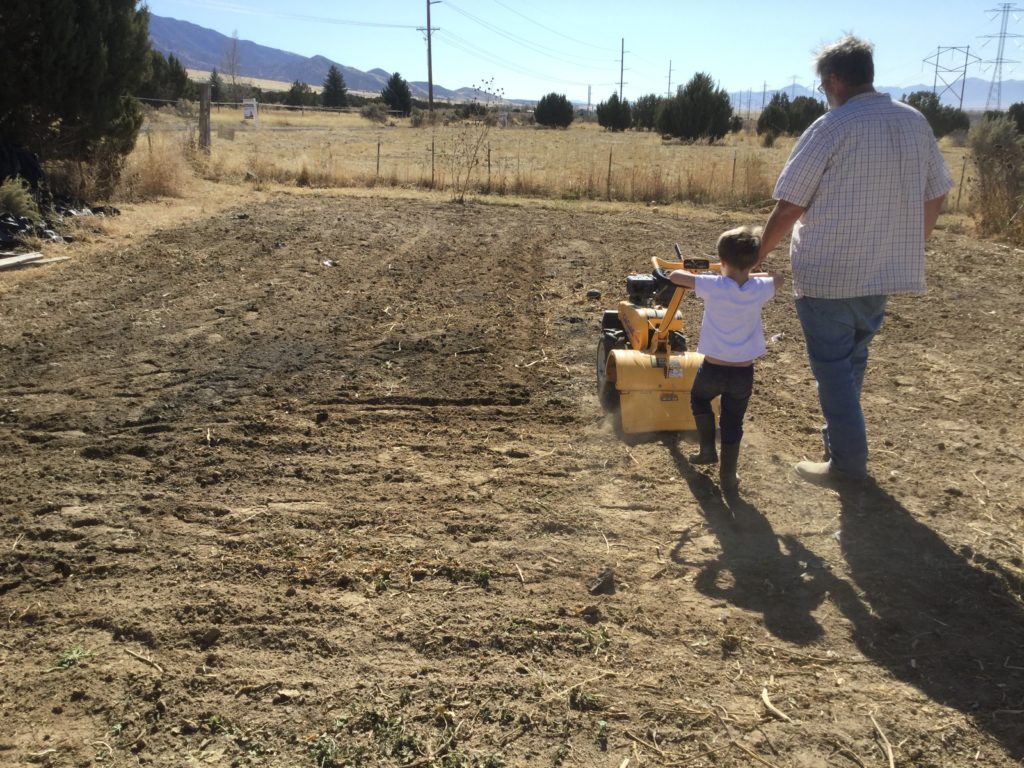
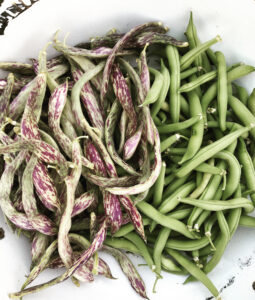
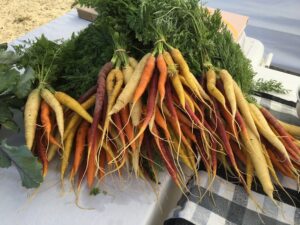
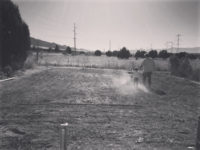
 And lastly, the pumpkin patch will be moved. Rotation is very key and I am embarrassed to admit, I have never rotated pumpkins off this patch. This has always been a family garden so I didn’t manage it as carefully as I ought to have, but now that its a market garden rotation must be done with much thought and exactness. It is critical I get pumpkins off this bit of ground. The Pumpkin patch will be relocated and doubled in size to a new area that was cleared and prepared this summer. The old pumpkin patch will have new market beds with some classics like peas, beans and carrots with a colorful twist, which I love.