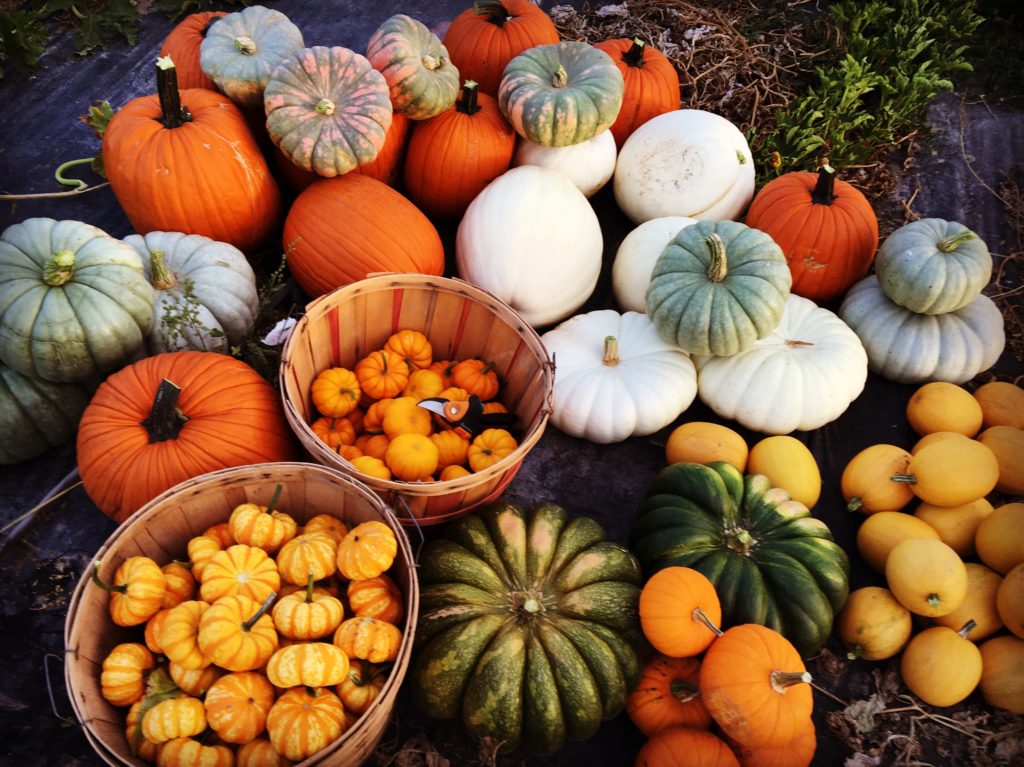
We were really excited about our pumpkins this year. I for one, love pumpkins and all their various shapes and sizes, I can never have to many. They did fairly well at the farmers market this year, however we are planning a different marketing strategy for next season.
One of the biggest struggles with pumpkins, or any squash for that matter, is the squash bug. It will take out a whole squash plant in one day and once you see the all too familiar wilting on your vine the plant is gone and so are all the pumpkins on that vine. Then the buggers march on over to the next plant and before you know it your patch is ruined. There are a few things you can do, but nothing is one hundred percent effective and the best plan is to be proactive from the very beginning, meaning the fall before you sow your pumpkins.
The year before we lost about half our pumpkins, this season we maybe lost a third and next season will be even better. This year I was very vigilant, I would get up around 5:00 am and check under every leaf for eggs and bugs, scraping the eggs and destroying the bugs. Any vines that showed the least bit of wilt were cut off at the base and thrown away, not composted, not fed to the animals, they were removed from the property. I couldn’t chance a squash bug escaping back to the patch.
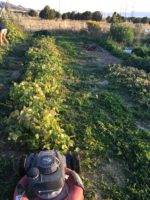
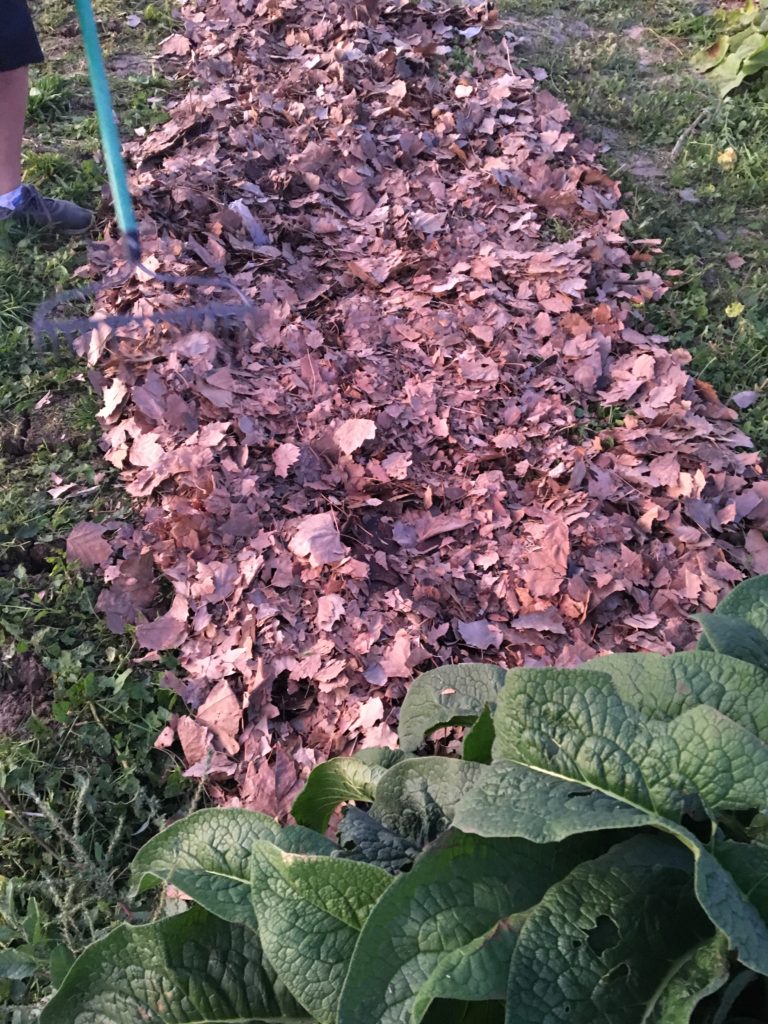
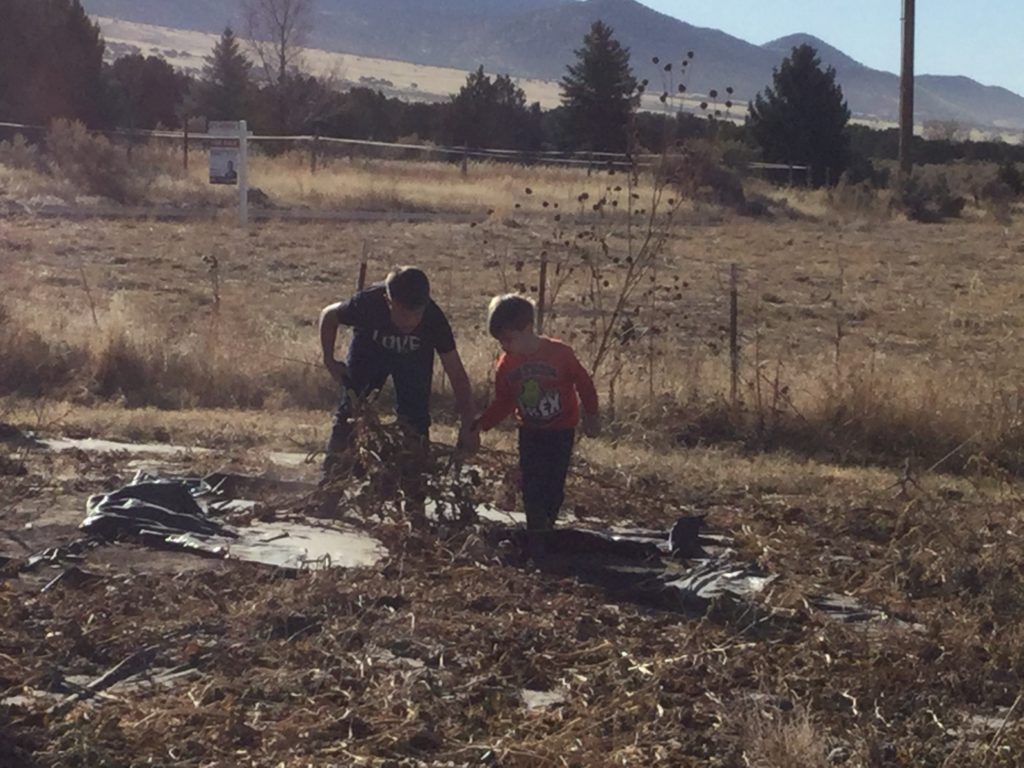
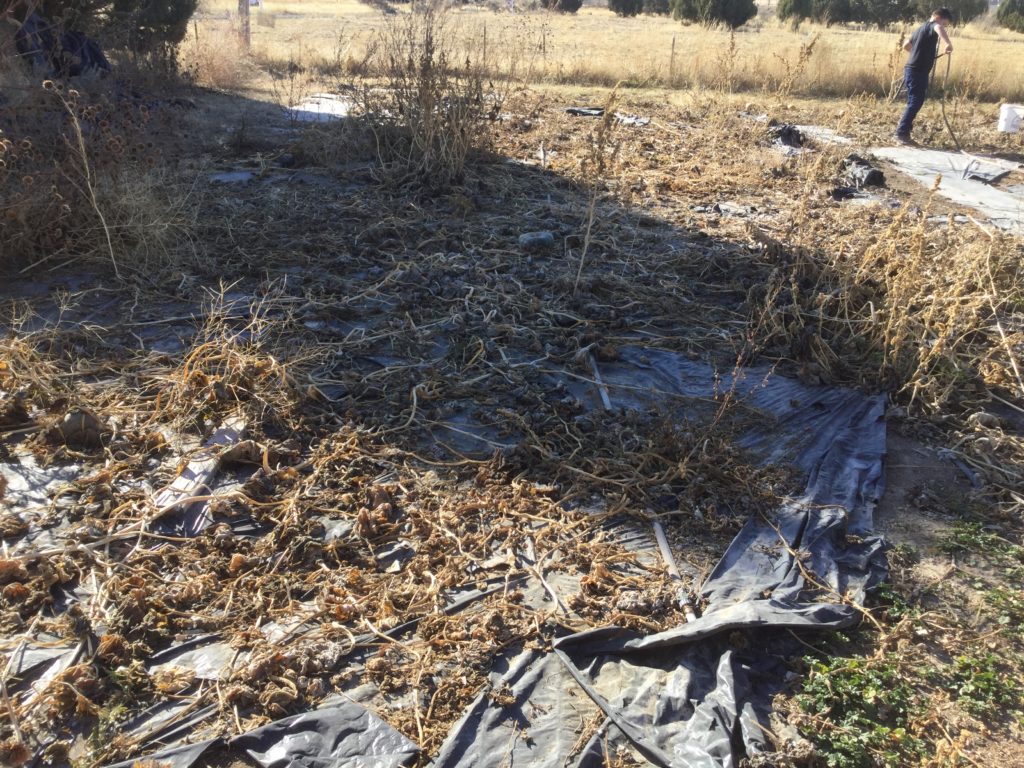 Our preparations for next season started this Saturday with a massive clean up. Squash bugs will hibernate in old plant debris, the spent vines, leaves and straw left on the garden. This is problematic for me as a “compost in place, no-till, leave nature to do its job” kind of girl. However the squash bugs had gotten so bad, it was time to re-think this philosophy a bit. We needed to pull up as many of the old vines as possible and dispose of them in a way that killed the over wintering bugs. We also needed to clean up the old plastic we used as a mulch for weeds.
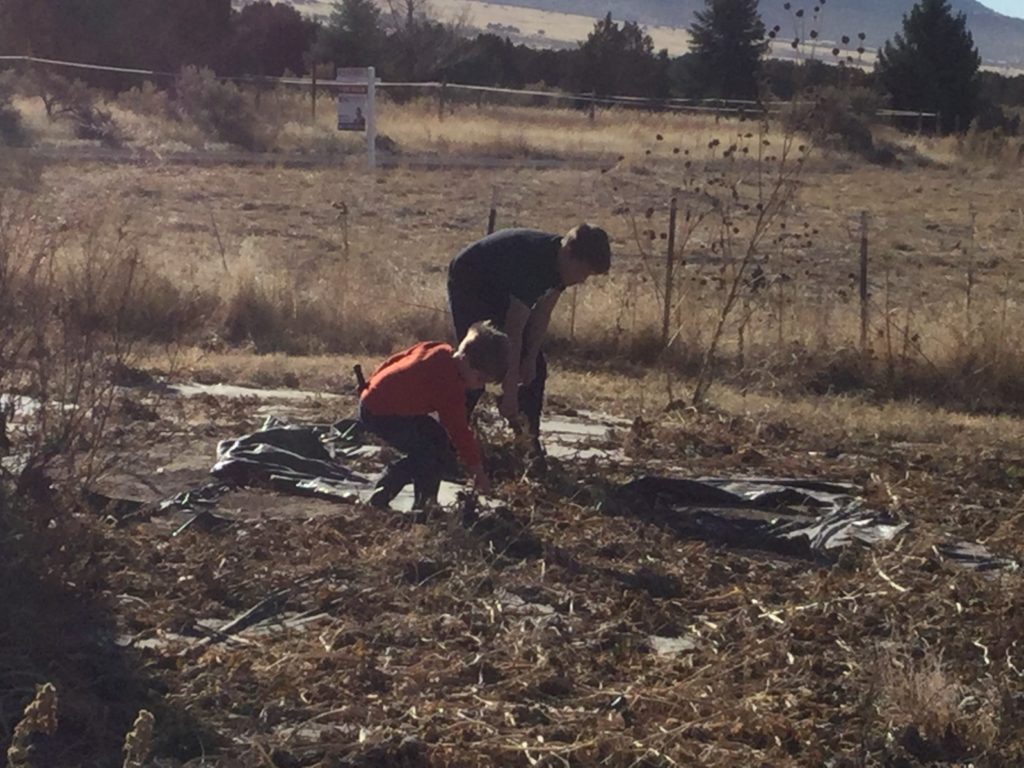
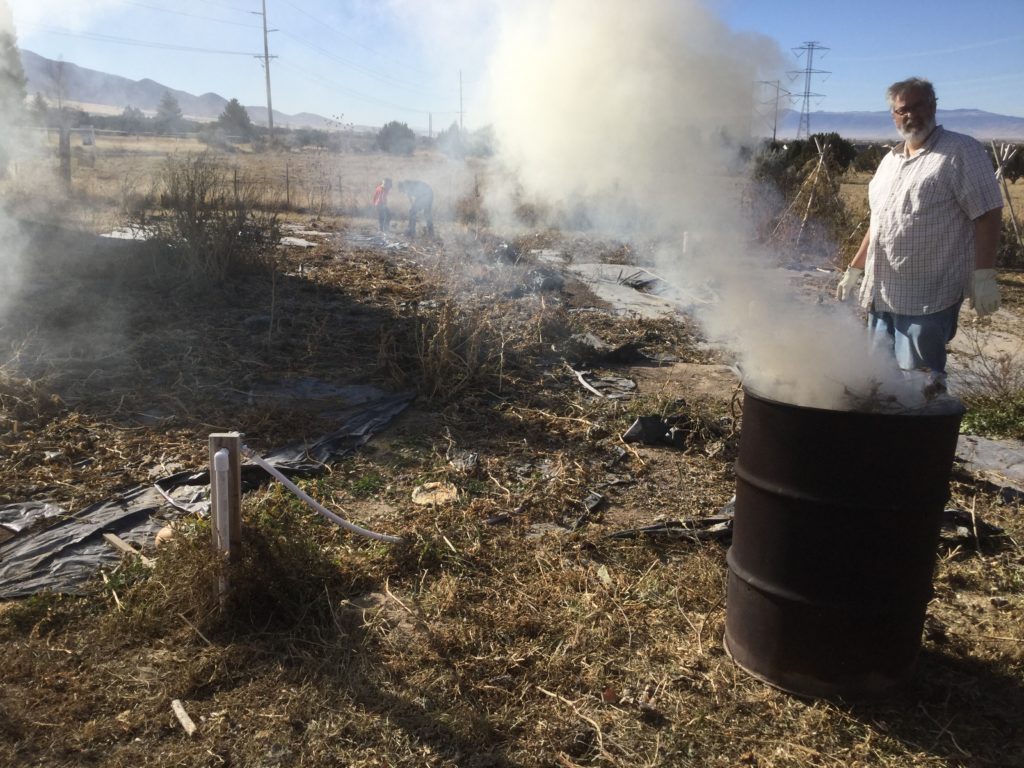 Instead of composting or feeding them to animals all the vines were burned. There were too many vines to send out with the trash, burning and then mixing the ashes in with the soil make me feel a little better about things.
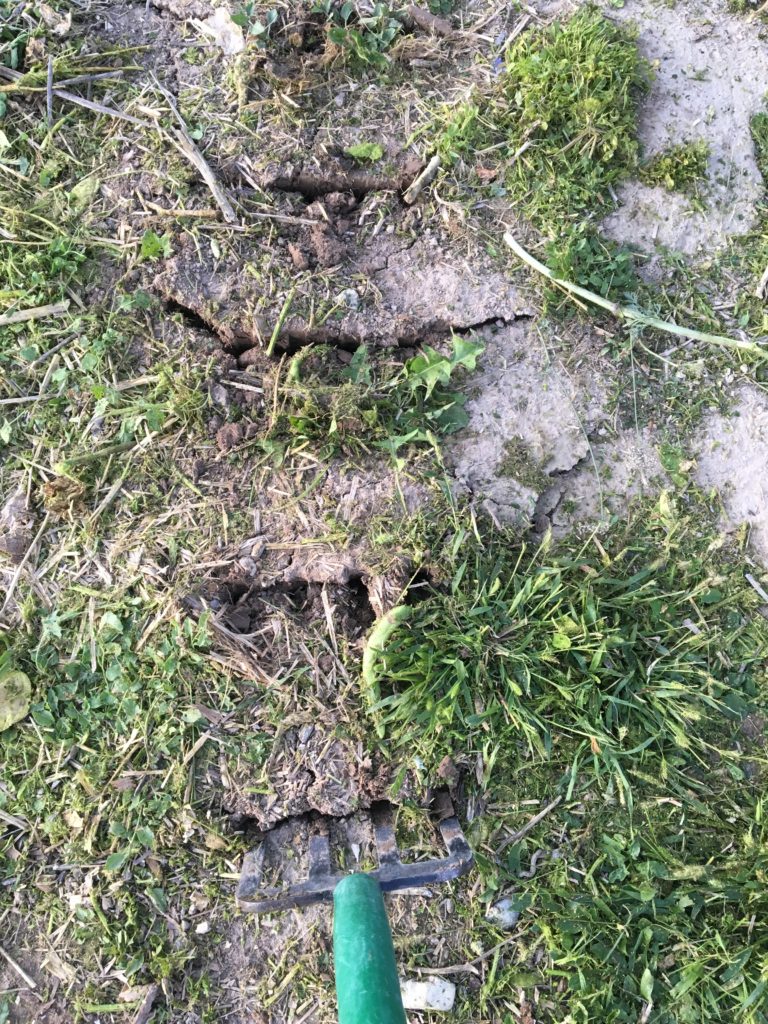
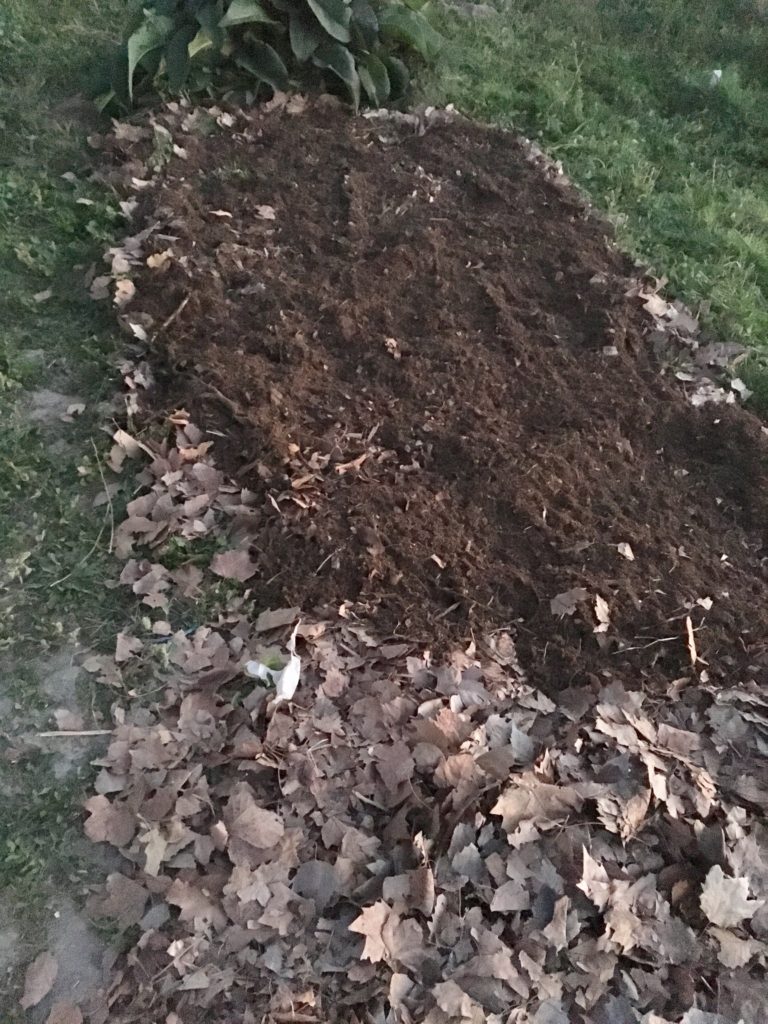
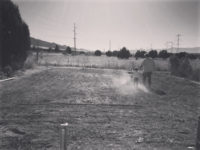
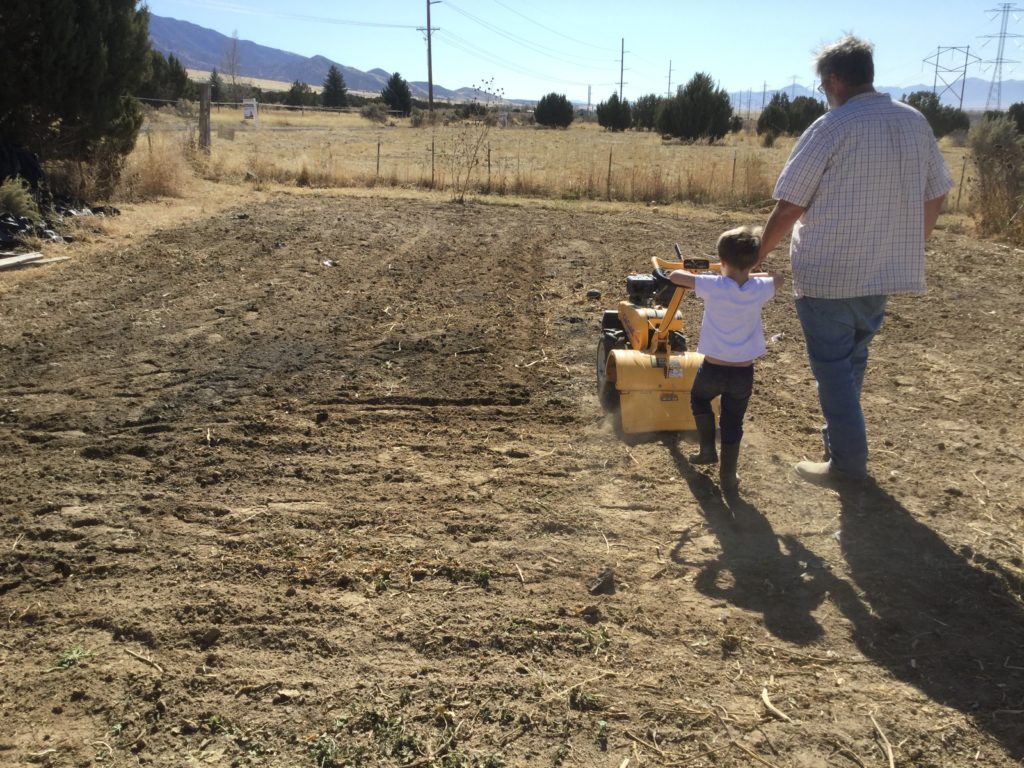
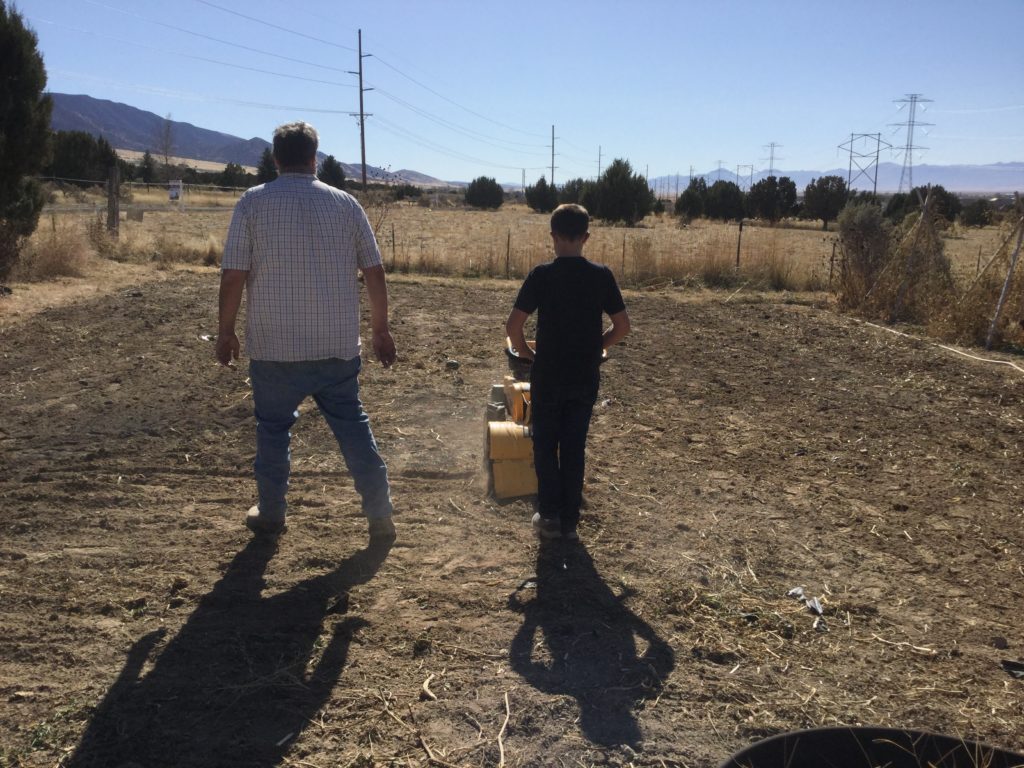
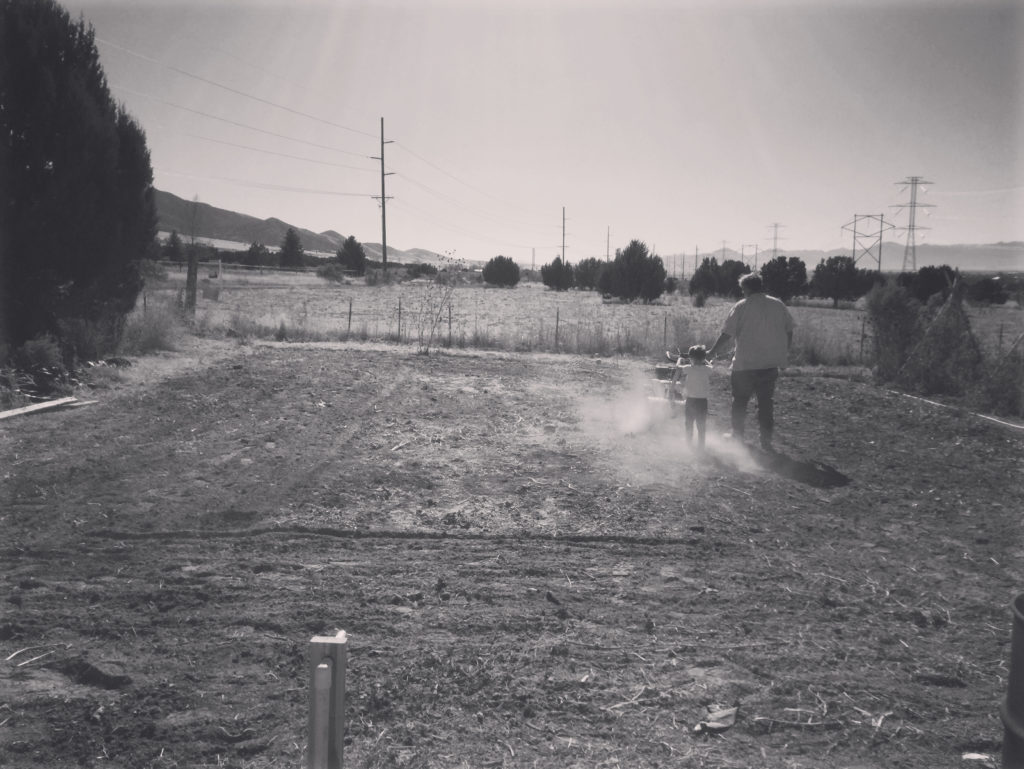
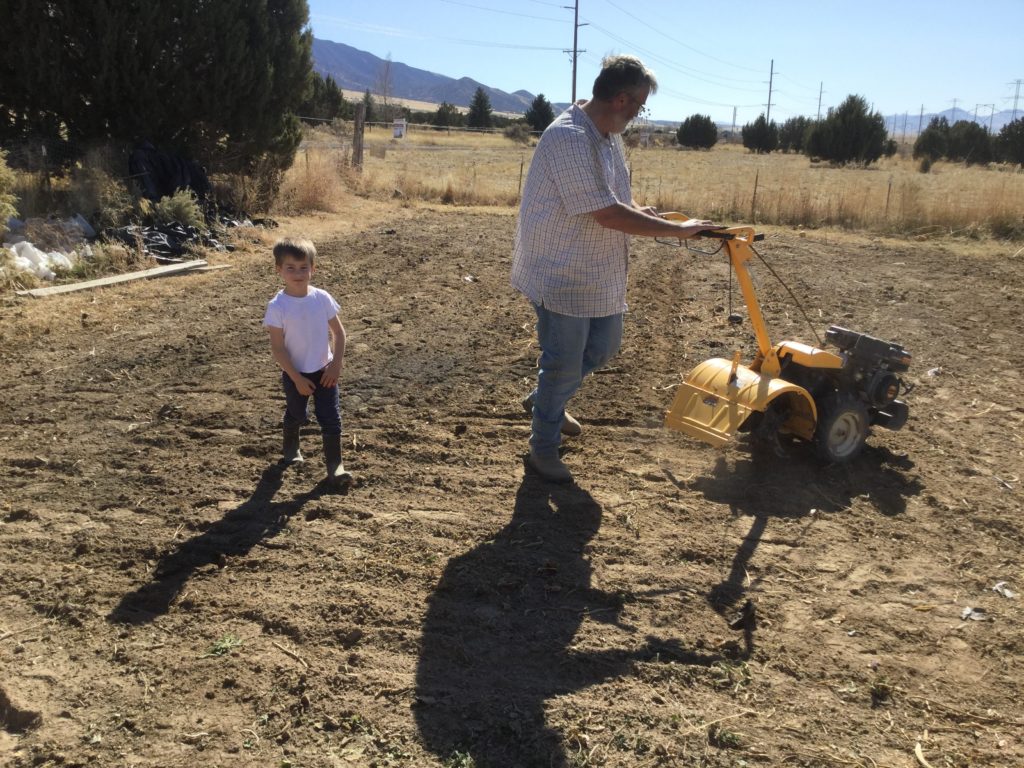 Another thing that helps combat the hibernating bugs is a light till. I don’t loving tilling, in my research the soil does better when left to do what is does best, but I’ve also learned that a very light till can have some benefits and little of the draw backs. So Mike and the boys gave the whole patch a little fluffing, this brings the bugs up and exposes them to the elements and kills them.
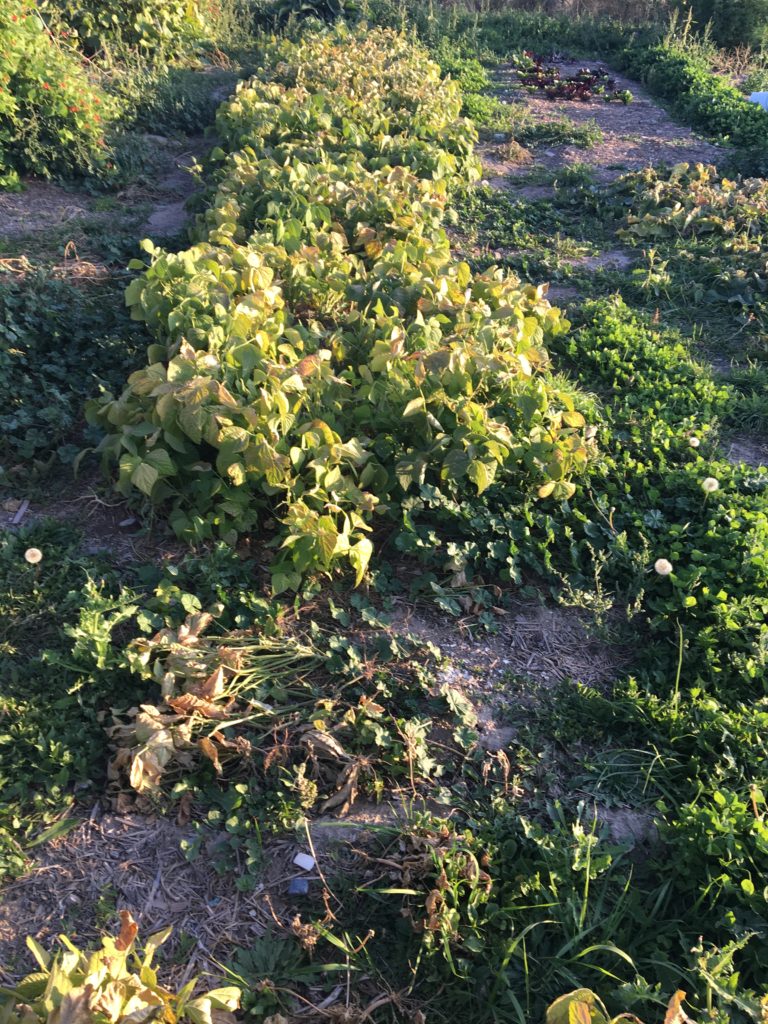
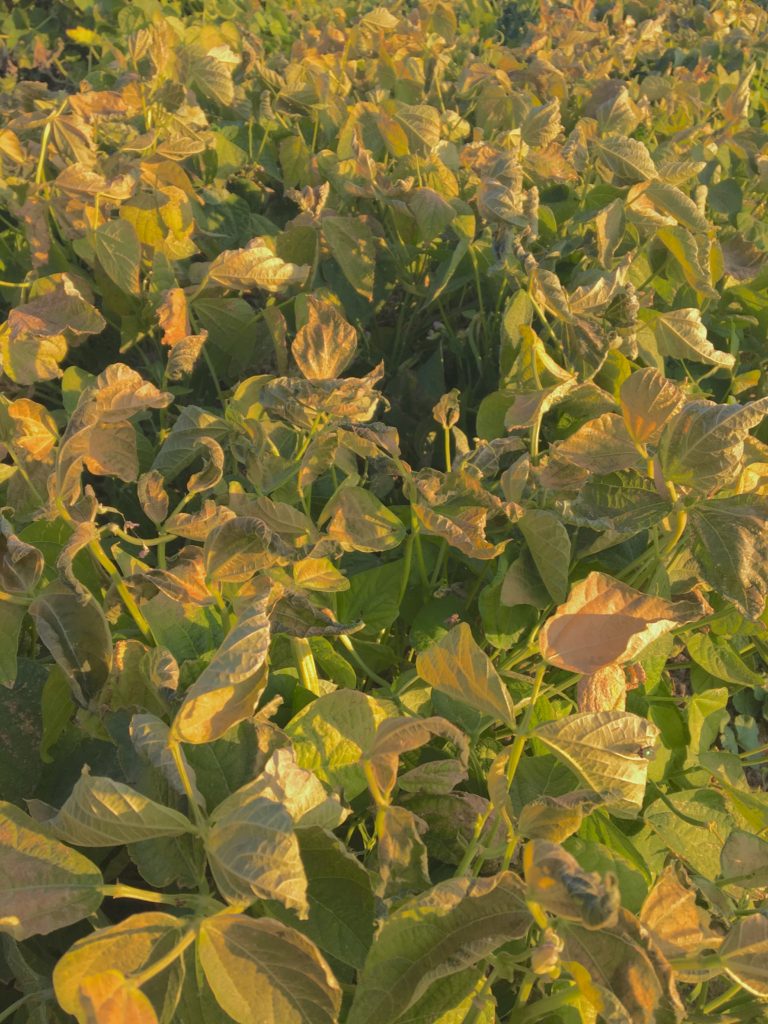
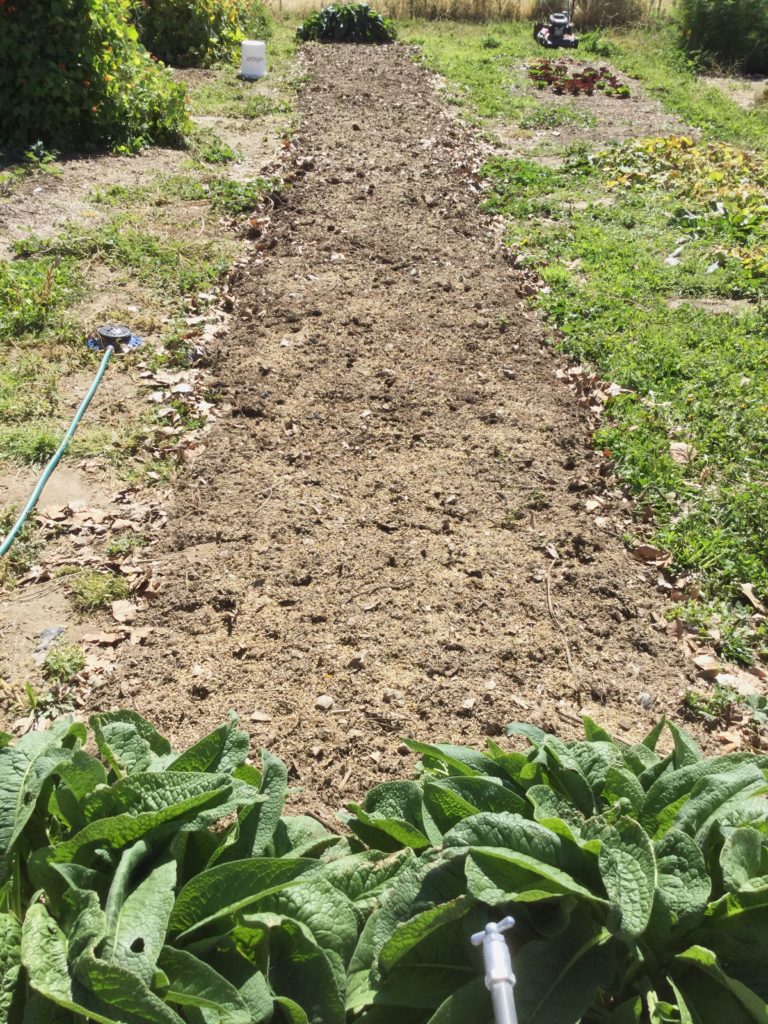
 And lastly, the pumpkin patch will be moved. Rotation is very key and I am embarrassed to admit, I have never rotated pumpkins off this patch. This has always been a family garden so I didn’t manage it as carefully as I ought to have, but now that its a market garden rotation must be done with much thought and exactness. It is critical I get pumpkins off this bit of ground. The Pumpkin patch will be relocated and doubled in size to a new area that was cleared and prepared this summer. The old pumpkin patch will have new market beds with some classics like peas, beans and carrots with a colorful twist, which I love.

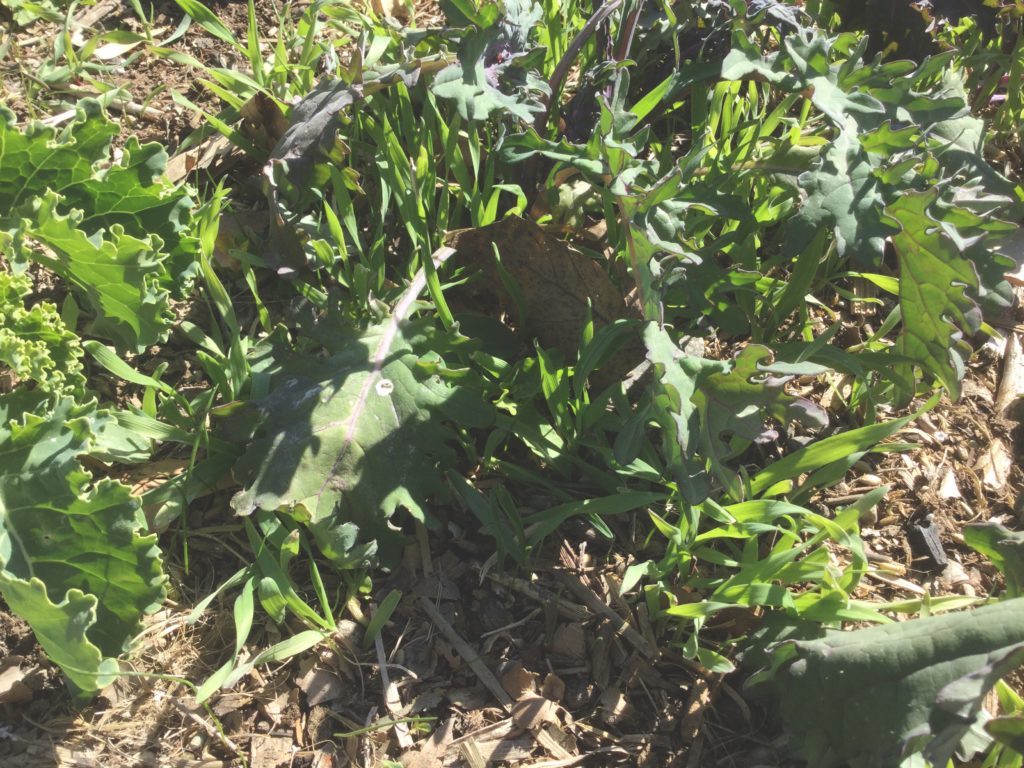
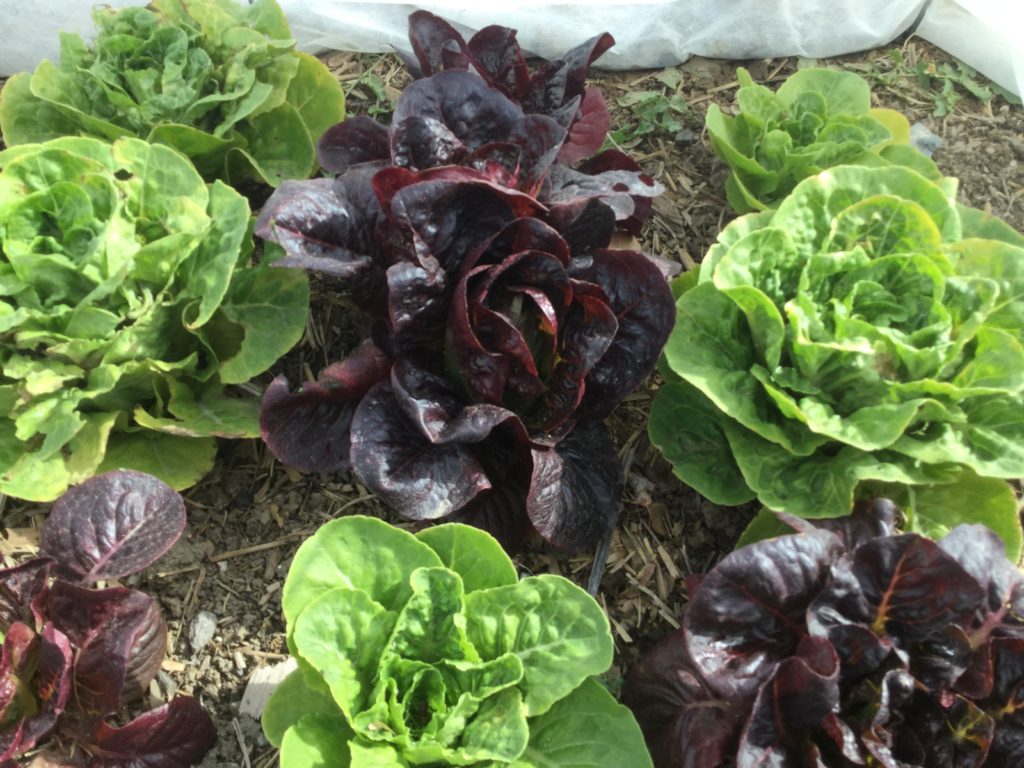 Late this season, about the end of August I decided to experiment with a late planting of lettuce. In the past I have kept my lettuce growing to the spring then quit when it got hot and the lettuce went bitter and bolted. If you live in a place where the summers get hot and you want lettuce throughout the summer you must do close succession planting. I just never bothered. I was only planting a garden for my family, but my first summer as a market garden had me thinking a little differently about lettuce.
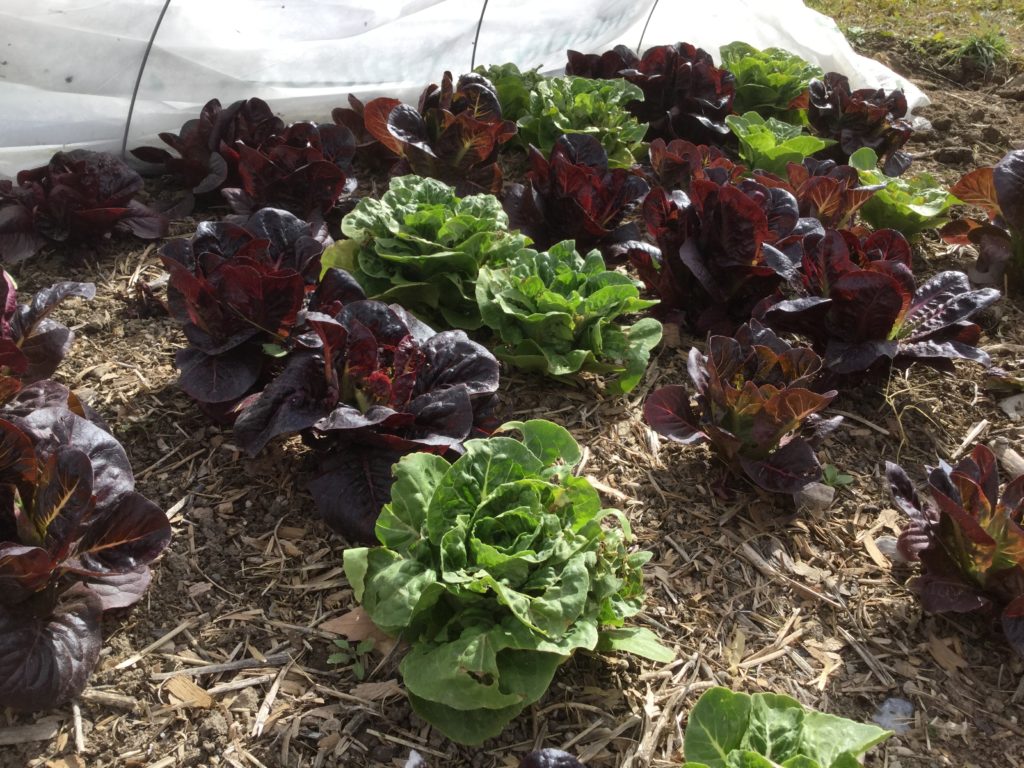 I wondered if I could plant a very late crop and be successful into October. At the end of August I planted seeds into soil blocks and tended and waited. after about two and a half weeks they were set out in the garden. They did beautifully. I was so excited watching them, anticipating sweet little heads of lettuce those last few weeks at market. We even successfully held them over through a hard freeze that took out the rest of the garden, by erecting temporarily tunnels covered with floating row cover and a thick blanket during the nights.
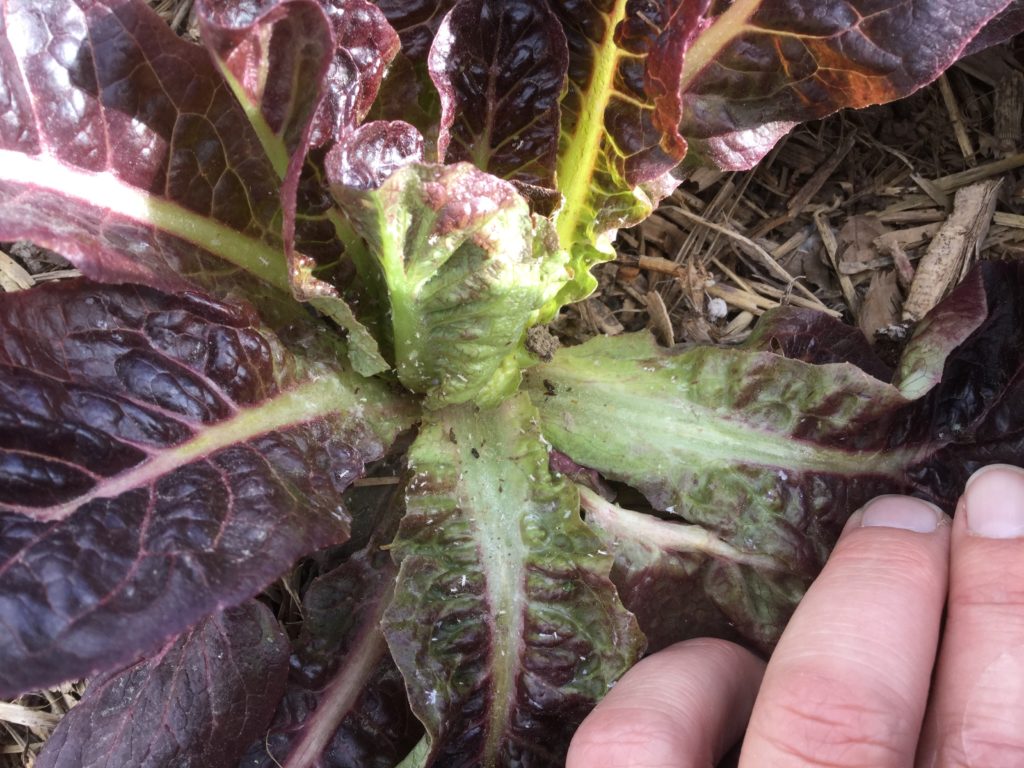 My beautiful crop of specialty romaine lettuce was a complete loss. While they will feed the rabbits and chickens, which in turn will feed the soil, I wanted them for market, and they are not fit to sell at market.
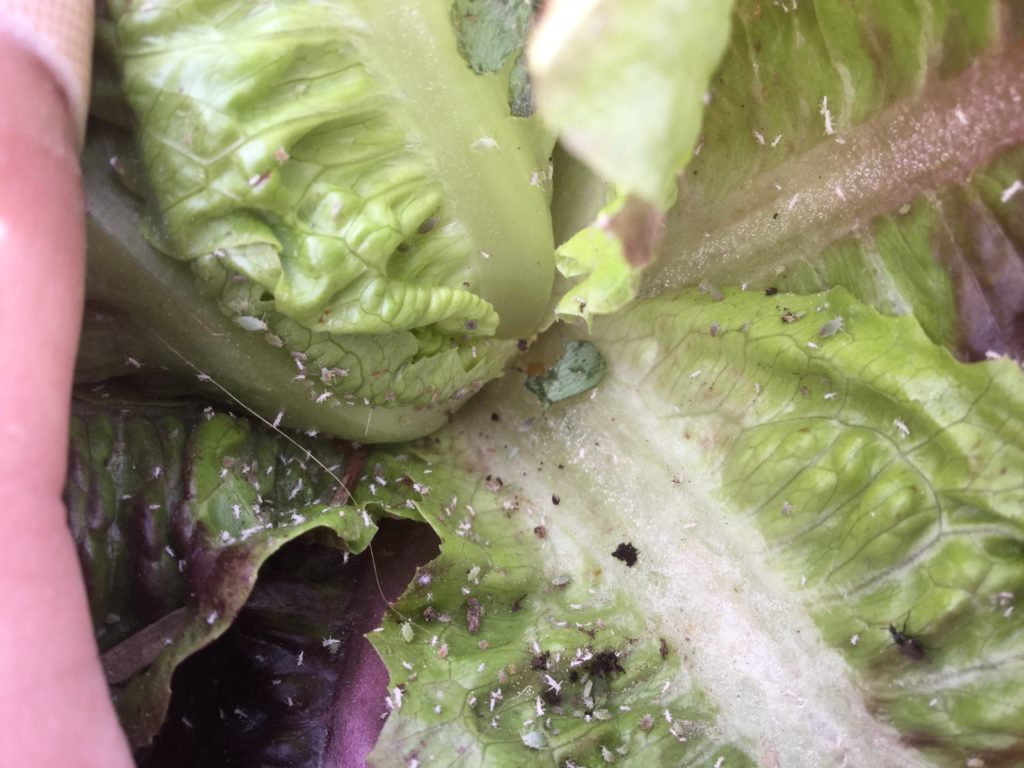


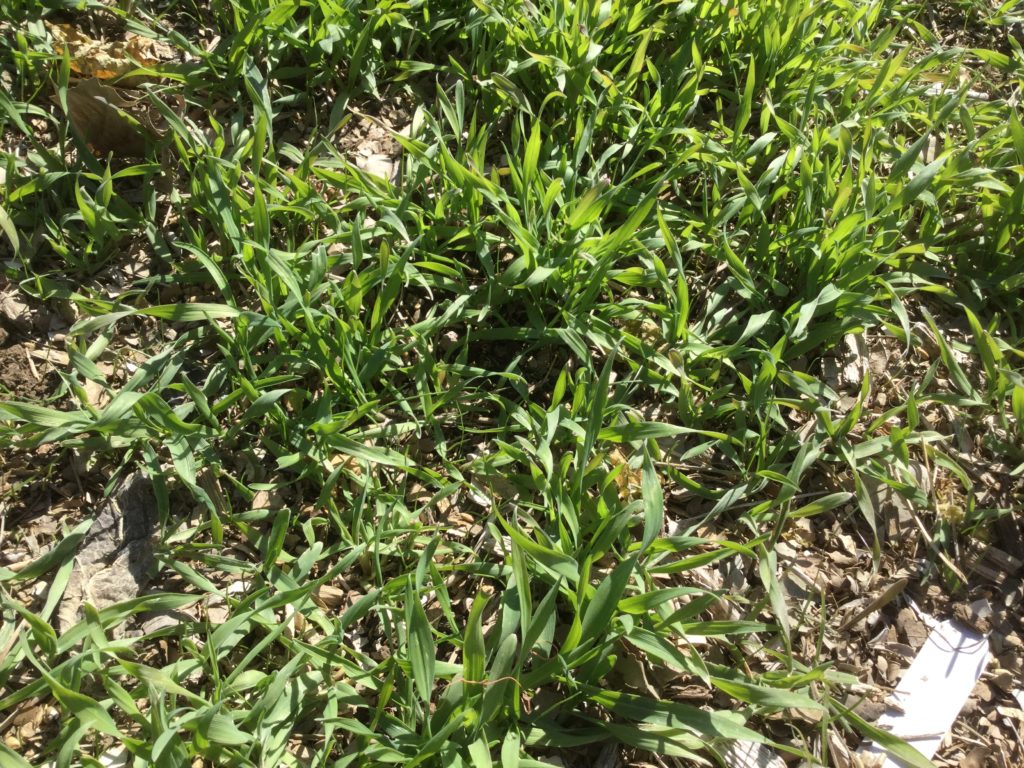
 So what do I do in the spring when it comes to planting time with beds full of rye? It’s actually pretty simple. The rye gets mowed before it goes to seed. I used an annual rye grass, meaning it only lives one season. This next spring when we are ready to prepare the beds for planting the rye will be mowed down low and lightly turned in to the soil. This will add a lot of organic matter and create humus in the soil.
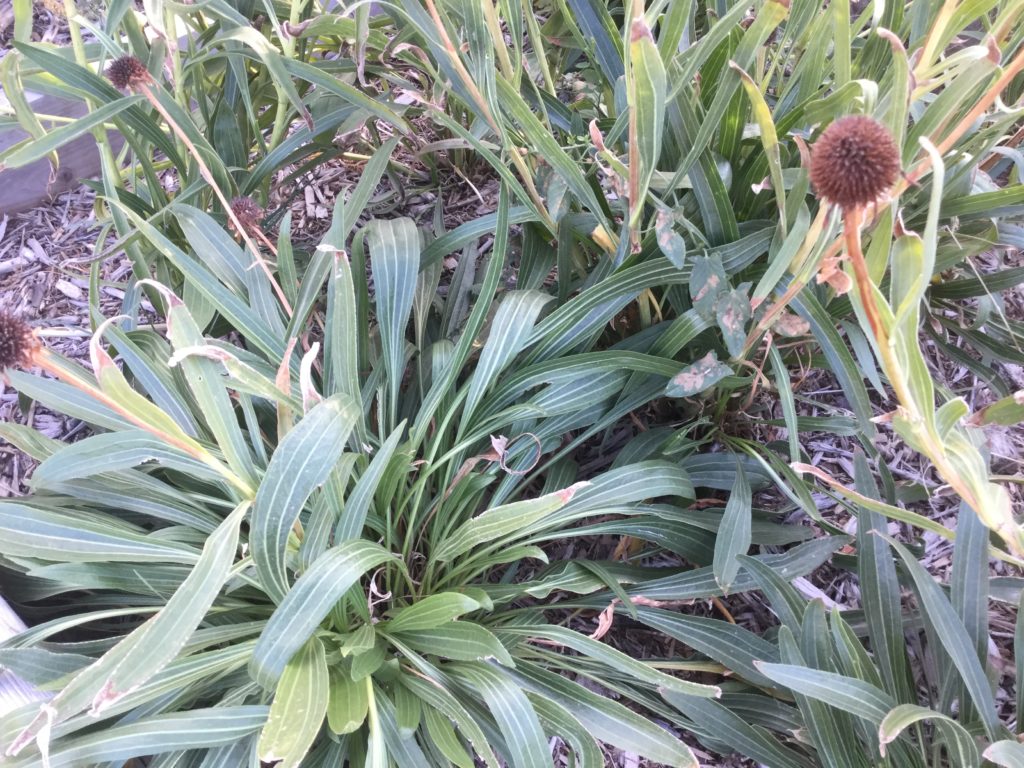
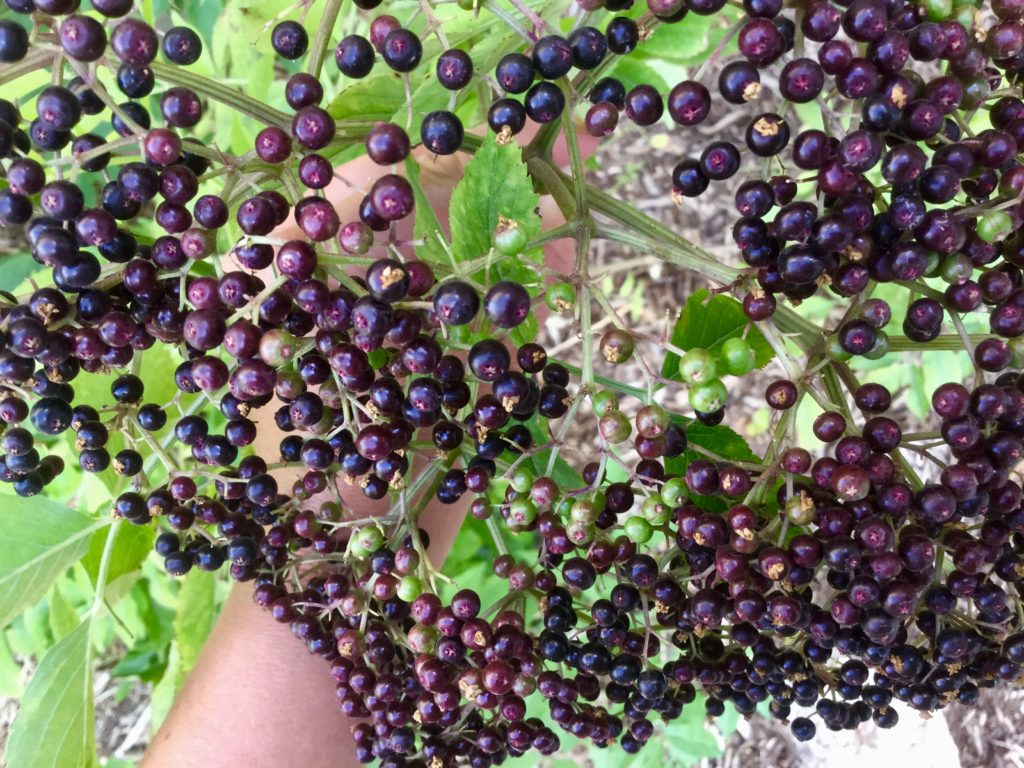
 In my patch I picked about half of the biggest most healthy plants. Healthy plants make good strong medicine. With a fork I gently lifted each plant with its root system intact. They looked so beautiful.
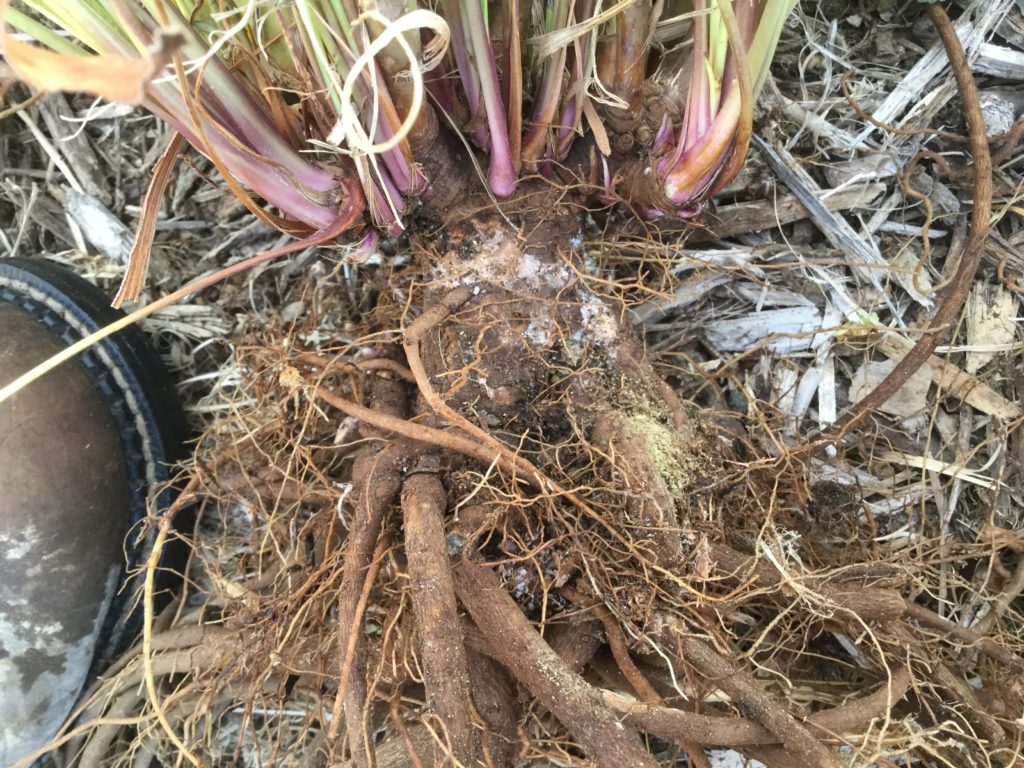
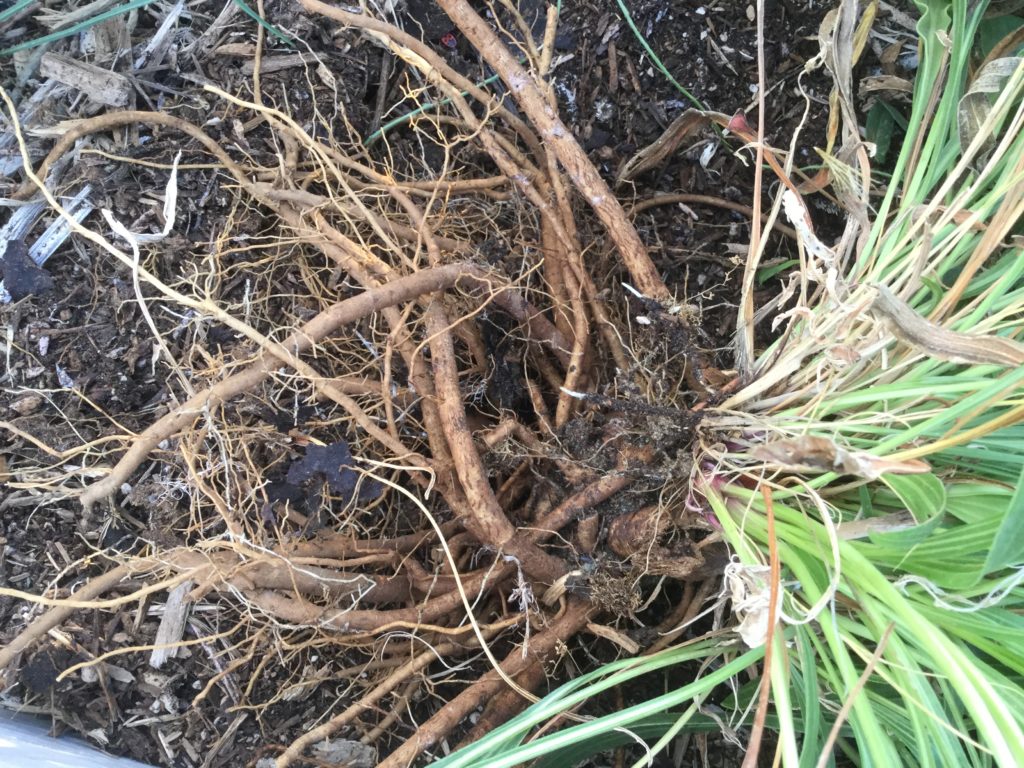
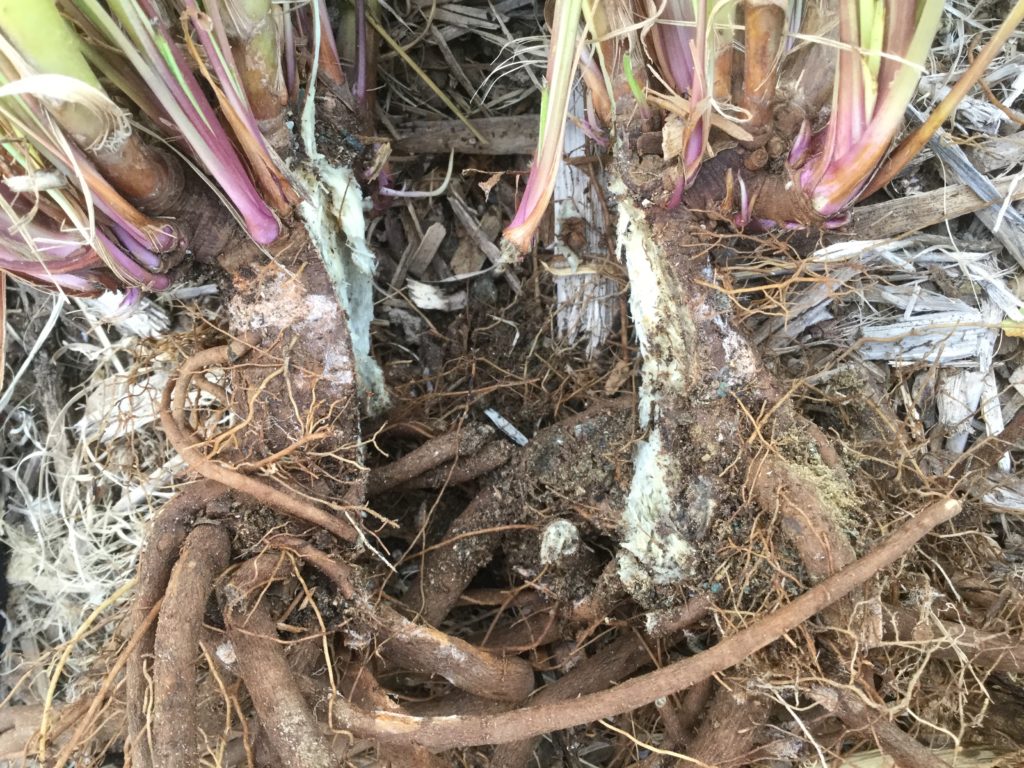 The big roots were sliced in half and about half of the smaller roots broken off, the green foliage and flower heads were trimmed back. The smaller roots and about a third of the big root stalks were set aside in my foraging basket.
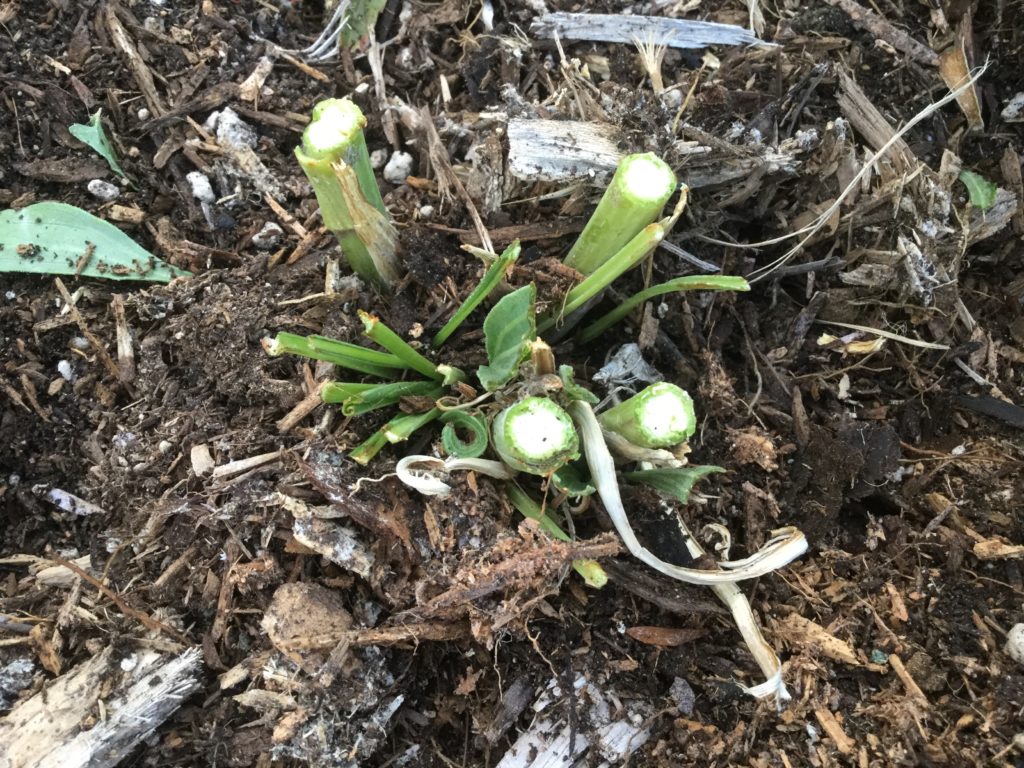 The remaining roots were tucked back into their original spots, a few were planted in a new patch. My goal is to have a continual supply of 2-3 and 4 year roots. To do this I have to be very deliberate and thoughtful about how much I take, how much I re-plant and where.
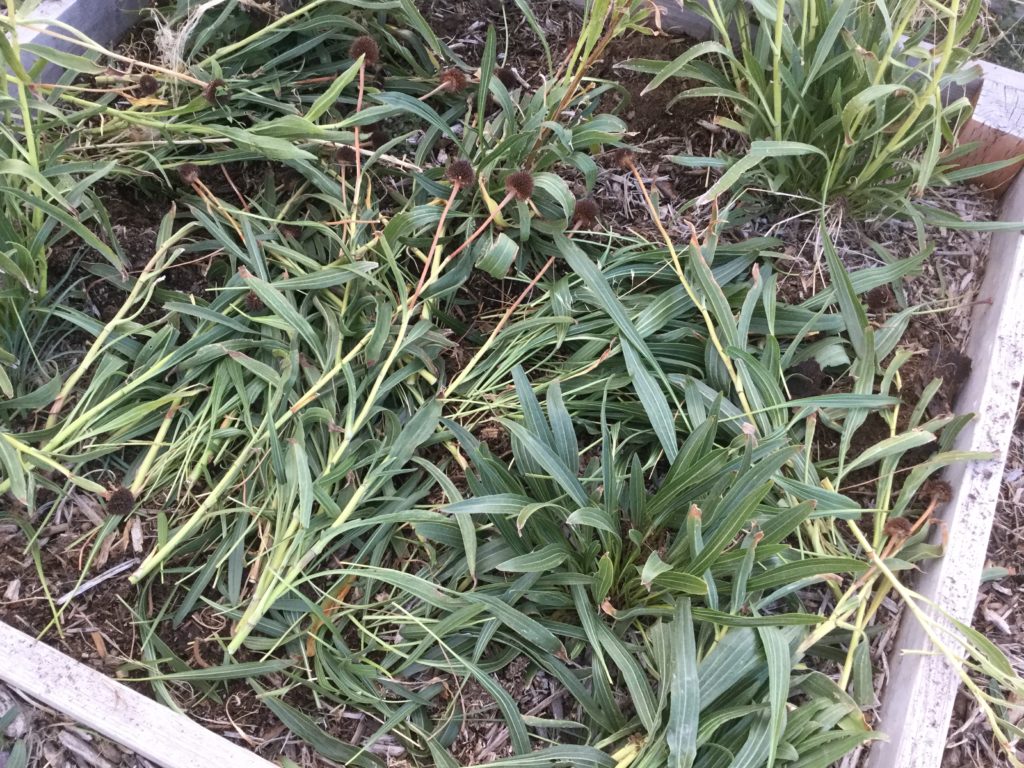 And true to my nature and philosophy, all the greens and spent flower heads were laid right back from where they came. They will compost in place, feeding the soil that fed them.
 This is my harvest, they will dry out for a few days, the dirt brushed off and then they will be tinctured for six weeks. These beauties will help keep my family healthy throughout the winter. They are also going to go into a formula I am working on that will be an even more powerful ally against the cold and flu.