Category Archives: Mike’s Journal

Entries in Mike’s Farming Journal

Big Blue make over

mike_tom_tractor
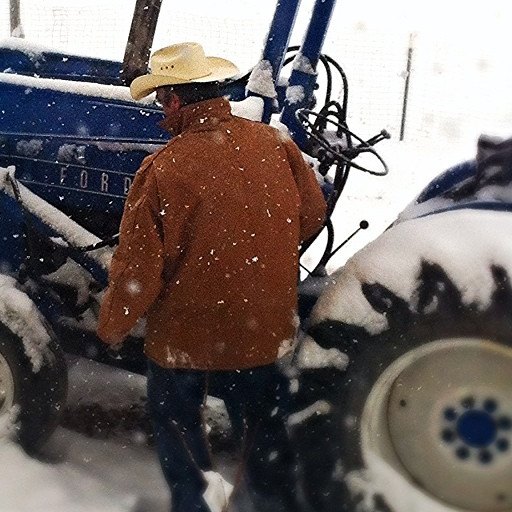
On the farm, we have our animals, and our human resources.  But we also have some heavy equipment that we use.  When we moved into our house we purchased a tractor.  It is a 1973 Ford 4500 industrial landscaping tractor.  It does not have a PTO, or anything fancy, it just has a really nice bucket on the front, and a custom made counter weight.  It has become a part of the family, and has been used to do a lot of heavy lifting.

12046603_10153704848916584_4759011426577120850_n
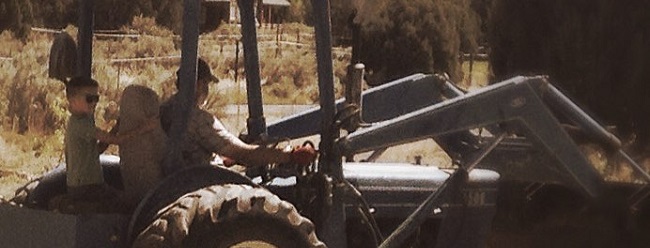
The neighbors now hear its noise and see it as background noise, like the noise of the rest of the farm.  It has been a silent partner in several photos.  Bottom line, this tractor has become part of the family.

During the course of its use, it has had some problems arise.   Like anything that is 40+ years old, it may need some help to get things done.  Big Blue has been a little under the weather.  It has been having a hard time getting up the power to do some tasks.  It works great for short hauls, lifting and digging, but does not like to drive long distances.  So I went to the internet, to see what may be the problem.  First thing suggested was to check all the fluids and change them all.  Lucky for me, big blue uses all the same type of fluid for transmission fluid, hydraulic fluid, and engine oil.  So I bought two 10 gallon buckets and started to change the fluids.  Well….  Big blue holds over 20 gallons of fluid.  So it took a little more time and a lot more fluid.  Big blue also does not like to tell you what his fluid levels are at.  No dip sticks for any of the levels besides the engine oil.  So both transmissions have to be filled, until a bolt you remove starts to leak, then you know it is full.

10430821_10205445901180091_6923347770743600062_n

Changing the fluids did not fix the problem, so then I went on to fuel lines.  So we changed the fuel filters.  This is the main point of this journal entry.  It would be quicker and easier for me to just hurry up and change the fuel filters myself, but I decided to take the time and teach Tom and Emma how to do it as well.  (Bear in mind, this is my first time as well, but I found a great video to show me how to do it.)

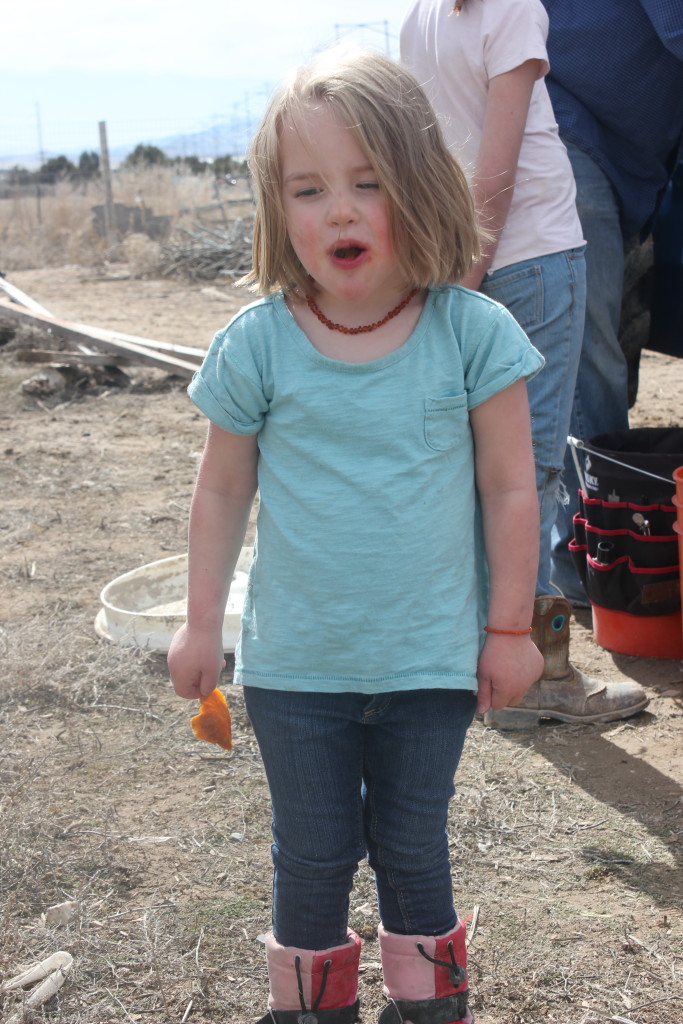
I can now tell you that my 9 Year old son and 11 year old daughter can change the fuel filter on a 1973 Ford tractor.  They know where all of the gaskets and O-rings fit.   It was one of those days that I will remember and I am sure they will remember as well.  We even had some help from the 4 year old as well.

IMG_5847 IMG_5845 IMG_5843 IMG_5842 IMG_5838 IMG_5837 IMG_5836
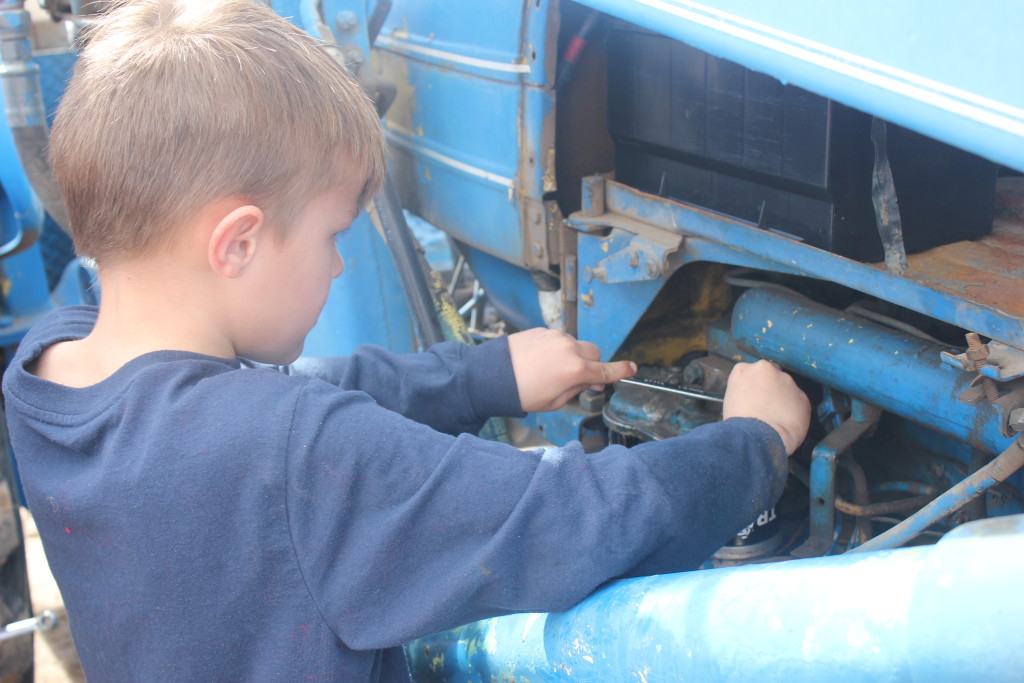
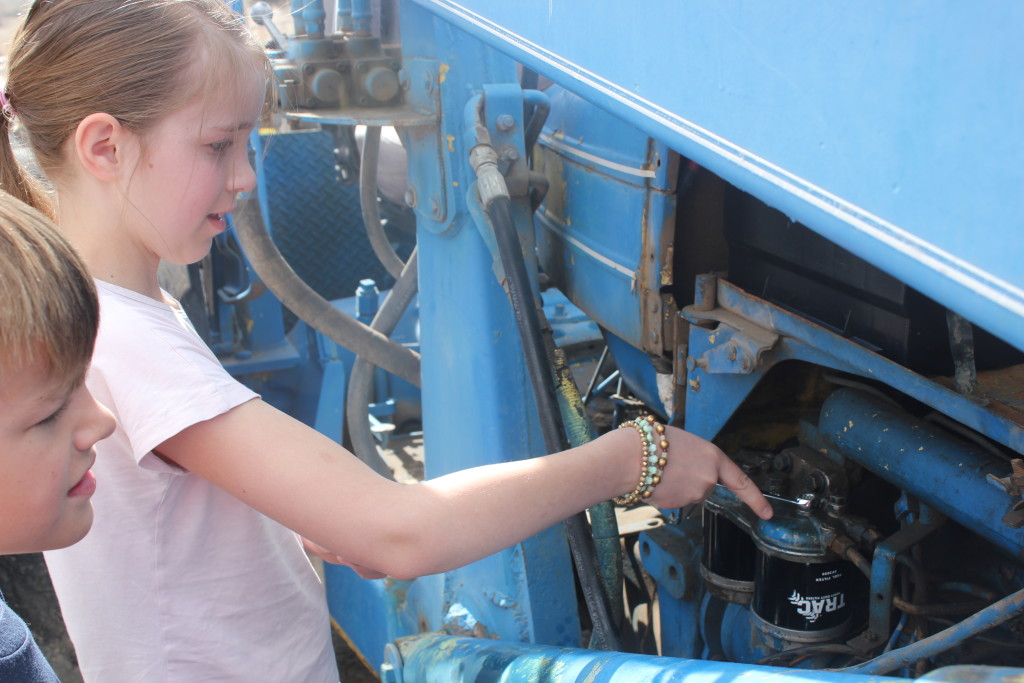
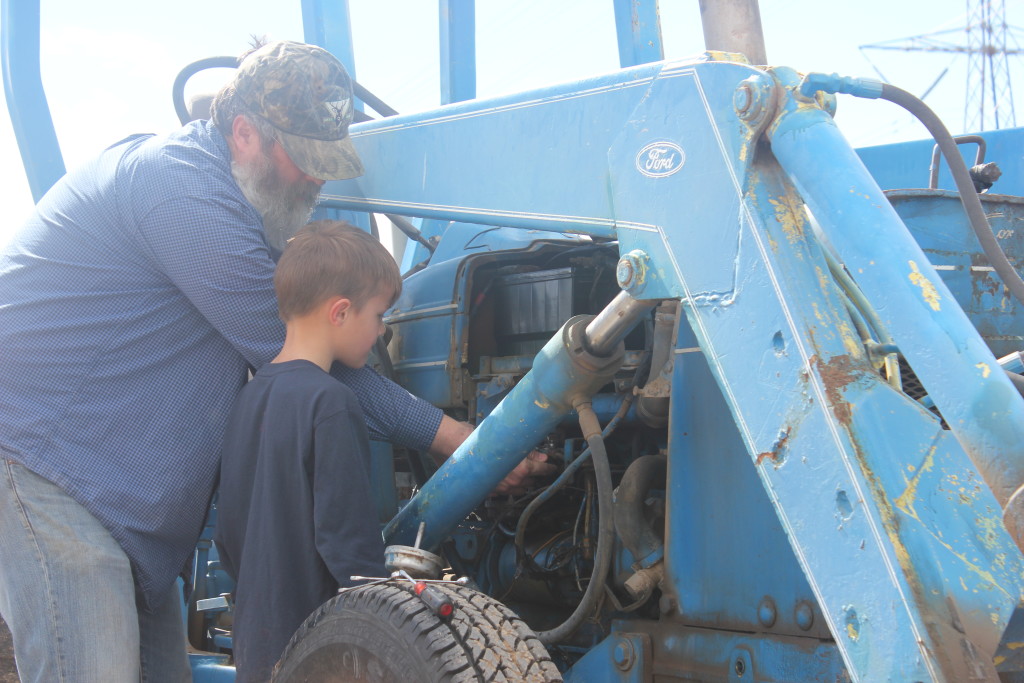
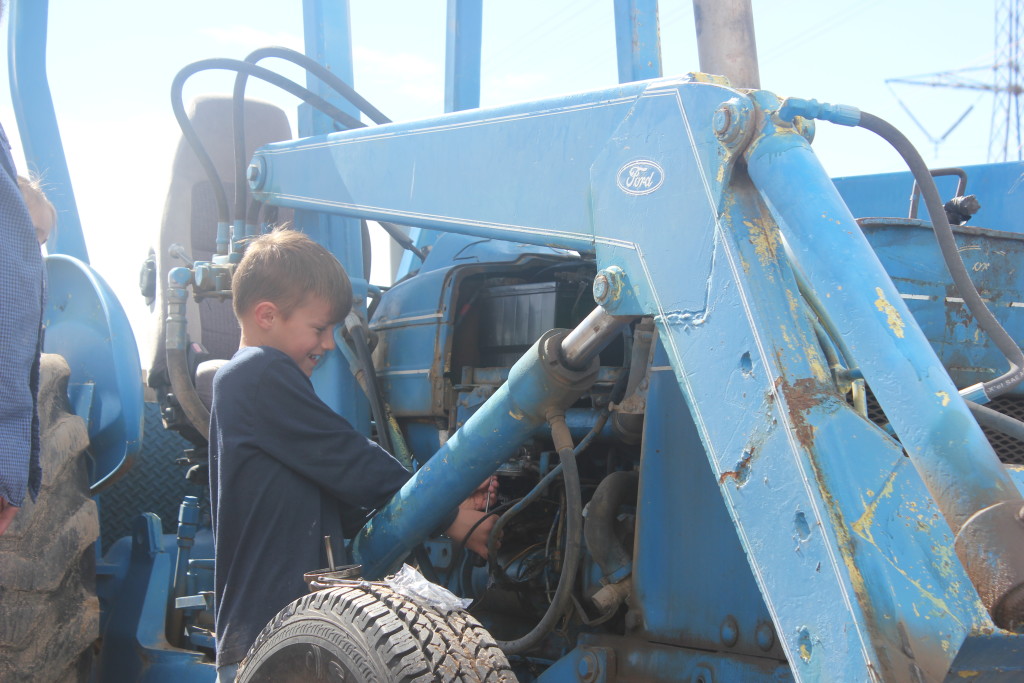
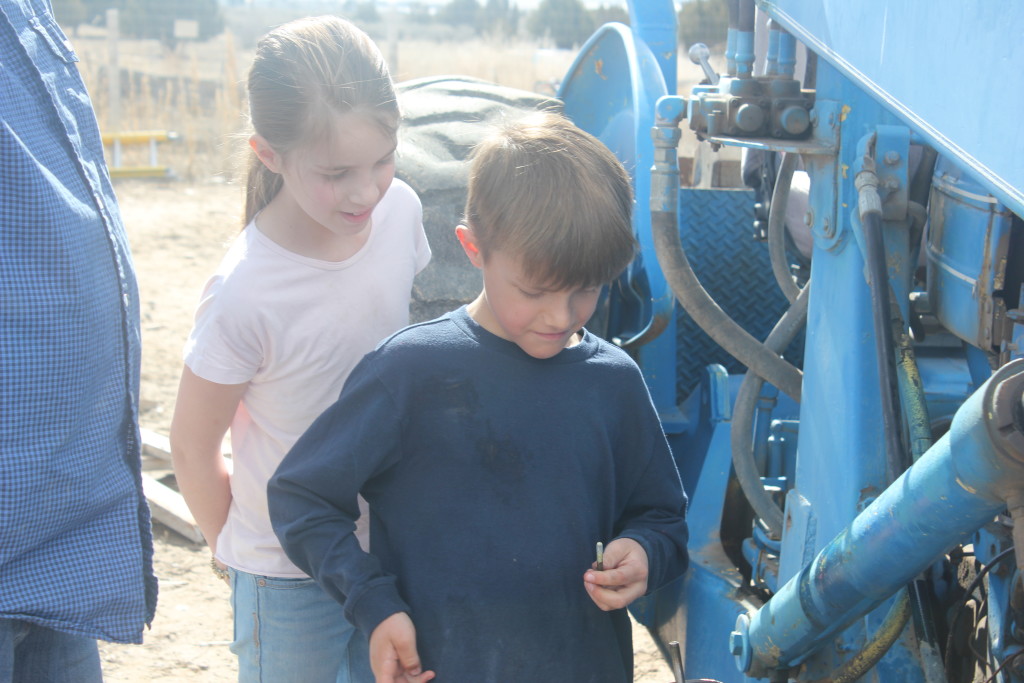
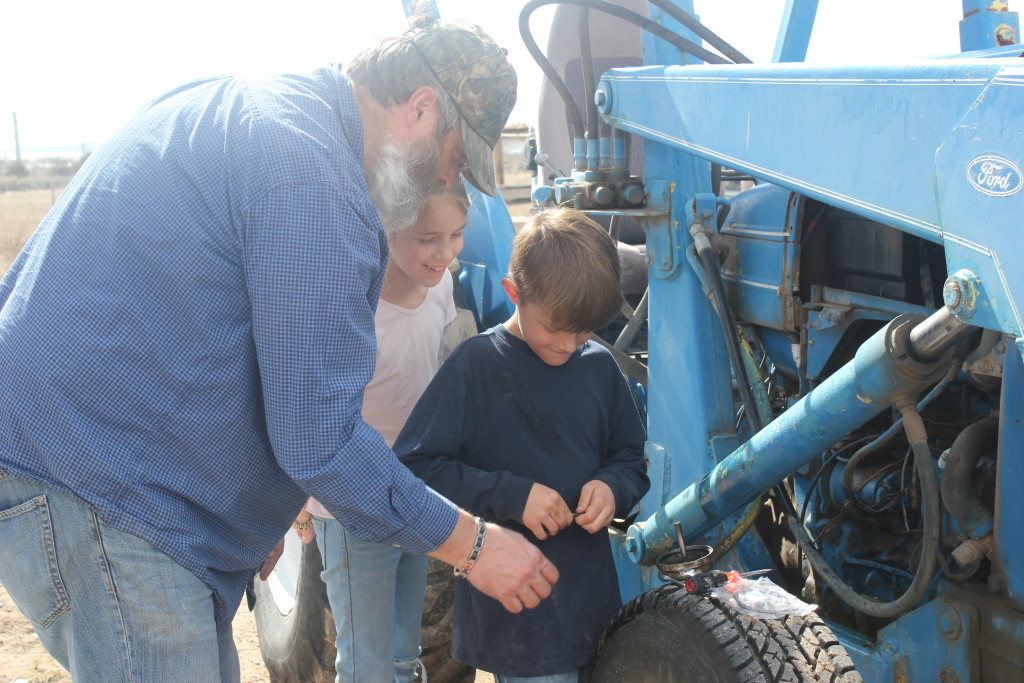
I changed the first one to show them how to do it, then gave them the tools and let them do the second one.  The only part I had to help with was starting the bolts and tightening them.   I was amazed at how easily the little fingers could remove the old gaskets and fit the new ones.

I was impressed with how these two kids, who have never done anything like this, were willing to give it a try and had no reservations to get to work, get their hands dirty, and try something new.  I at times would not start projects like this, because I was afraid I would fail.  Neither of these kids had that hesitation.

As a side note, the fuel filter was not the problem.  But I discovered that if I backed up when it lost power and then went forward again, it would go for a little while then would have the problem again.  The solution I found was to put it in a higher gear, and leave it there.  Big blue now has a hard time backing up, but he keeps going for the distance.  I now think the problem is with the transmission, so we will probably just keep running big blue until big blue can’t run any longer.  We already have plans for putting big blue next to our barn (when we eventually get one) when he can’t work anymore.  Hopefully at some time we will have a son/daughter, or grandson/granddaughter that will want to get Big Blue working again.  Until that time, Big Blue will continue to haul manure, level ground, and move things around the farm.

Even with the bad transmission, Big Blue was able to haul 12 loads of manure from our neighbors back yard to our garden and our soon to be bamboo field.  I have a feeling that Big Blue will continue to serve the farm for years to come.

Our Goals

rings_of_fertility

George Washington

“I know of no pursuit in which more real and important services can be rendered to any country than by improving its agriculture, its breed of useful animals, and other branches of a husbandman’s cares.” – George Washington (July 20, 1794)


There has been a growing trend in the US and around the world.  I think that we are all starting to adapt the philosophy of Hobbits, and have a “love for things that grow.”  There are a lot of homesteading books, blogs, and facebook pages that have surfaced over the last few years.  We are also seeing a growing number of people that are turning to self reliance, prepping, food storage, and preparing for the unexpected.

I think we have also been caught up in this at Quail Run Farm.  We are being drawn to the Earth, to the magic of making things grow, and the feeling of accomplishment that agriculture can give.  We are being drawn to teach our children how to grow, tend, and productively use the land.  In doing so, we have done a lot of research and study.  You are going to see several different terms used on this blog, and in writings from Quail Run Farm.  The goal of this post is to give you a basic understanding of some of the terms we use.  Terms like Permaculture, Hugelkultur, No Till Gardening, as well as Drop Dead Swales.  I hope that after reading this post, you will have enough of an understanding to know what each of these terms mean as you continue to follow our journey.

Our basic goals.  There are a couple of rules, or guidelines that we like to follow at Quail Run Farm.  There are several things that are crucial to agriculture and farming.  The first is Water.  You can’t grow things unless you have water, and you do what you can to conserve and use that water to the best of your ability.  The second is soil fertility.  You can have all the water you need, but if you don’t have enough fertility in the soil to encourage and sustain growth, you will not win the battle.   So, we are trying to find ways, techniques, and procedures that will help us use and find water, while we build up the fertility of the soil.  In the process we also want to be good stewards of the land, so we try to have everything we do and plant have more than a single goal or benefit.

Permaculture

Permaculture is a term that is used often when you read about homesteading and gardening these days.  Basically, permaculture is defined as agriculture that is based on the principles observed in the natural ecosystem.  It is the philosophy of working with nature, rather than against it.  It is a philosophy that includes ecological design, ecological engineering, environmental design and construction.  It is looking at integrated water resource management as well as sustainable engineering.  This is a huge topic, and I have only give you a very high overview, you can get more details from sites like permacultureprinciples.com.  Instead of removing and forcing the land, it is the philosophy of using nature and working with it instead of expecting nature to go away and be tamed.

Hugelkulture

This is a topic that I find fascinating.  Basically the principle of a Hugelkulture is to create a growing area that absorbs water, as well as increases the soil fertility.  A Hugelkulture is a bunch of woody organic material that is then covered with soil.  The woody material then absorbs water, stores it, and then slowly releases it into the soil.  In the process, the woody material breaks down and increases the fertility of the soil.  We use sunflower stocks, old Christmas tree trunks, and other material in our Huglekultures.  We also put ash from our wood burning stove, manure, and other green matter in them as we build them to help increase the soil fertility.   The majority of our Huglekultures I would consider Drop Dead Swales, I will go into more detail on that later.

Here is an example of a Hugelkulture bed.

Source: http://www.richsoil.com/hugelkultur/

Eventually, over the years, the bed will break down and increase the soil fertility and store water.

Drop Dead Swales

The majority of the huglekultures that we have built are what I would call a Drop Dead Swale.  Basically it is a trench that has been dug in the ground.  The dirt is piled on the down hill side of the trench.  The trench is then filled with woody and green matter.   Then the dirt is raked over the trench to fill it.  This accomplishes a couple of things.  First, it creates a level area on the slope of the hill that you can then use to plant things on.  That level area also slows down the water run off so that it can then collect in the swale.  Second, it creates a pocket for run off water to collect.  That water is then absorbed by the woody material.  As the soil dries the water is then released back into the soil.  Third, it increases the soil fertility as the green and woody material breaks down over time.

Here is an example of one of these Drop Dead Swales that I created for our grey water system, and a place to plant our bamboo.

IMG_5773
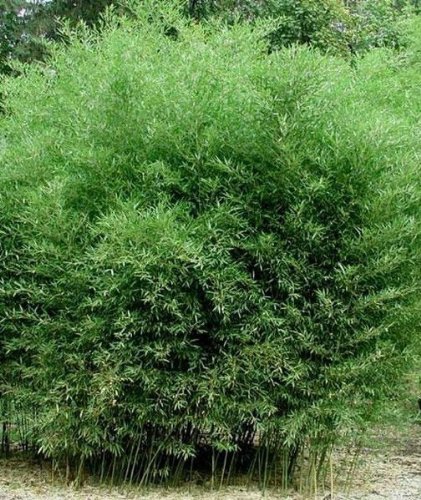
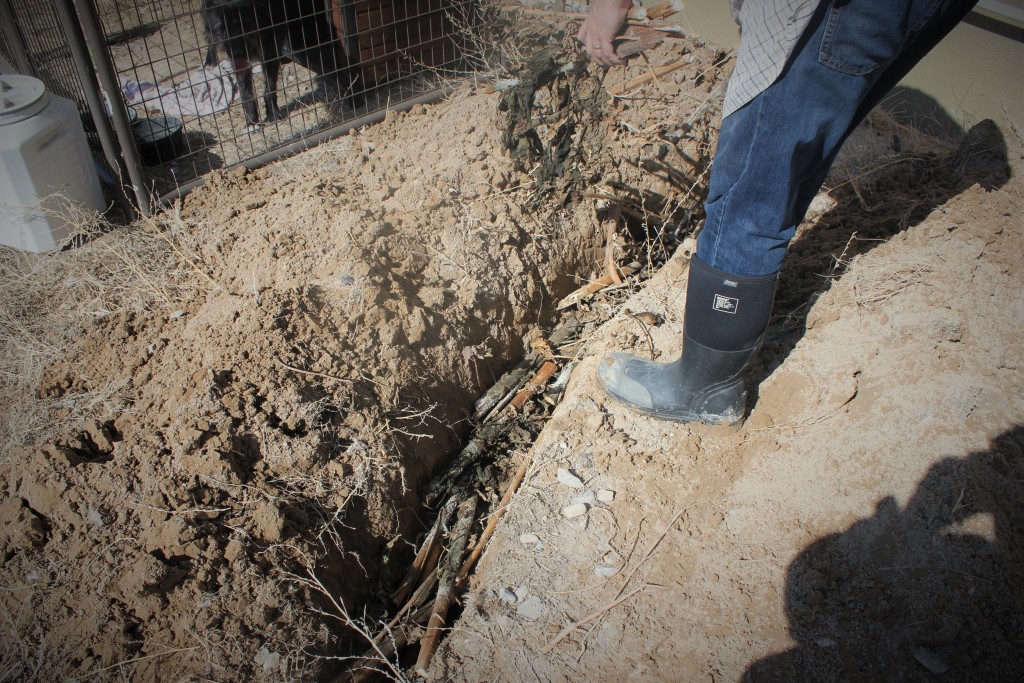
The theory is that as the water runs off into the trench, it is absorbed by the woody material, and then is stored for the plants to use.  We have created a number of these around our property.  We are using them to control run off from our house, as well as change areas to support plants that require more water.  We have them in our orchard, as well as using them to grow Bamboo, and Asparagus.   When we put in our peach orchard, we will be using them extensively around the peach trees to keep the water we do put on the trees in place and to protect that water from evaporation and run off.

No Till Gardening

The theory behind No Till Gardening is to disturb the land as little as possible.  There are areas where we can do this, and areas where it is not possible.  But the basic principle is, you plant your plants, without tilling the ground.  Then as your plants grow, you return their green matter back to the area that they were grown in.  An example would be as you weed around your plants, you just drop the weeds back on the ground around the plants.  This is supposed to accomplish a couple of things.  First, you are not disturbing the ground and allowing more weeds to grow.  Second, you are putting the nutrients from the green matter back into the ground.  Third, the weeds create a mulch that helps retain water.  Basically, instead of digging up the ground and putting the green matter under ground, you are building up the soil on top of the old ground.  As you place mulch around your plants, you conserve water, increase soil fertility, and discourage weed growth.  There are a lot of sites on the web that explain it better.  http://www.no-dig-vegetablegarden.com/no-till-gardening.html

We may change or modify how we implement these over the course of the years.  But the basic goal we have is to preserve and use water wisely, increase the fertility of the soil as we use the land, and work with nature and have it help us meet our goals instead of fight it.

Bamboo Prep

On the farm this next year, we want to start growing Bamboo.  We want to use it in several ways.  It will help filter our grey water, provide shade for the south side of the house, and give us materials to use for our bean poles and pea poles.  Not to mention that it would be cool to be raising and growing bamboo in the middle of the high desert in Utah.

To help get ready for the bamboo, we installed our grey water system (or the beginning of it).  We moved our bee hives out of the area and put them farther out on the property.   And we have started getting the area ready for planting the bamboo.

One of the things we were able to start over the weekend was to build the series of Hugelkulturs to retain the water from the grey water system, as well as build up the soil for the bamboo.  I was able to build two of the four that we are going to put in the area.

IMG_5780
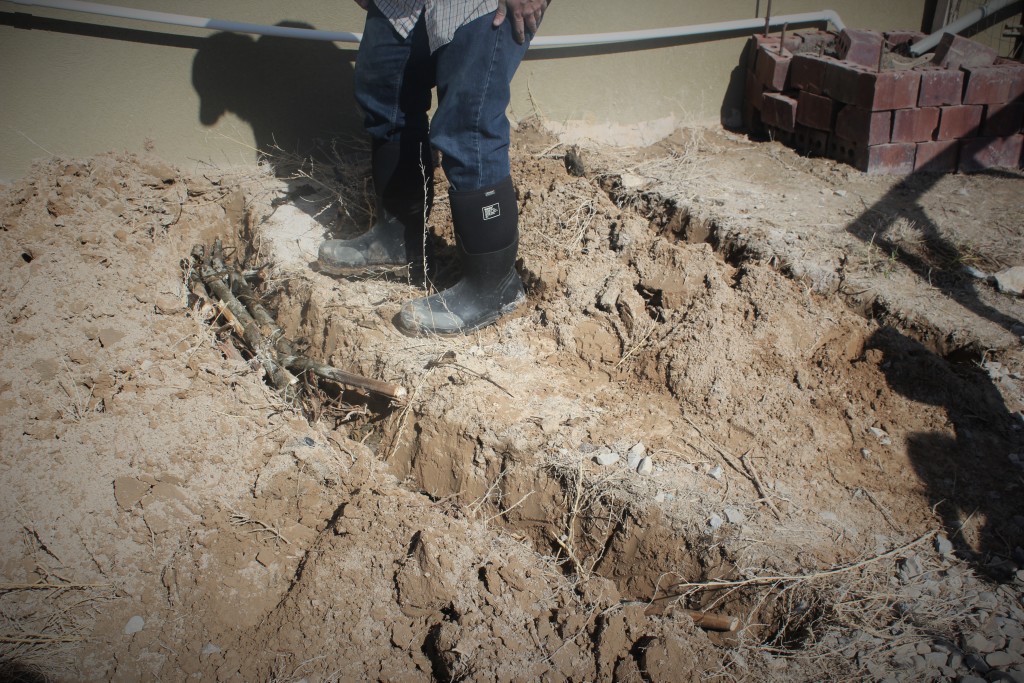
I started by digging out several ditches.  I had Tom help me out with the digging.  He used his scout shovel that he got from Christmas.  It is basically a scout/military travel shovel that allows you to modify it so that the shovel has several different angles you can dig at.

IMG_5773We then filled the trench in with a bunch of old sun flower stocks that were given to us by a relative.  I then also took one of the buckets we use to collect the ashes from our wood burning stove and poured the ashes in the trenches as well.  We then covered the trenches with dirt.

Like most things we do on the farm, we usually try to get as many little hands to help as possible.  Our two little girls help by putting the sun flower stocks in the ditch.  And of course, you can’t work on the farm as a little girl unless you do it in fluffy skirts.

IMG_5785 IMG_5784 IMG_5781
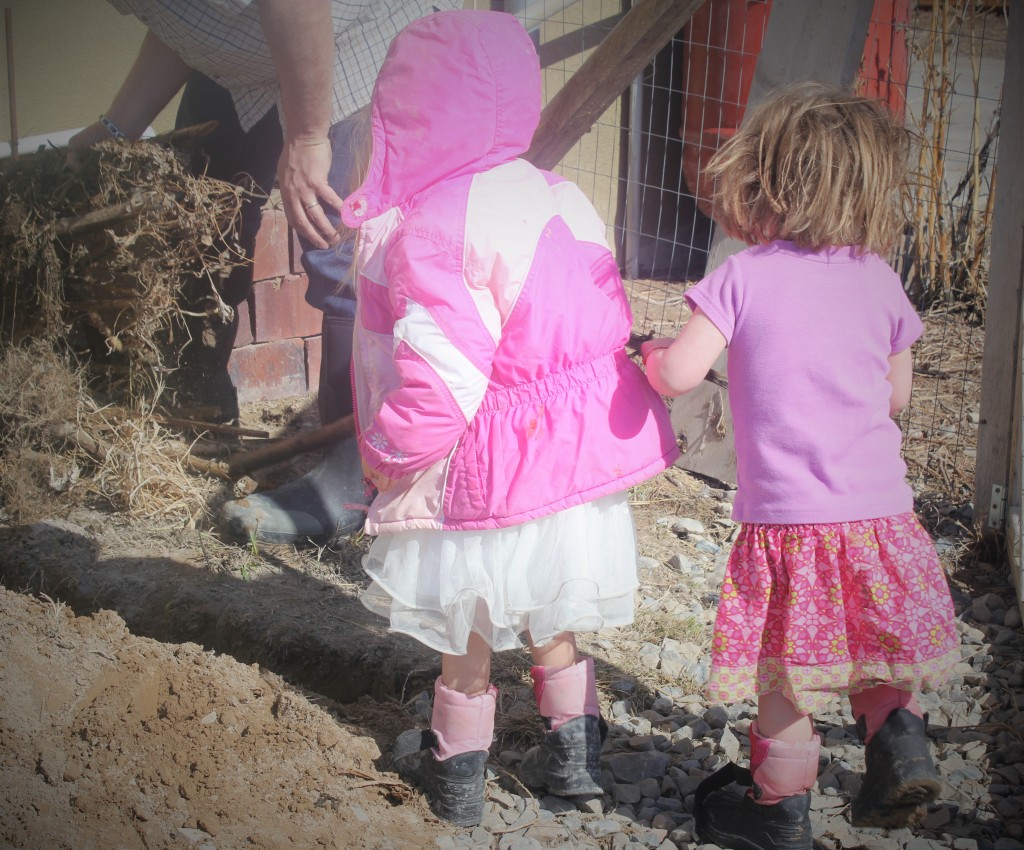
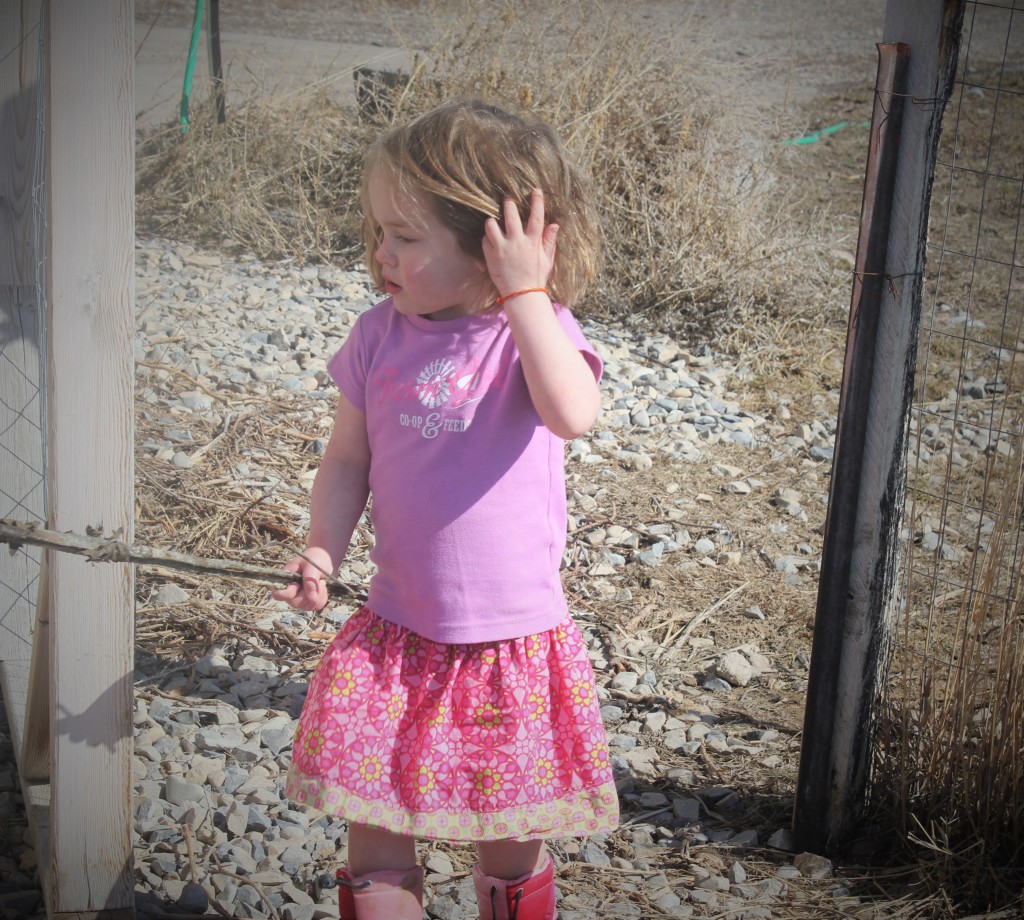
Snow boots and all.  I really do enjoy working on the farm, and spending time with the kids as we build, grow, and work the land.

I also ordered the Bamboo.  There are a bunch of places it can be ordered from on the internet, but I found a place on amazon that sells two of the three varieties we want to try.  Here is what we have purchased so far, and we are excited to give it a go.

This is Phyllostachys Auerosulcata

Phyllostachys aureosulcata 'Aureocaulis', Golden Crookstem Bamboo, #1 Size Live Plant

This is Phyllostachys Bissetii

Box of 3 Phyllostachys Bissetii Bisset's Bamboo #1 Size Live Plant

In the future, I will probably buy from Bamboogarden.com.  I picked amazon this time around because of the pricing.  We are going out on a limb, and the least amount of money I can spend at this point the better.  If what we buys winters over well, I will buy a larger number from several different vendors.  They were very helpful in helping pick the variety of bamboo that would work in the area we are planning on growing it.

Desert Frost

high_desert_frost_5763
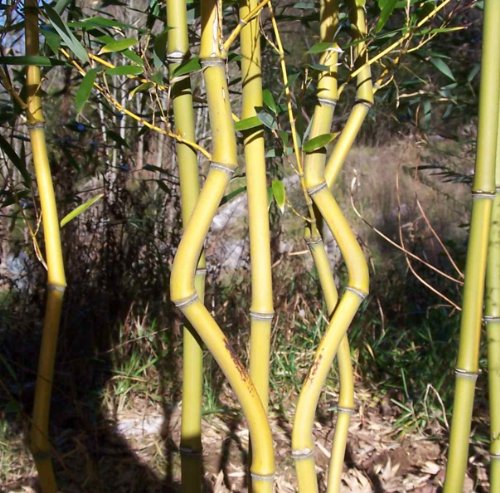
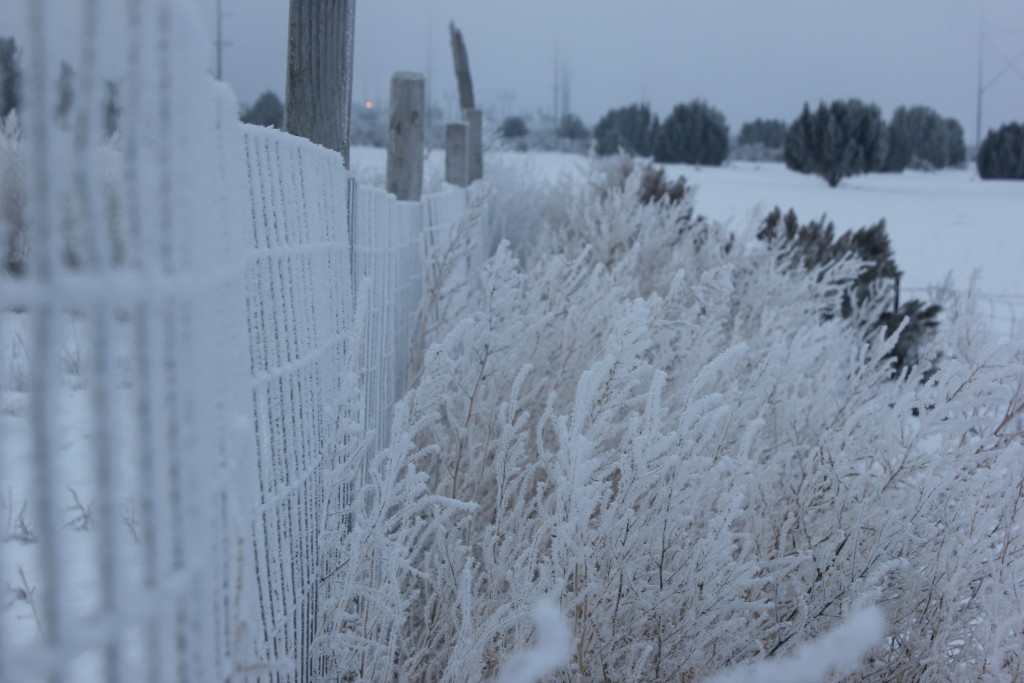
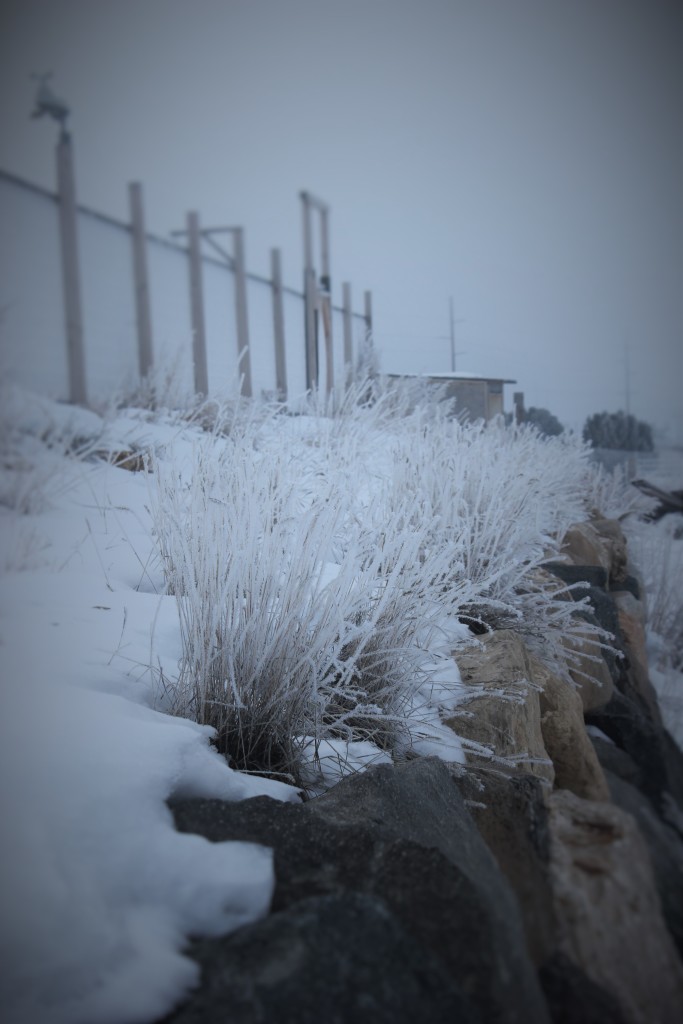
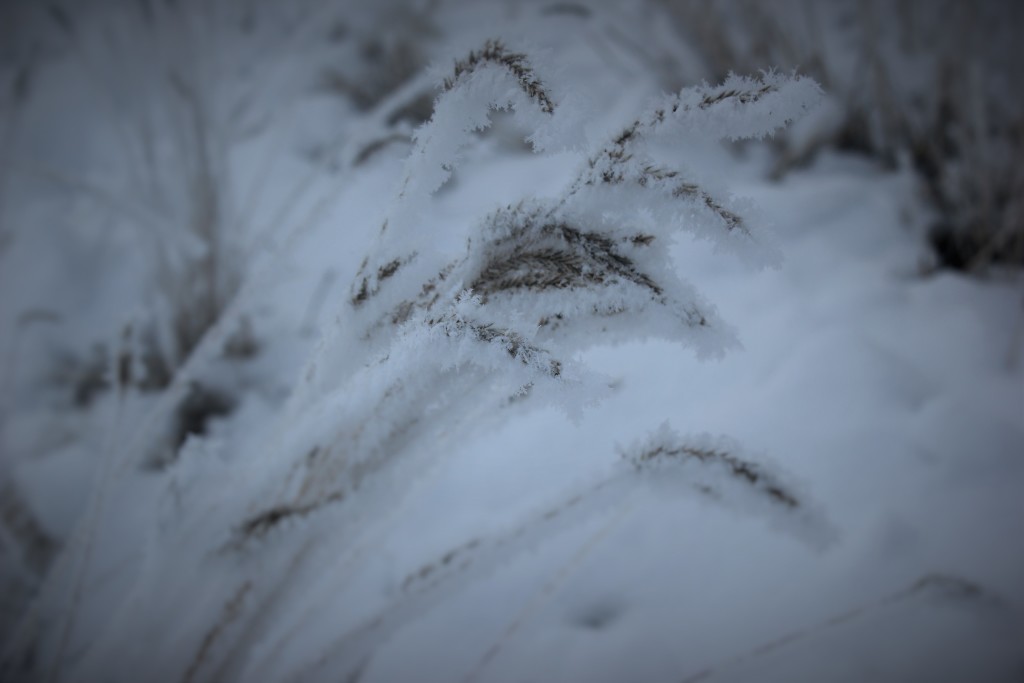
One of the things that I have learned on this Earth, is that every climate, every place has some type of beauty if you just look for it.  This is just one example.  A lot of people think that the desert has nothing to provide.  It is hard to grow things, the wildlife can seem dull.  But if you slow down, look around and enjoy what you find, you will see that almost anywhere on the Earth you can see beauty, majesty, and wonder.  In the right conditions, even sage brush, juniper trees, and metal fence lines can turn into a work of art.  (I personally think that sage brush, juniper trees, and metal fences always hold their own beauty.)

Last night the weather got pretty cold.  The fog rolled in this morning, and with that combination, you can get some pretty cool frost growths on trees, plants, and fence lines.  Here are some pictures I took this AM while walking around, and enjoying the sights, sounds, and cold temps of desert.

high_desert_frost_5757 high_desert_frost_5754 high_desert_frost_5752 high_desert_frost_5748 high_desert_frost_5745 high_desert_frost_5743 high_desert_frost_5739 high_desert_frost_5738 high_desert_frost_5734

No matter where you find yourself.  Take some time, sit back, and enjoy what is around you.  Something as annoying as fog and cold weather can make the world a pretty place, if you just take the time to enjoy it.

For the geek in you that is wondering how frost crystals grow, and what makes them, you can check out this site: http://www.its.caltech.edu/~atomic/snowcrystals/frost/frost.htm  It is a guide to different types of frost and their formations.  What do you think, do we have examples of Surface Hoar, Frost Flowers, or maybe Rime Formations?

Those Darn Rabbits (or are they Hares)

The purpose of this post is not to discuss the difference between rabbits and hares, but to discuss a way to keep them from killing the trees in your orchard.

We noticed that one of our apple trees had some bark damage several inches above the snow line.

Rabbit/Hare marks
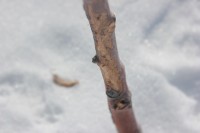
We don’t know for sure if it was the Cottontails (rabbit) or Jack Rabbits (hares) that are doing the nibbling.  But for sure the tracks say it was either a rabbit or a hare that was making a treat of our apple tree.  So we needed to solve the problem.  The thing you want to do is to make it so that the rabbit either can’t eat the bark, or is unable to lift itself up comfortably to eat the bark.

To solve this problem, we used some old hardware cloth.

IMG_5658
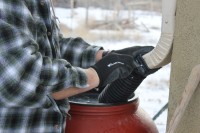
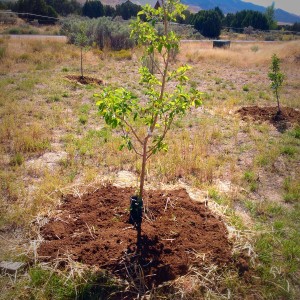
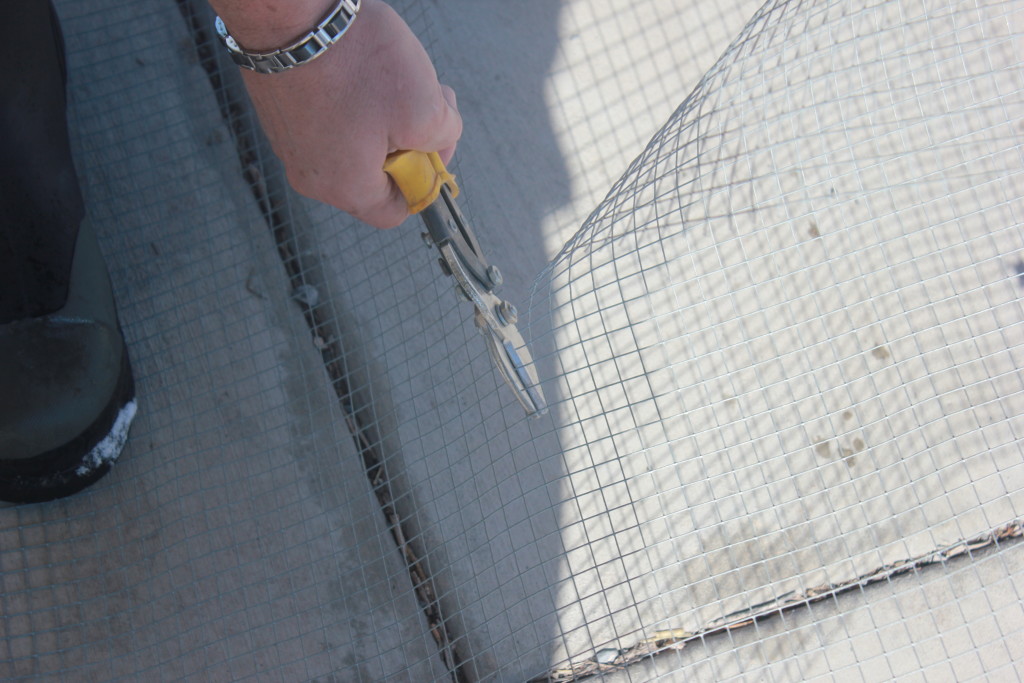
I cut the hardware cloth into squares, and then created a circle around the base of the tree.  I also made sure that I put the cut ends up.  This would make it so that if the rabbit/hare tried to rest on it to get above it, the sharp ends of the wire would keep them from resting their paws on them.

IMG_5659
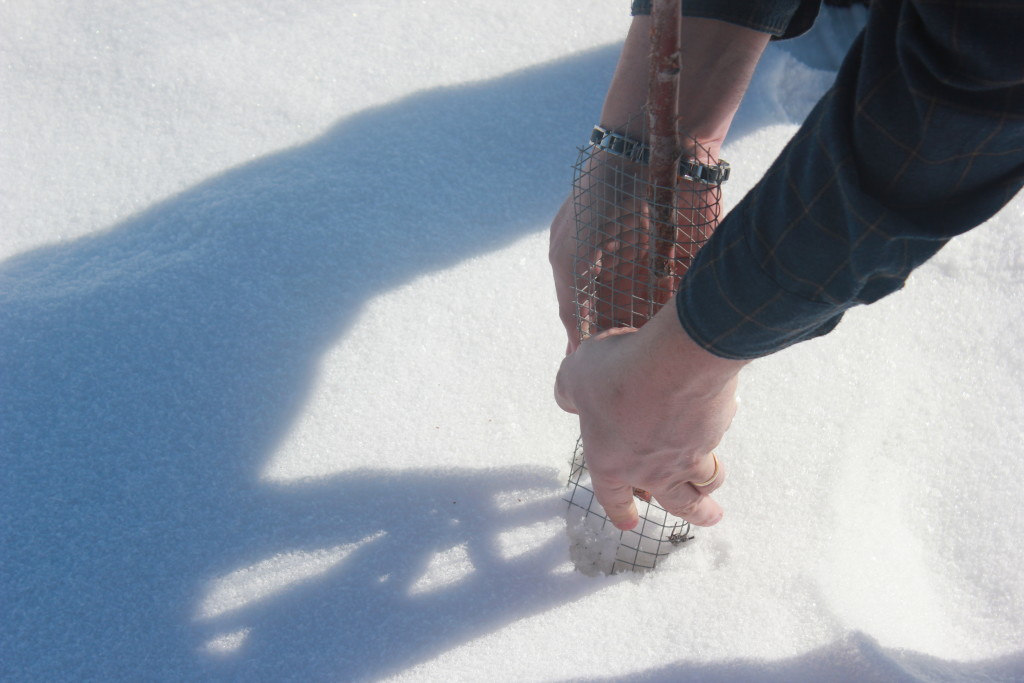
I did this around all of the trees in the orchard.  I would like to note, that we do have black flex drain pipe around the bottom of the trees to protect, but with the recent snow and drifting, the snow is now above the drain pipe.

IMG_5660
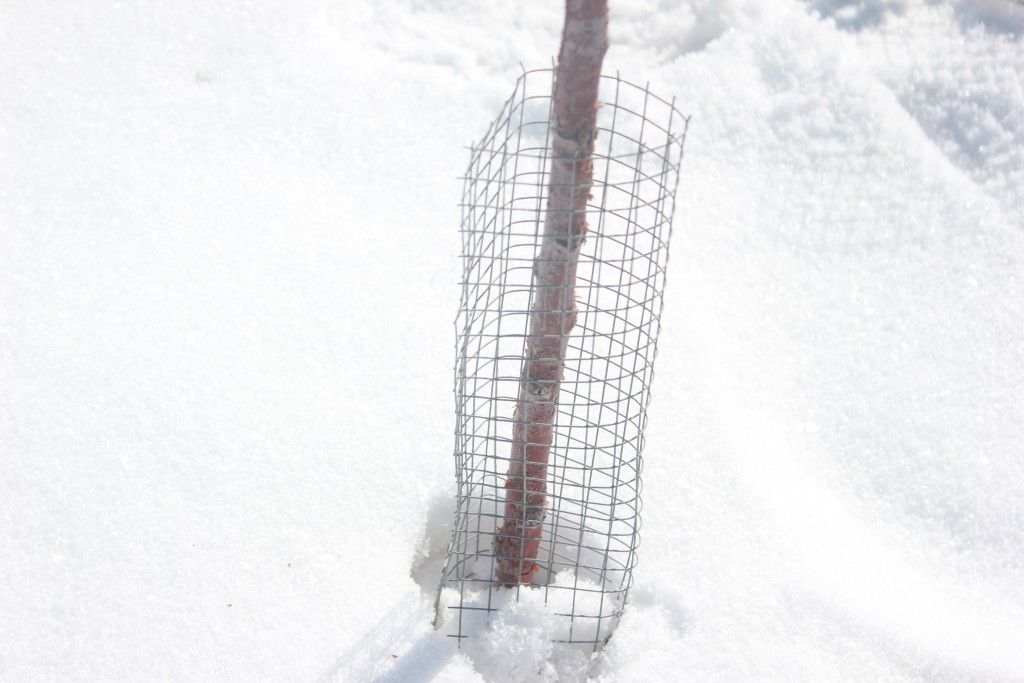
Maybe not the most elegant solution, but time will tell if it is a productive solution.  Hopefully this cheap fix will keep the rabbits/hares are bay and help us be able to survive the winter and bring us fruit in the next few years.

[amazonjs asin=”B000BWY7UQ” locale=”US” tmpl=”Small” title=”1/4 Inch Mesh 24 Inch Tall x 5 Feet Long Hardware Cloth”]

[amazonjs asin=”B000GI840E” locale=”US” tmpl=”Small” title=”Flex-Drain 51110 Flexible/Expandable Landscaping Drain Pipe, Solid, 4-Inch by 25-Feet”]

Grey Water – Part 1

At Quail Run, we are on a septic tank.  One of the things we try to do is re-use and re-purpose what we can.  And that includes water.  The water that is generated from tasks like washing clothes, taking showers, bathing, etc. is called Greywater.  Basically greywater is water that is generated as wastewater from  households and businesses that does not contain fecal contamination.  Because we are on a septic tank, the water is put down the drain, goes into the septic tank, and then eventually ends up back into the water table.  We have decided that we are going to try to re-use that water one more time before it is absorbed back into the ground and added again to the water table.

The first step in our greywater system is to take the wastewater from our back porch washing machine, and then recycle it.  Plans in the future are to add the in-door washing machine, as well as the tub, and shower from the upstairs bathrooms to the system as well.  The in-house washing machine will be added in the spring, and when we remodel the other bathrooms in the next few years, we will also add them to the system.

With a greywater system, you need to have a place for the water to be dumped, then filtered some, and then allow it to move to where it can be used.  To do this, I used a bunch of bricks we have left over from the fireplace build out we did a couple years back as the containment point.  I also used a bunch of wood and mulch we have on the property as well. (Side note:  The mulch we generated when from the Christmas trees from Eagle mountain.  Each year the city collects all the discarded Christmas trees, and then takes them to a green waste facility in a neighboring town.  Last year we had them bring all of them to our property, where we harvested the trunks and turned the branches into mulch.)

I first leveled the area where I was going to put the system.  I made sure that it had a slight grade so that the water would flow through the filtering material, and then exit in the direction I wanted it to exit in.

Greywater system, step one - level the ground.

Once the ground was leveled I started to build up a brick box.  The purpose of the box is to just slow down any fast running water, and to give the water a little time to actually filter through the mulch and wood.

Greywater - Brick containment pond

I used re-purposed rebar to hold the bricks in place.  I am not using any mortar between the bricks.  (I may do it later depending on how it works and holds up over the winter.)

After I built the brick box, I then added some discarded pieces of wood that we have on the property.

Greywater - wood used as filter.

I then added the Christmas tree mulch to the top to finish filling up the brick box.

greywater - Mulch used as filter.

Now that we have a place for the water to go, we need to make a way for the water to get there.  I ran PVC pipe from the washing machine drain, along the deck, and then along the side of the house to the newly created brick and mulch filter.  I did not glue or seal the joints.  I don’t think the pressure from the washing machine will be great enough to break the joints, and I wanted to be able to change and adjust it easily as we add new sources of greywater to the system.

Greywater - Drain from washing machine to filter box.

I also changed our rainwater collection barrel so that the overflow would also run into the greywater system.

Here you can see the washing machine draining into the filter box and then the water running from the filter box.

IMG_0263

We still have some work to do.  We need to create some hugelkultur beds and other water containment areas.  The end goal is to have a place that is usually wet, that will allow us to plant bamboo.  We have selected the types of bamboo, and will be working on getting an area ready to plant them this spring.

Let us know what you think, and if you have a greywater systems.  We are new to this, and would love to hear do and don’ts from those who have some experience.

The Sting of BEES.

IMG_40231I don’t have any pictures for this post.  Sadly Dadzoo didn’t want me to take any pictures, I don’t really understand why, they would have been awesome. Let me tell you why….

You know how sometimes it can be really easy to get so comfortable doing something that you don’t take the necessary precautions? For example, let’s say you keep bees. Let’s say for the past two summers you’ve kept those bees you’ve never been stung, and slowly you stop wearing your protective gear, and even then the bees don’t sting you. Let’s say that one evening you need to put a new box on the hive, a quick job, takes less than ten minutes. Because it is such a quick job and because you’ve never been stung, once again the protective clothing stays in it’s box and for the first time you don’t get the smoker going and you don’t smoke the bees to make them docile. Because, well, you’ve never been stung before and this is a quick job, surely you won’t need the smoke or your hat and drape, surely.

I’m  betting you can guess where this is going….

Despite all your (ahem) preparation you do end up with a sting squarely above your eye brow. But no biggy, sure it hurt, but you’ve never had a reaction to a bee sting before.

And everything looks good….until about 24 hours later, your fore head feels funny, right about the spot the bee got you, and you look in the mirror and it’s starting to swell ever so slightly. No biggy, bee sting will do that, right? Well, then through the evening it swells even more and more, you take Benadryl, still swells, you go to bed, certine it will be fine in the morning.

At five am the alarm goes off, you open your eyes…wait…..your eyes won’t open, well if you try hard enough, just maybe a crack……  You wake up your wife, she laughs, one eye is swollen shut the other about half way. After a call into work, you arrange a work from home day while your lovely, smart, talented wife spends the day applying ice, herbal salves, oils, zone therapy and infusions, by night you can open both eyes, but the swelling is still very much there.  How will things be the next day you wonder? And where did I put my veil and smoker for next time.

Septic Tank

We recently purchased a new house, with some land.  Momzoo has posted a lot about the changes that we have made to the new house, and some of the challenges we have had to overcome.

The big one that I had to worry about, besides having no propane when we moved in, would be servicing the septic tank.  Momzoo and I both have had no or little experience with a septic tank.  So we did not give it much of a thought we we purchased the house.

We have had some problems with the toilets flushing since we purchased the house and thought it might be due to the septic tank being full or close to full.  But we have since found out that they used 2 inch pipe instead of 4 inch pipe for the toilet drains.  (I know, not code, and you would of thought, but hey, this is the new house.)

So, to see if that was the problem we needed to find the septic tank access hatch so we could see the level, and then get it pumped.   Problem, where is the hatch?   We looked and looked, and a local company told us to call the County Department of Health, because they document every septic tank in the county.  So I called, and within minutes they emailed me the lot plan with the location of the septic tank.  One problem, it said the hatch was 1 foot under the final grade.  Final grade?  What was the final grade when they inspected it.  Well, the final grade is (as we know now) a good 8 feed under the current grade of the back yard.

Yes, the lid for the septic tank has been buried 8 feet under our back yard.  So the work started.  Our friend and contractor has a mini-ex, so he loaned it to me for a weekend, and I started digging.  With his help, I found the septic tank right where it should be, but instead of 12 inches under ground, it was now 8 feet under ground. IMG_3365
I found the hatch 8 feet under ground. And we now have the issue of raising the hatch so that we can have it serviced and make it easily accessible in the future.

IMG_3333This gives you a little bit of a perspective of how far below ground it really is.  I am 6 foot 3 and this is what I look like in the hole.

So we have a 8 foot 18 inch concrete pipe purchased and delivered to the property.  We then used the mini-ex and a suburban as counter weight to slowly move it into position.

IMG_3357 IMG_3364 IMG_3374 IMG_3381 IMG_3387
We slowly moved it into place and then stood it upright.  With a little effort we were able to get it to set into the other pipe.

IMG_3410 IMG_3412 IMG_3426

Then we cut the top off and put the lid back on.

IMG_3429

As a bonus, the end we cut was then moved to another location and we now have a fire pit.  We burned stuff in the fire pit the following weekend.

Moral to the story, when you buy a house, make sure you know where the septic tank is, and have it serviced as part of the pre-contract purchase.  Or, if you are as lucky as we are, you can spend two days digging a hole and installing a new raiser for the tank.  And since the Richards are our friends the cost was minimal.

The next day we had a septic tank company suck out the tank, and we should be in business for at least a couple of years.  A family of 9 will fill a 1750 gallon tank in about 2.5 years, well at least that is what the Internet tells me.

Water Collection

Water it is precious and scarce.

Out here in the edge of Utah’s west desert where we get on average 10 inches of water a year, and the majority of that comes in the winter as snow, water is a big deal, and irrigation is a must.  There are two options as far as irrigation, the government grid or a private well.  With a private well you have to own water rights, which are expensive and hard to come by, as people who own them tend to hang onto them.  We don’t have any water rights, (some ding dong sold the water rights associated to the property when they hooked up to the city’s grid) which means we are on city water, for everything.  Another viable option is water collection, while it won’t supply all our irrigation needs, it will help some.

We have a lot of roof, which collects a lot of water,

that just runs off, it is  begging to be collected!

We purchased barrels from a local farm store, they had been previously used for pickling, so they smell strongly of peppers and brine, they will work for our needs and they were cheap.

Dadzoo cut a hole in the tops of the barrels and then attached screen, to keep bugs and big yucky things from getting into the water.

He then gut off the down spout and attached black flex pipe, to direct the water into the hole on top.

He then cut a hole on the top side of the barrel, and using a piece of vinyl that we found lying around he made a spout that directed more water into another barrel, so we can collect more than one barrel full at each down spout.After one day we had filled the first barrel, and the second one is slowly filling, we hope to have it filled by this weekend, as there is rain in the forecast.

While this won’t fill all our needs for irrigation, along with other techniques, we are hoping to minimize the amount of water we are pulling from the grid as much as possible.

In some states it is illegal to collect rain water, being that it is a natural resource (although I don’t see states coming and collecting their water when it floods basements…..).  Here in Utah it is legal to collect a certain amount of water in either above ground tanks or a cistern, all vessels that collect water have to be registred with the state.