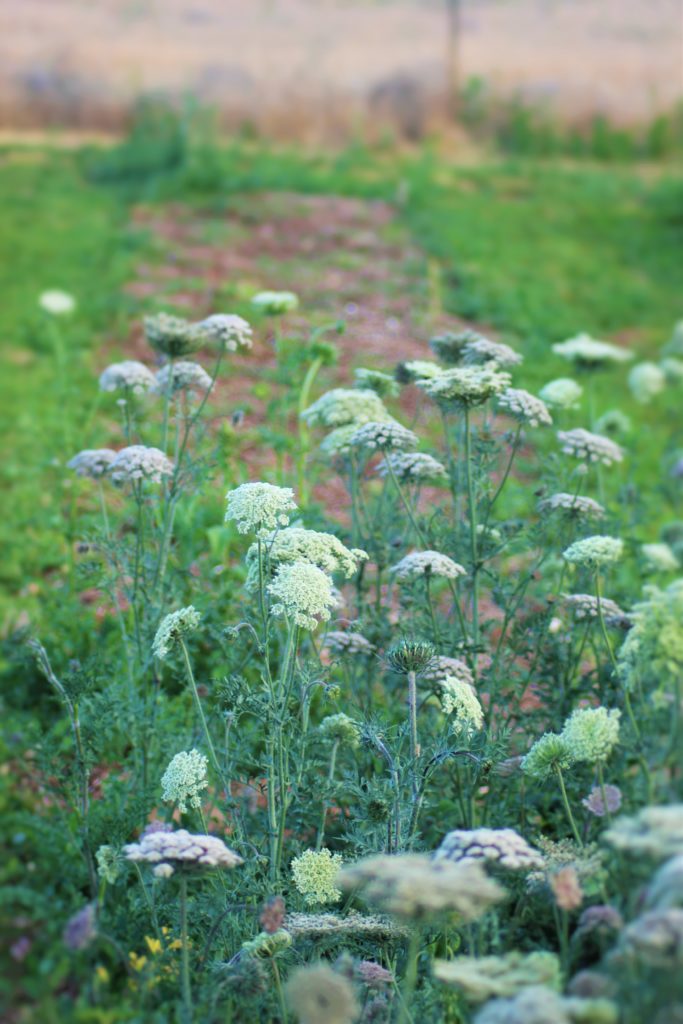
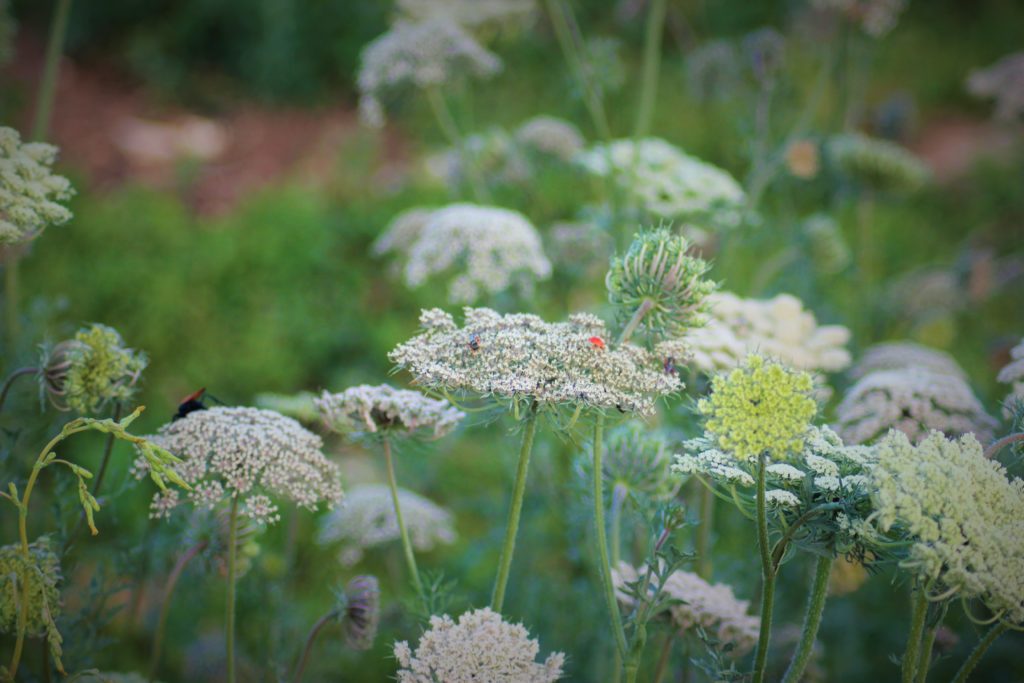
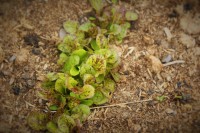
This is a picture of our freshly harvested carrot bed, it is currently waiting for a fresh layer of compost and a new generation of carrots. However, if you notice in the fore ground a nice little group of flowers. Those are carrot flowers, and there is a story.
The thing with a carrot is that it is a bi-annual, meaning they live two years, the first year they grow and produce foliage, the second year they flower, make seeds and die. Most gardeners harvest carrots after the first season, when the root is nice and tender, before it flowers and the roots get hard and fibrous. I am not a seed collector (yet) I buy all my seeds and I never save seeds so I have never and would never keep a stand of carrots into the second year for seeds, and even if I did collect seeds I wouldn’t need this many.
So why do I have carrots flowering in my garden? I. Have. No. Idea. None, nada, ziltch.
I bought purple carrot seeds from a company I have bought from for years, and I have successfully grown this variety at least twice. These flowers are from a first year planting. My other carrots did well, but this variety decided to skip year one and go right into year two. I was quite cross when I first realized what had happened and I almost pulled out every single one of them. Then I got curious and decided to wait and see. I’m glad I did. They are a delightfully un-expected addition to my boring vegetable garden, waving their pretty little colors in the breeze. I’ve fallen in love, and I believe that these little flowers are going to make a seed collector out of me after all, I want to duplicate them next year all over the garden.
And it makes me wonder, maybe this wasn’t a mistake after all, maybe it was a gift…..
One of my very favorite summer chores is canning. I know, weird, but I love it.
There is something absolutely satisfying to me about sitting down, with a chipped enamel-wear dishpan and a piles of vegetables in front of me. I carefully and quickly peel each vegetable, quietly channeling the energy of all my grandmothers before me who did the same chore to ensure her family’s survival for another year. It feels primal to me, that desire to provide food and comfort, while it is not longer necessary to preserve my own food, the drive to do so is in my bones and manifests in my flesh.
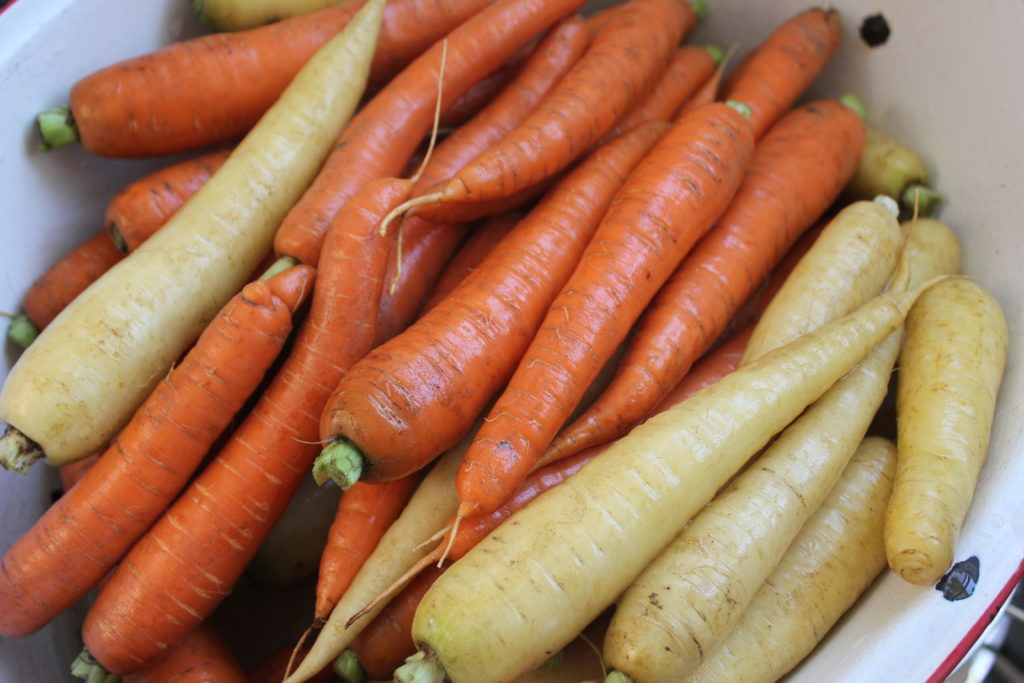
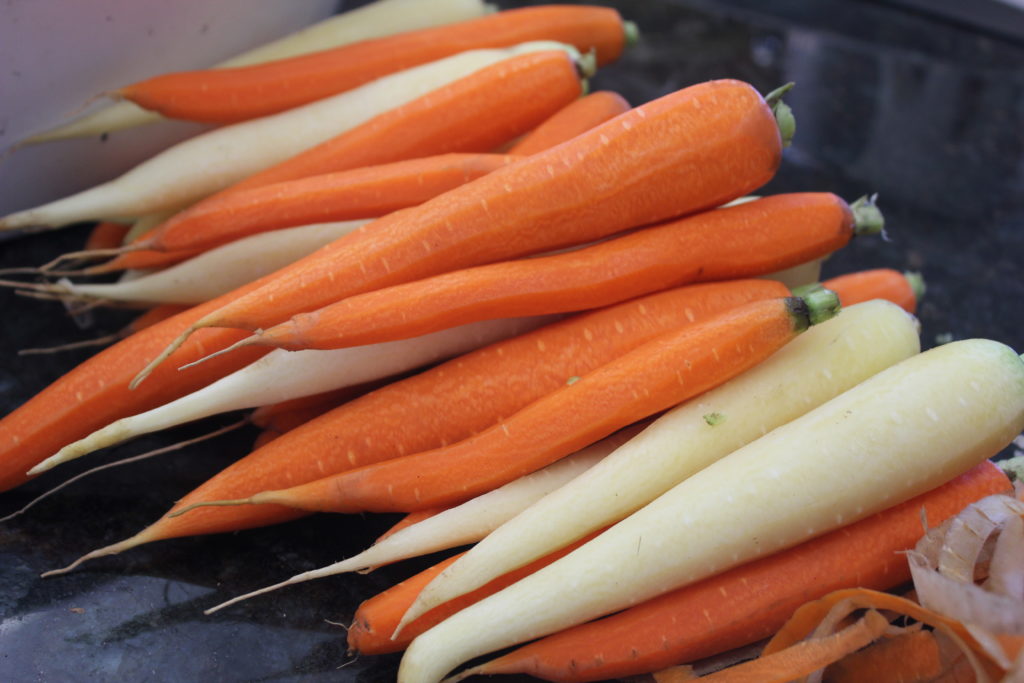
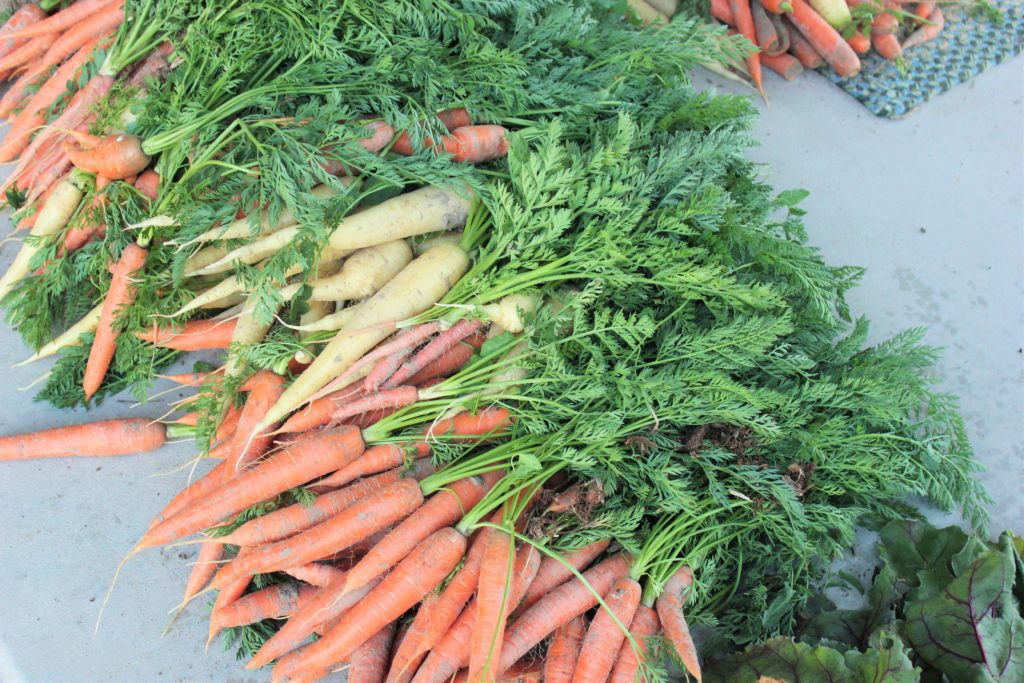
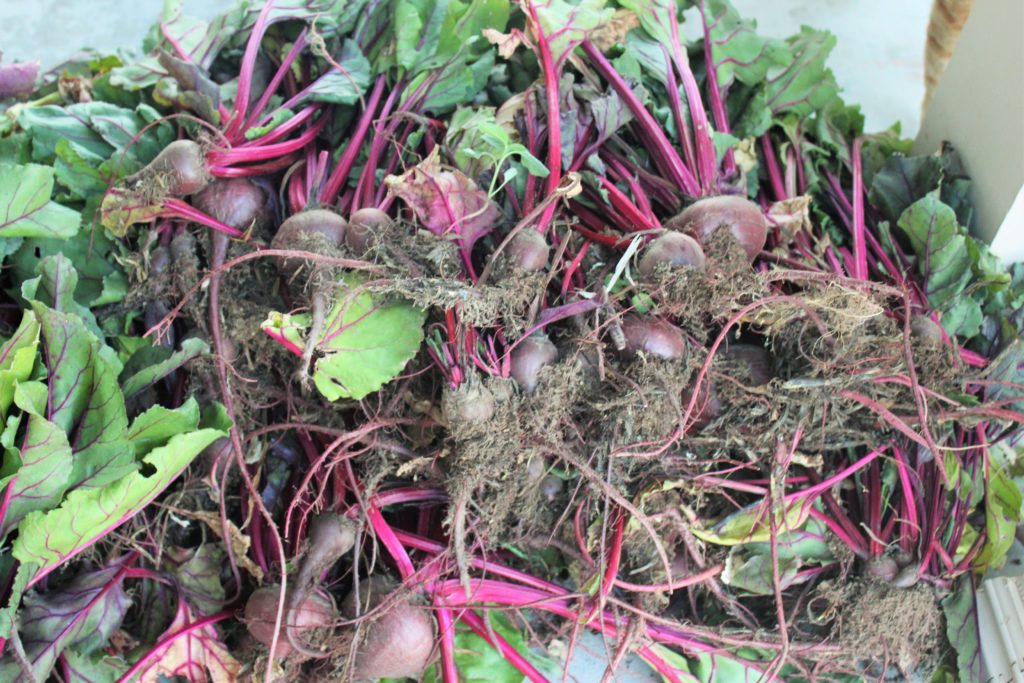
The beets are all peeled and cold packed in jars, ready for the pressure caner, beets are a family favorite. Carrots washed and peeled, I love the soft, translucent orange and light yellow of the roots when I peel them. I had planned on having dark purple carrots as well, but they had a different surprise in mind for me, something I will write about later.
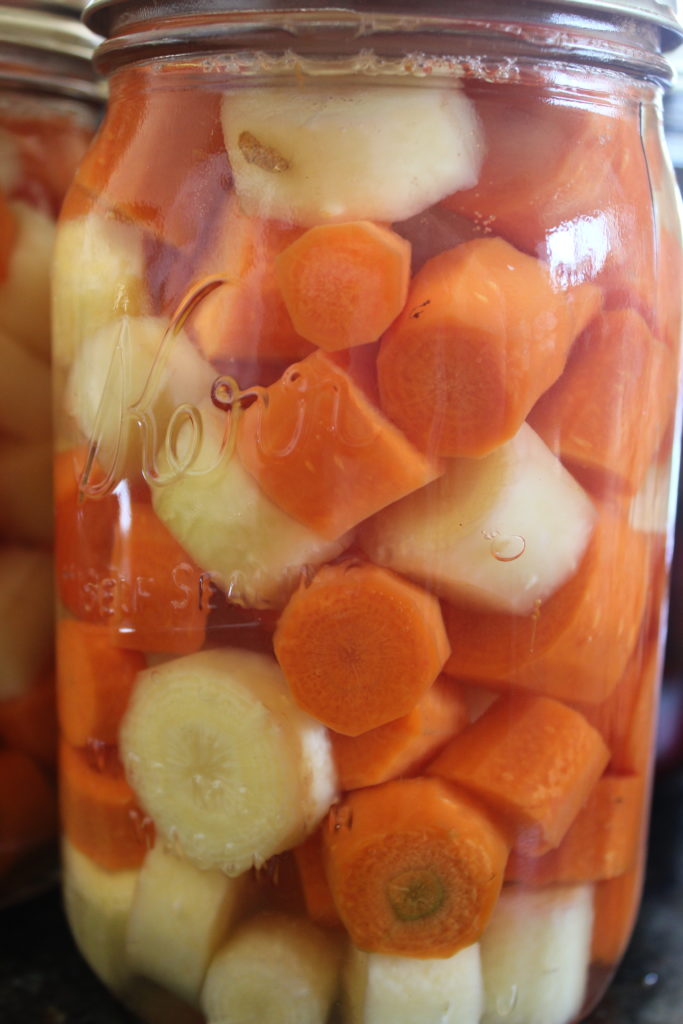
Jars of raw packed carrots, they too will go in the pressure caner. They come out the prefect texture for eating, my kids will eat them cold right out of the jar and they are soft enough for the babies to eat too.
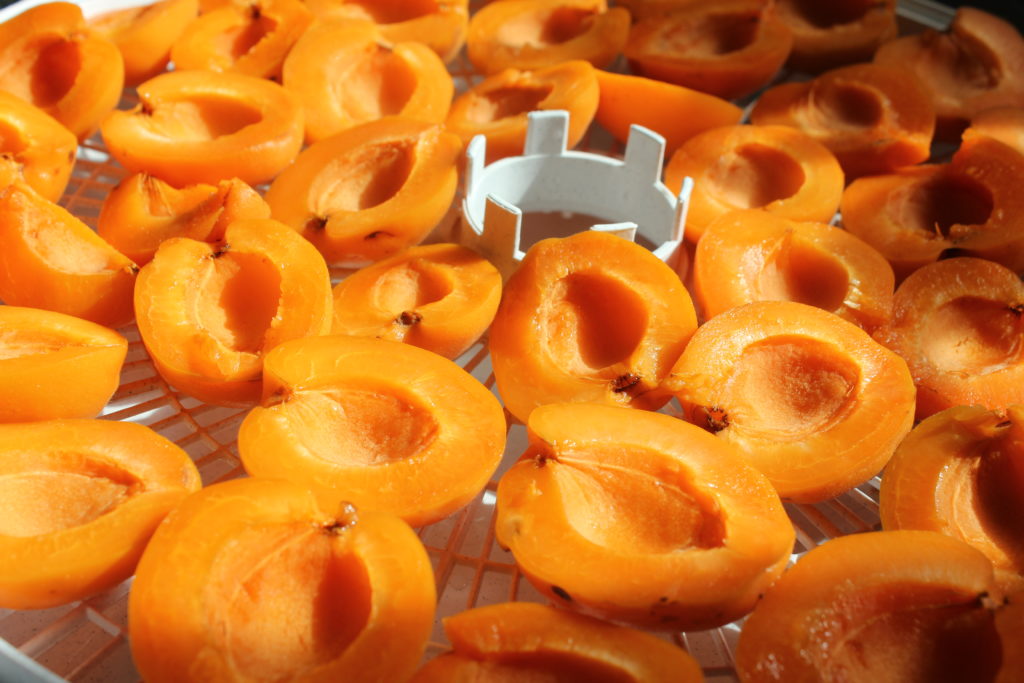
And last, but not the least by a long shot, a batch of sun ripened apricots fresh from a neighbors tree ready for the dehydrator. In the winter they will be soaked and cooked with buckwheat for a warm sweet breakfast, much like a breakfast my great-grandmothers would have served to their hungry loves on a cold winter morning.
We had a killer crop of beets and carrots this year. They loved the deep mulching methods we used this year and all our hard work sure paid off with the root vegetables.
Fresh beets and carrots are absolutely the best and we all enjoy eating them fresh roasted or raw, but these lovely ladies are meant for canning, to be stored for food when the winter winds howl. The first of August we will be planting our fall crop of beets and carrots, those will stay stored in the ground until the first hard frost and then they will be roasted for autumn dinners when the land turns golden and smells of earth and pumpkins.
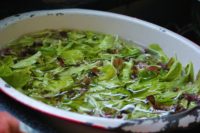
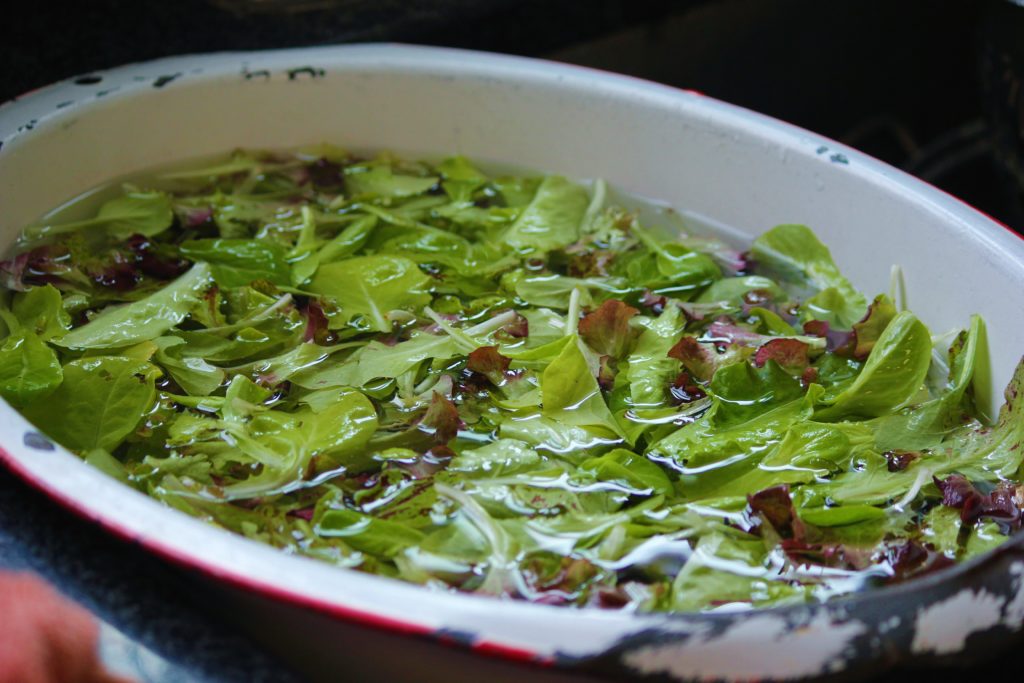
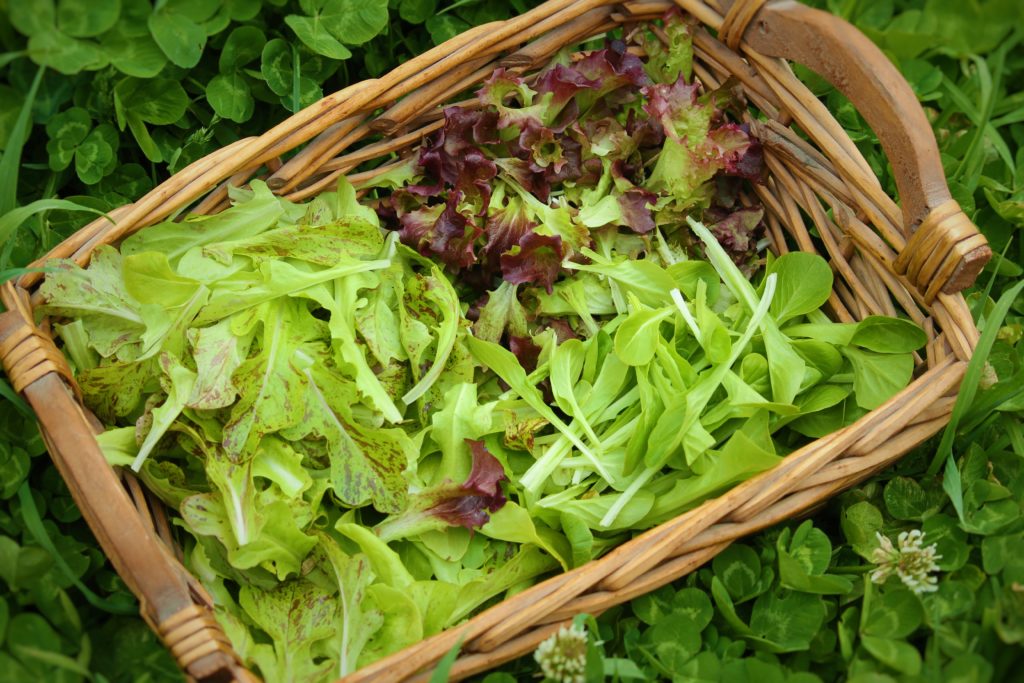
One of the first vegetables on the farm is lettuce, pretty little leaf lettuce. It has a rather short growing season, when the fiery heat of the summer rolls in the lettuce likes to grow bitter and make seeds. We are experimenting with methods to keep the lettuces cool and hopefully prolong the harvest. But for now we will enjoy the pretty little fresh greens on our table and hope our customers do the same.
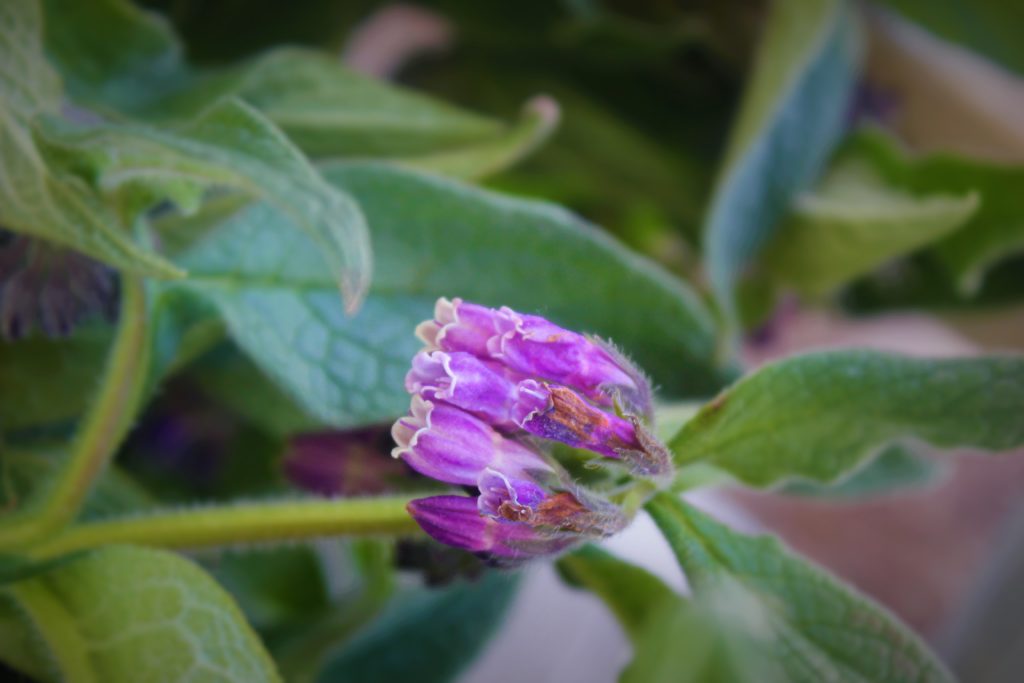
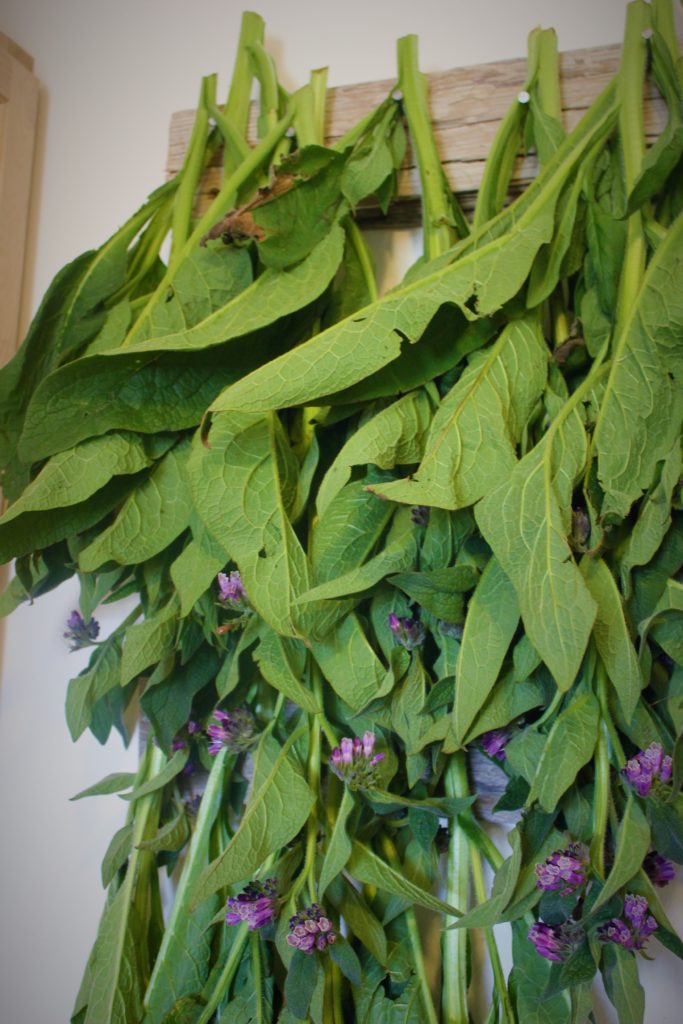
When the comfrey starts blooming it’s time to harvest! I so love the pretty purple flowers of the comfrey plant. When the comfrey produces a long stalk and flashes her blossoms its time to start cutting. Through out the season I do pick the big, broad leaves for infused oils, but it is that long stalk that I look for to dry. The stalk has a concentration of the healing compounds that comfrey is so well known for.
Comfrey-the-comforting, also known as knit-bone, strengthens and heals the bones, the skin, the ligaments, the tendons, and the mucus surfaces of the intestines, the lungs, the sinuses, the throat, the vagina, and the anus. It contains two alkaloid groups: alantoin and PAs. Alantoin is responsible for comfrey’s ability to heal any injury – from bedsores to vaginal tears, from lacerations to piercings, from abrasions to severe burns – quickly and thoroughly. Comfrey leaf infusion (not tea, not tincture, not capsules) is very high in protein, macro- and trace-minerals, and every vitamin needed for good health – with the exception of vitamin B12.
Drinking comfrey infusion has benefitted me in many ways: It keeps my bones strong and flexible. It strengthens my digestion and elimination. It keeps my lungs and respiratory tract healthy. It keeps my face wrinkle-free and my skin and scalp supple. And, please don’t forget, comfrey contains special proteins needed for the formation of short-term memory cells. Comfrey (Symphytum) leaf is free of the compounds (PAs) found in the root that can damage the liver. I have used comfrey leaf infusion regularly for decades with no liver problems, ditto for the group of people at the Henry Doubleday Research Foundation who have eaten cooked comfrey leaves as a vegetable for four generations. Comfrey is also known as “knitbone,” and no better ally for the woman with thin bones can be found.. Its soothing mucilage adds flexibility to joints, eyes, vagina, and lungs. Comfrey leaf infusion used internally and as a sitz bath is excellent at easing hemorrhoids .
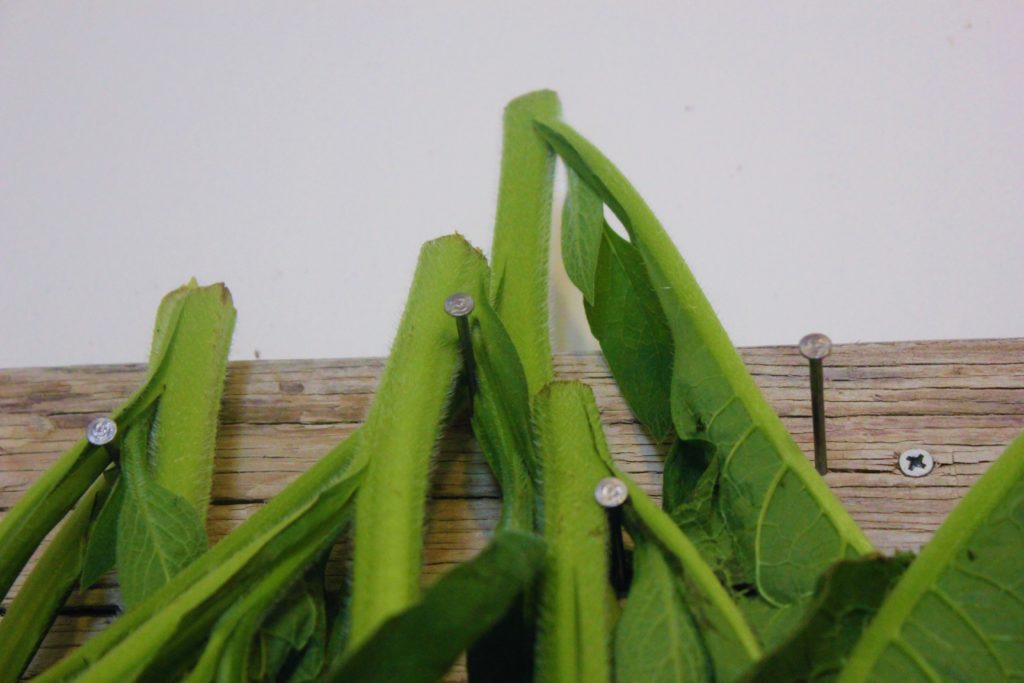
Comfrey is quite easy to dry, but there are some considerations. The leaves are quite big and hold a lot of moisture, therefore they need to be dried loosely. Typically a person will gather a large bunch of plant materials, tie it in a bundle and dry. This won’t work with comfrey, I have ruined many batches by doing it this way, the comfrey will mold, and we don’t want that. Instead I have found that it is just as easy to hang each stalk on a nail and it drys very quickly this way, with out the mold.
My herb drying racks, I love it when it is nice and full.
After a couple weeks the comfrey will be nice and dry. At this point I will chop it up and store it in brown bags in a dark dry place. The reason I use brown bags is so any moisture that is left can be wicked out, instead of growing mold. I will use this through out the year in herbal infusions and poultices. Comfrey is one of my favorites for the garden, and for the body.
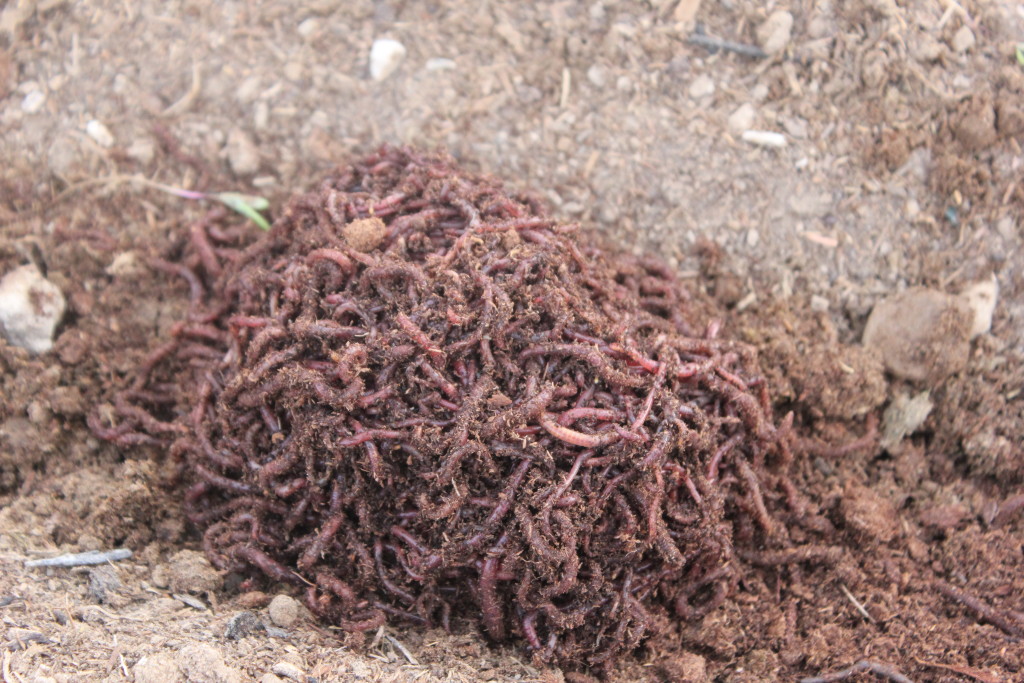
Back in March I stared a garden bed in which I was going to experiment with composting in place. You can read more about it: here. So far things are going well. From my investigating and poking around it seems like everything is breaking down nicely, although a bit slowly. I decided to give it a little help in the form of red wiggler worms.
Yes worms, did you know that you can buy worms by the pound? Yes you can, and I have, many times before and I have been so happy with the results of adding worms to my compost, thereby adding fertility to my soil.
Part of having fertile soil is protecting, maintaining and facilitating a whole ecosystem under the surface. All those little microorganisms, bugs, grubs and worms work together breaking down organic matter and turning it into nutrients that plants can use. Soil devoid of this secret ecosystem cannot optimally support life.
Worms are an irreplaceable piece in this puzzle.
Red worms in a natural ecosystem feed in the leaf litter — the surface of the soil that contains dead plants, leaves and animal remains. As red worms gorge on decomposing matter, they leave behind castings — excrement or fecal matter — that is highly concentrated in nitrogen, phosphorus and potassium. All of these are important nutrients that fertilize living plants. During the feeding and decomposing process, red worms help aerate the soil, creating pockets of air that allow for water and nutrients to flow more easily among plant roots.
Adding worms to the garden or compost is quite easy, you just dig a little hole or create a small trench, add the worms and cover, then water in well. The worms will soak up the water and become active, eating everything and pooping a lot, helping the garden to grow.
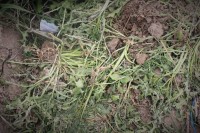
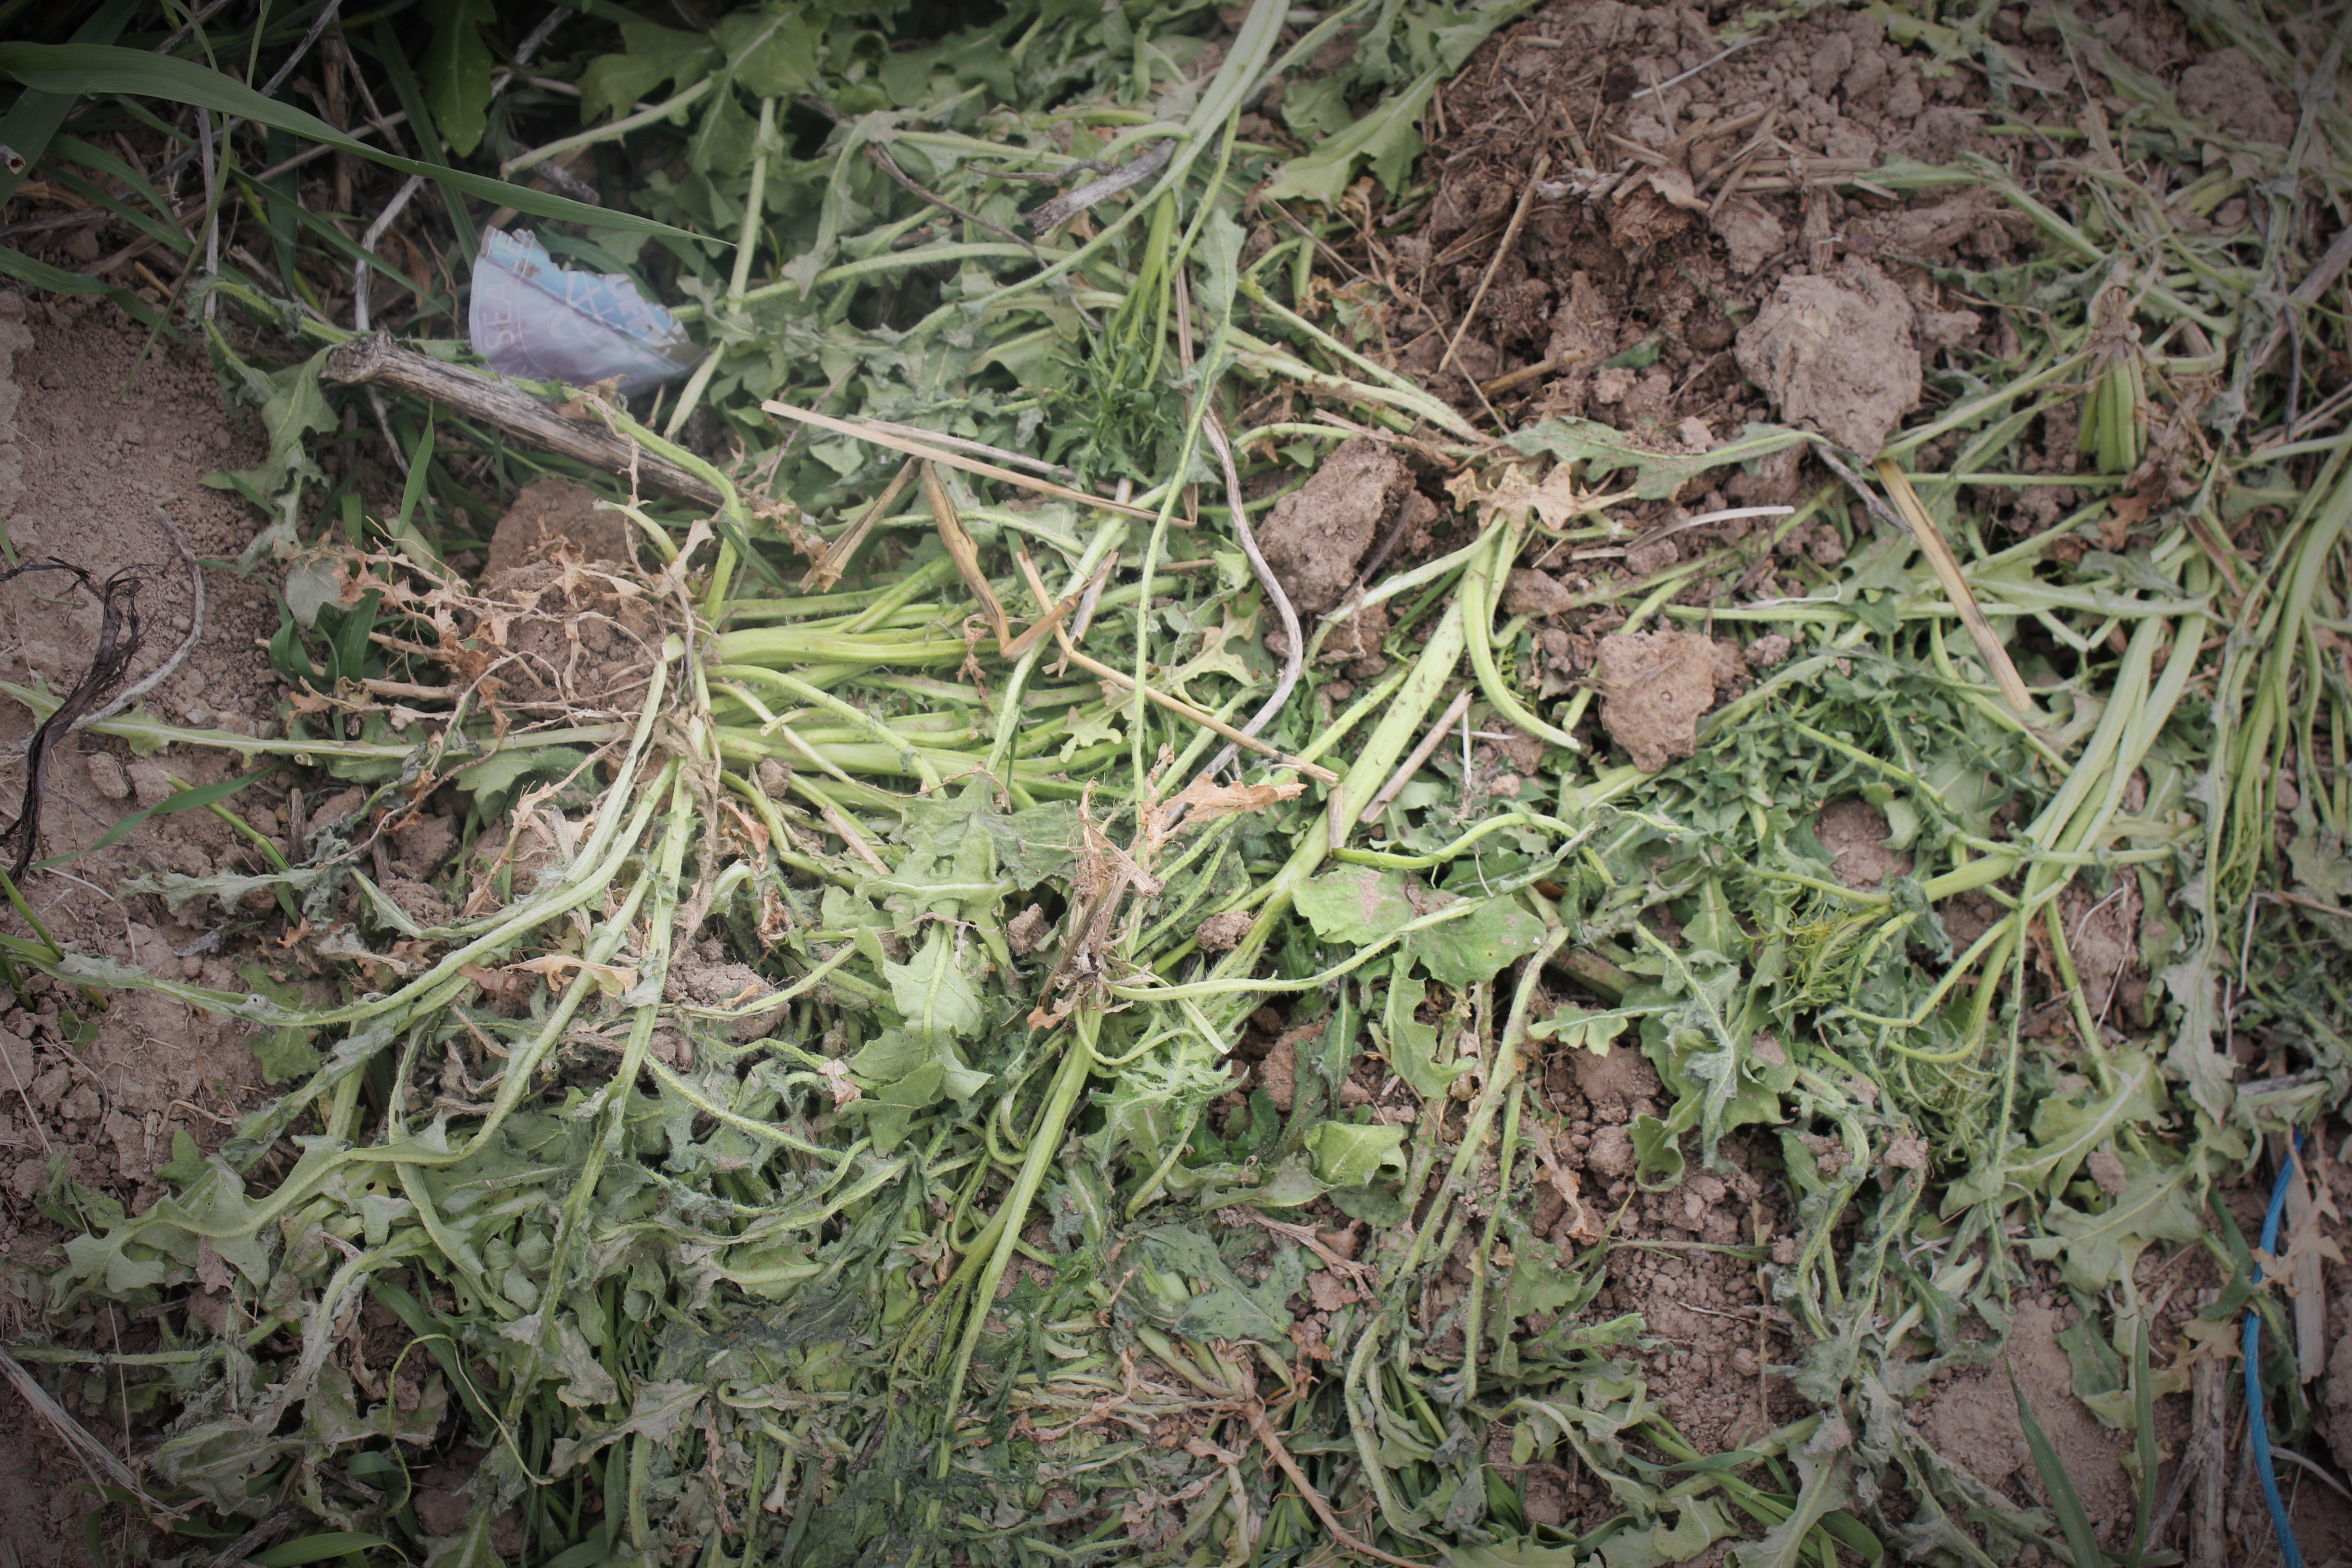
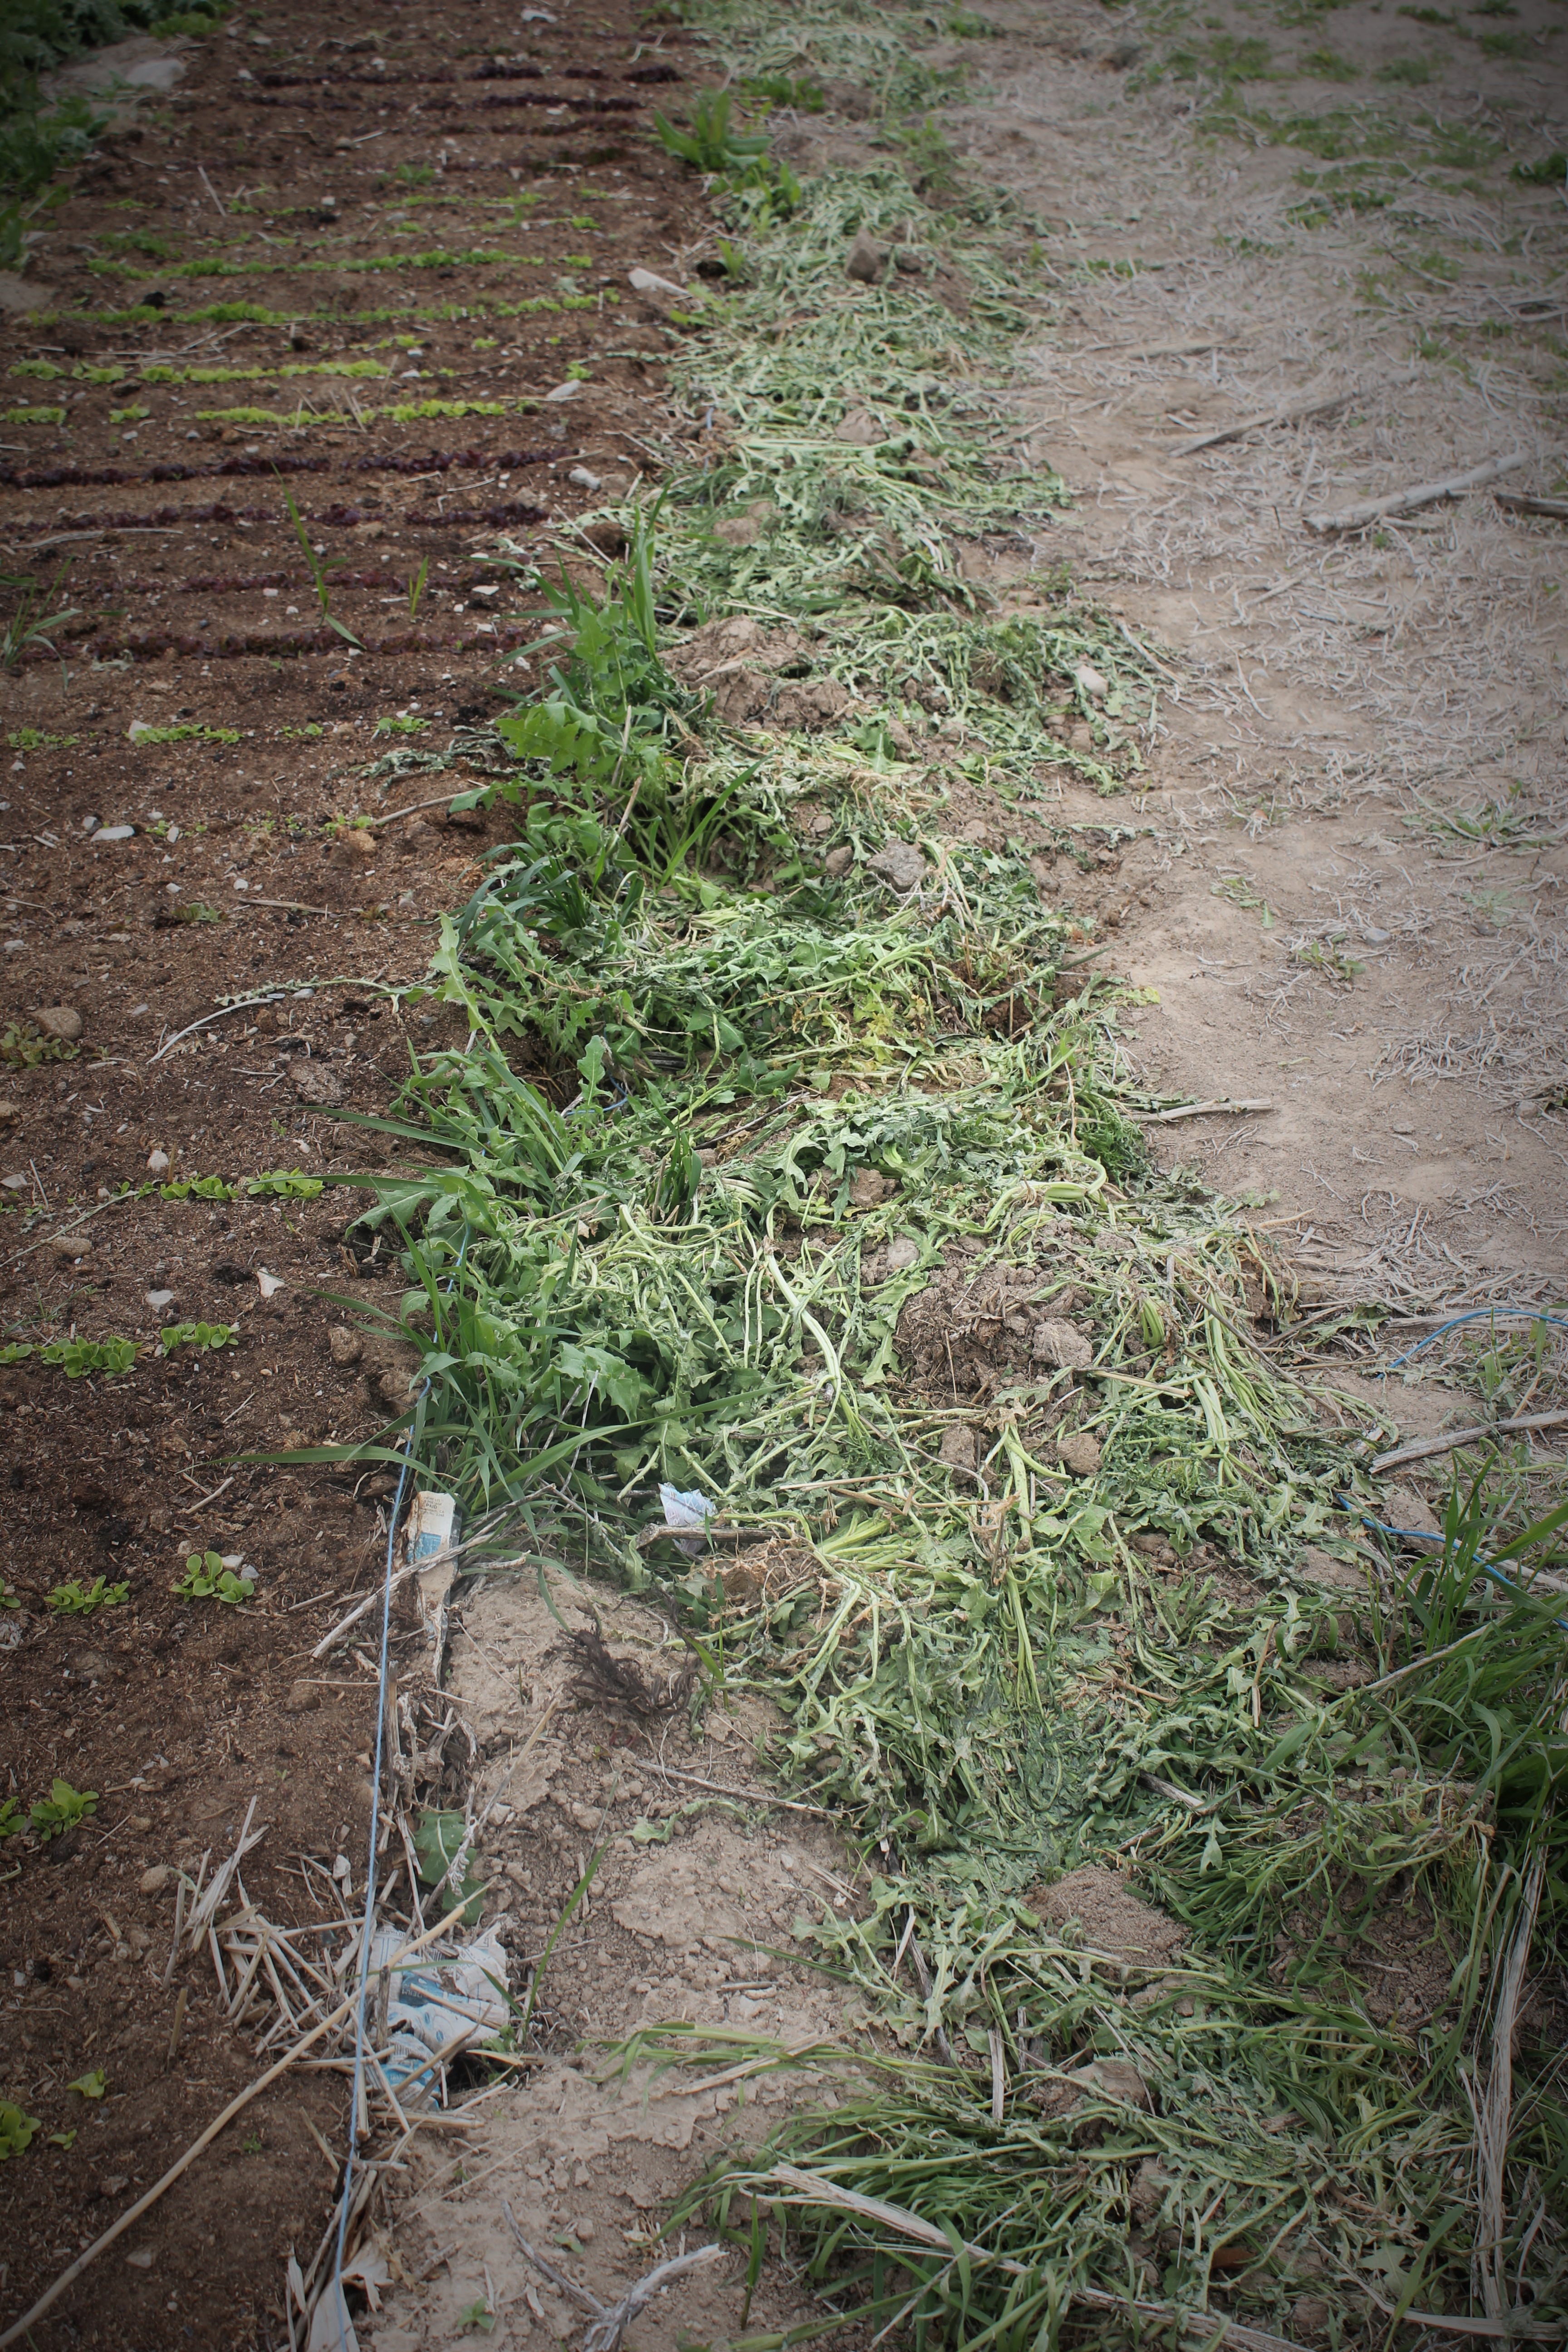
Along with all the pretty little vegetable, herbs and flowers the weeds are coming up in abundance. We are a no/low spray farm, and with a few exceptions we never spray chemicals on our land. The one exception is for Field Bind Weed, it is taking over, and there really isn’t a good way to get rid of it other than spraying. Our weed management consists of two main approaches: pulling and covering. We pull and pull and pull weeds all summer long. We also cover our weeds in a few different ways. Sometimes we will put down a weed barrier and mulch on top of that, that is my least favorite way of using cover, its limiting to me, plants can’t naturally spread and its difficult to add new plantings. We also use deep mulching, laying down 4-6 inches of chipped wood and leaves, this not only has the advantage of choking out weed seeds and seedling, it also helps retain water and adds fertility and the weeds that do come up are easy to pull. The last covering method we use is black plastic, we lay black plastic over large areas that need to have invasive grass and weeds cleaned out and let it sit for a couple weeks, the sun heats up the plastic and basically cooks the weeds and their seeds, this is quick and effective.
When ever we pull weeds we keep them in place, its a method of deep mulching. The weed is pulled and laid down right in place. It is important to pull these weeds before they go to seed. it acts like the wood chips or leaves, choking out weed seeds and seedlings, but it also keeps the nutrients from the weeds in place. Weeds in and of themselves are not bad, they are only bad because they keep the plants we want from thriving. Weeds are place holders, the are land restorers, land cleaners. Weeds come into disturbed land, pulling nutrients from the ground and the sun, depositing them on the surface, allowing for long term native plants to eventually come in and repopulate the land. Understanding this, I have a hard time pulling weeds and hauling them off, they have a purpose too, and I like to honor that by pulling and using them to nourish the plants that I want to thrive there.
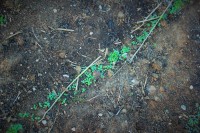
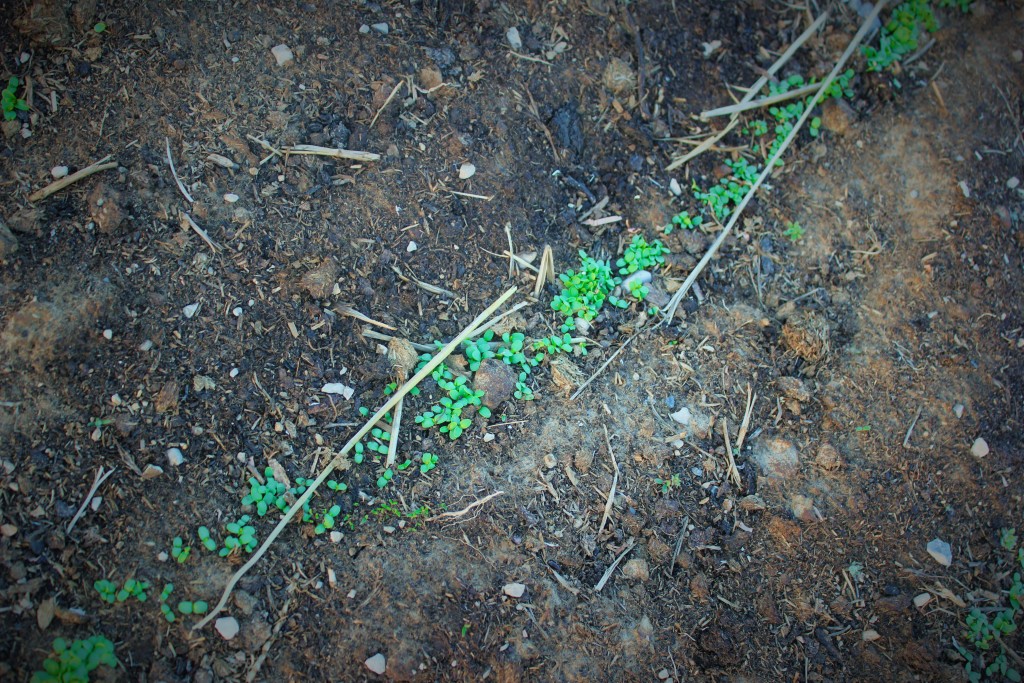
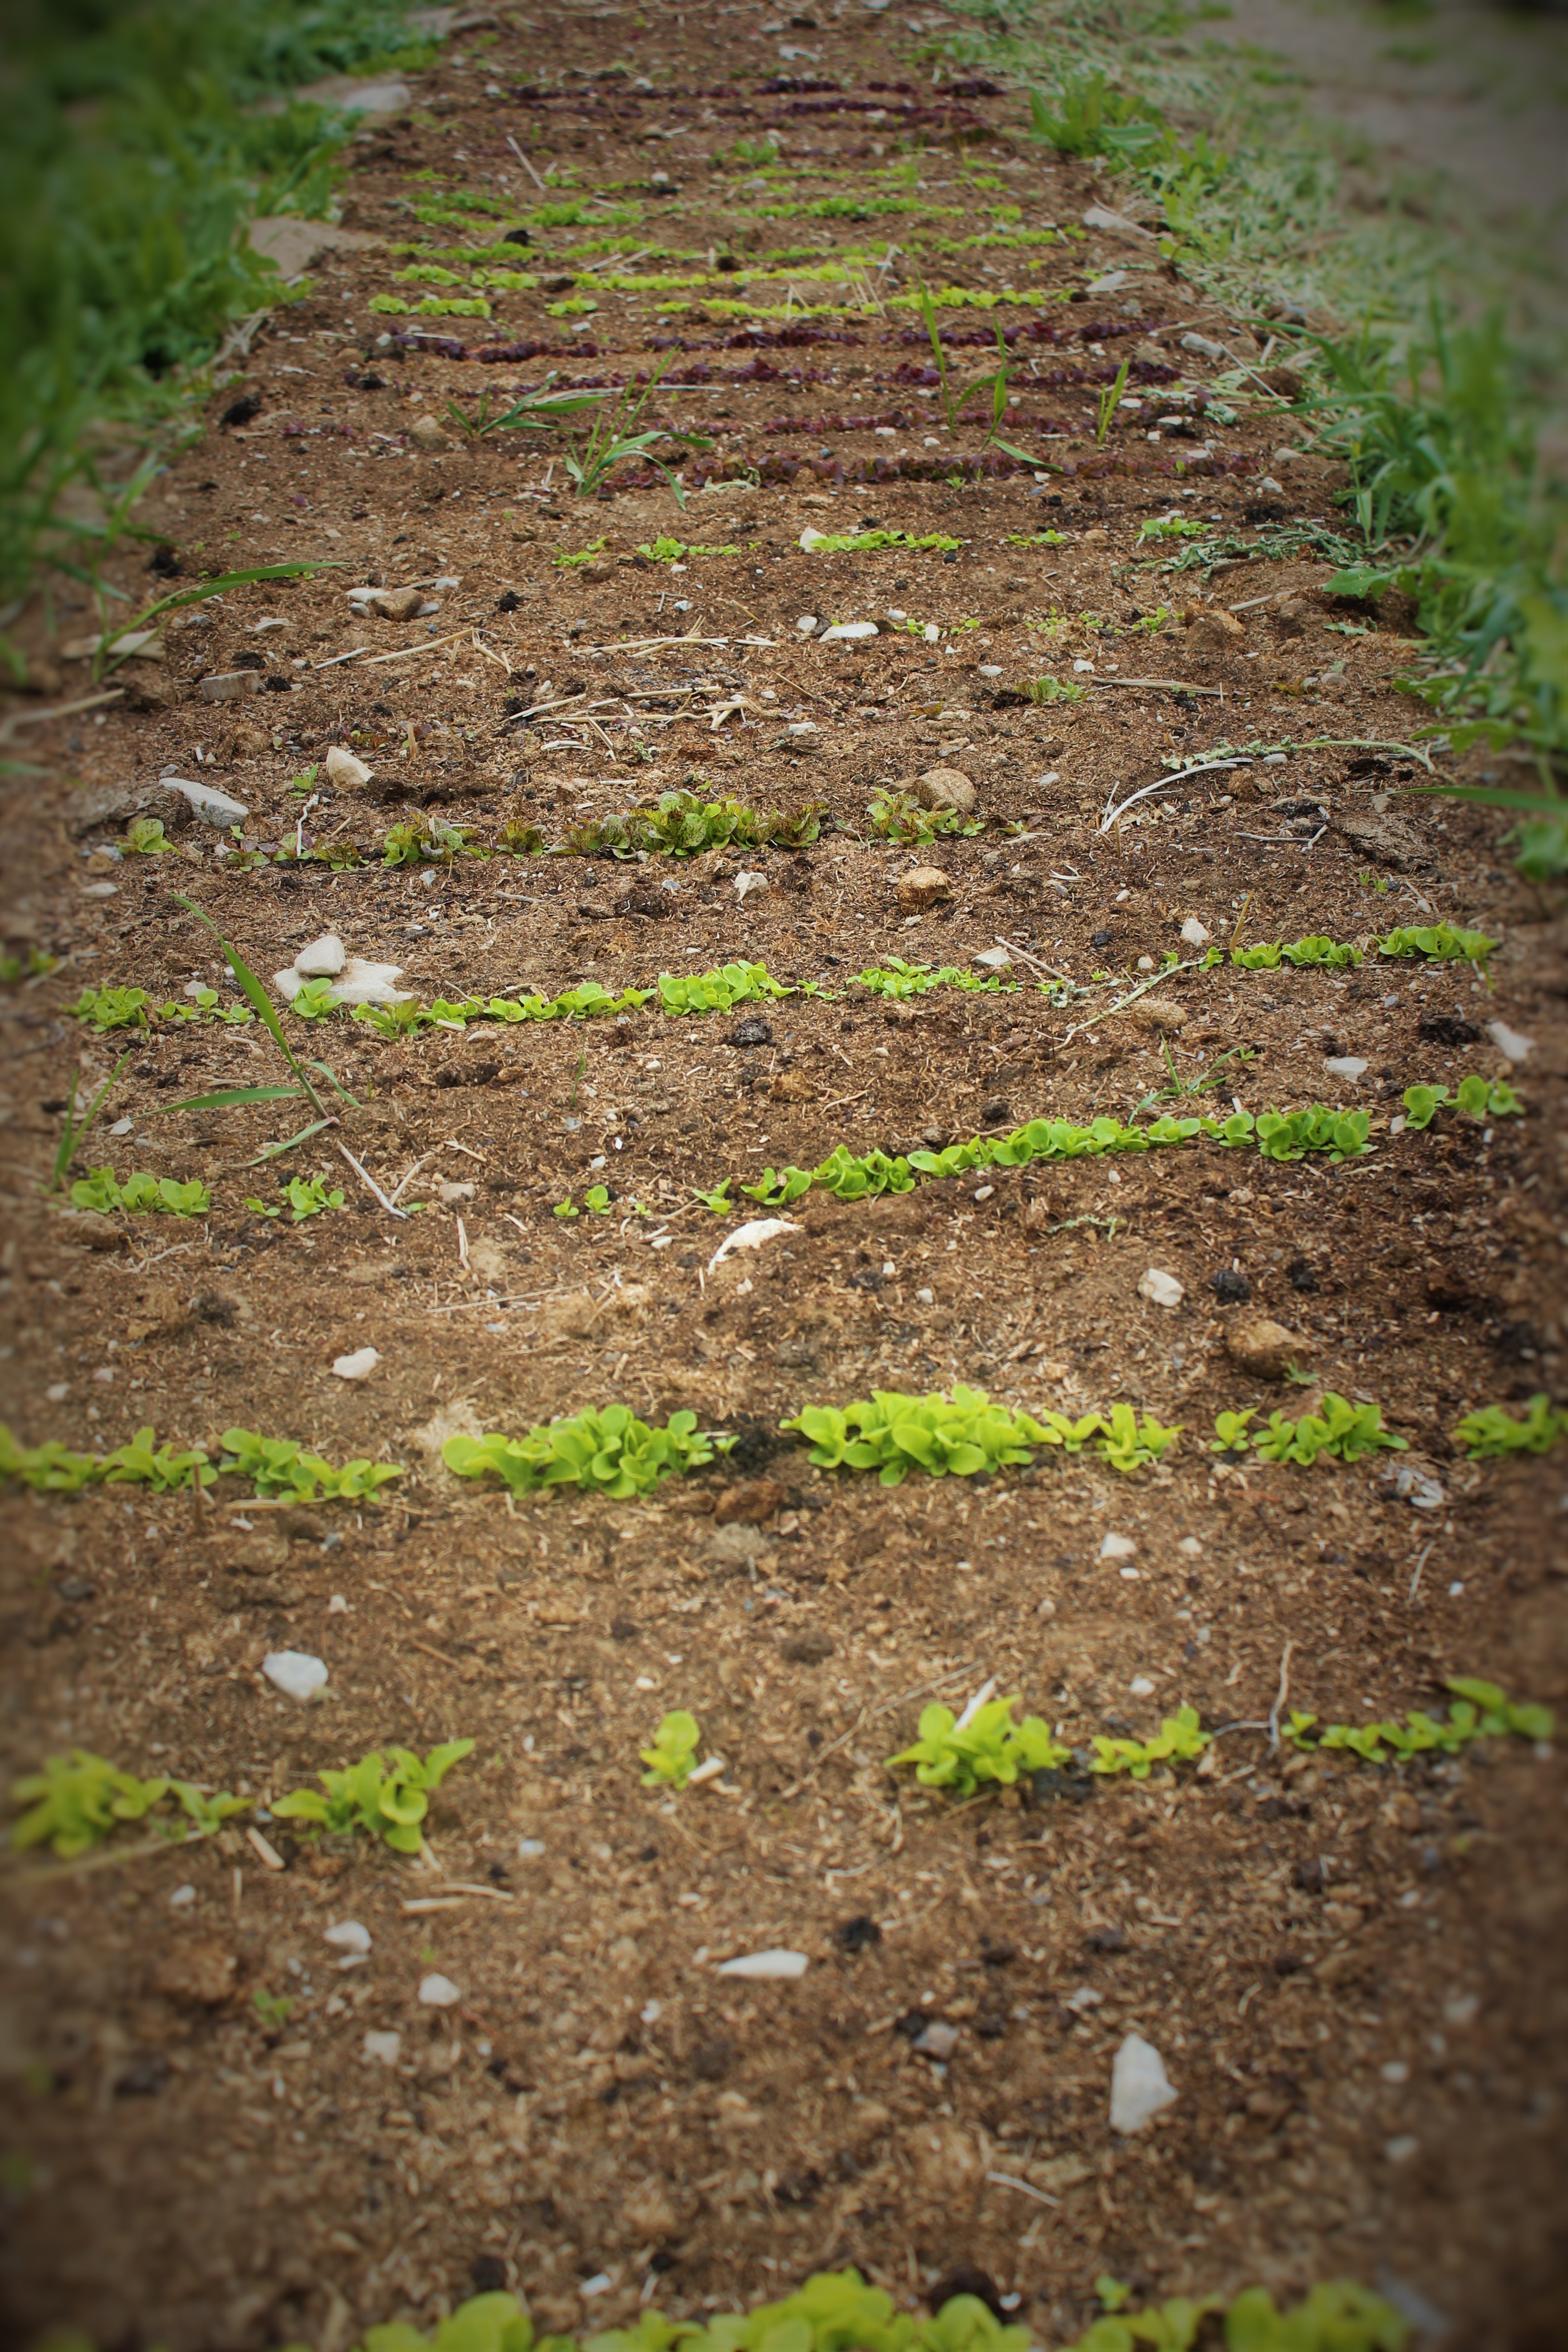
Spring is in full swing here on the farm and new plants and popping up all over the place, from the diversity and organized chaos of the orchard meadow to the neat rows in the vegetable garden, there is green everywhere.
This is the lettuce bed, we have several varieties of leaf lettuce growing here as you can see by the different colors and hues. Lettuce loves the cool spring temperatures and will soon be big enough to start harvesting tender baby greens. In the heat of the summer we will have to cover with shade cloth to keep thing cool enough so they don’t go bitter.
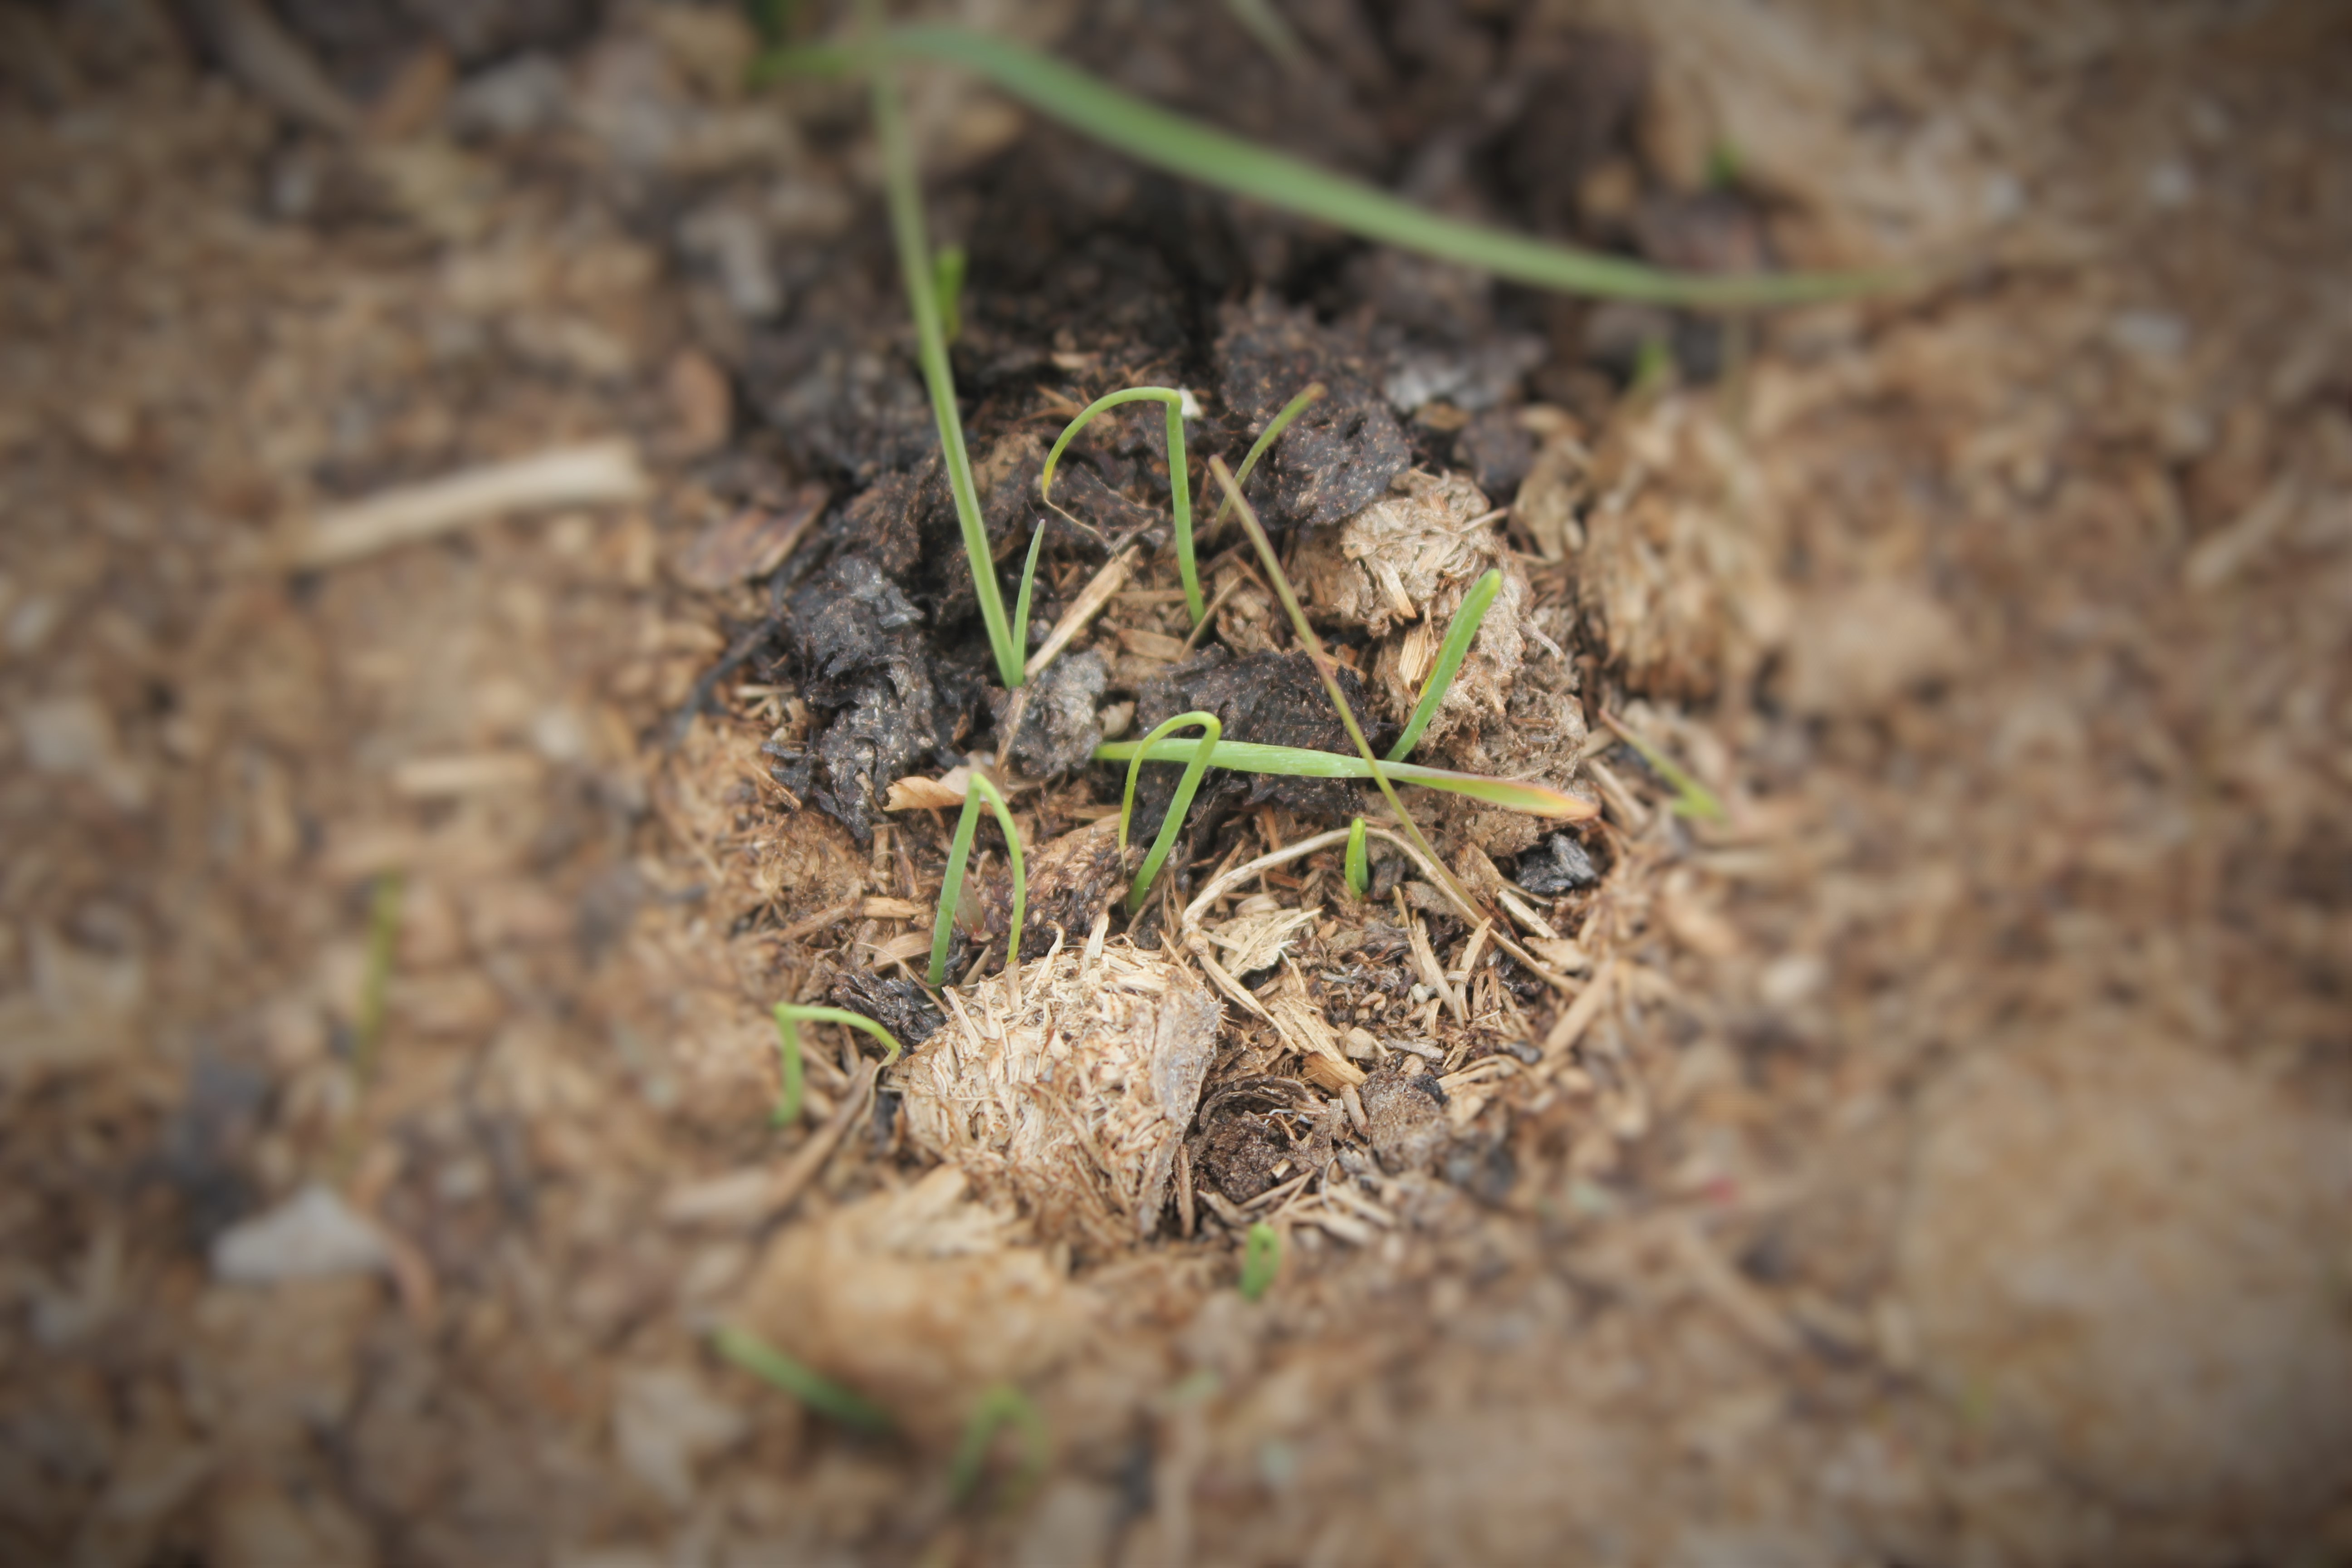
Little bitty onions making their first appearance, I think it is amusing how those long spears come up bent over, soon they will be popping up straight and tall. From the looks of it we are going to have a bumper crop of onions this year.
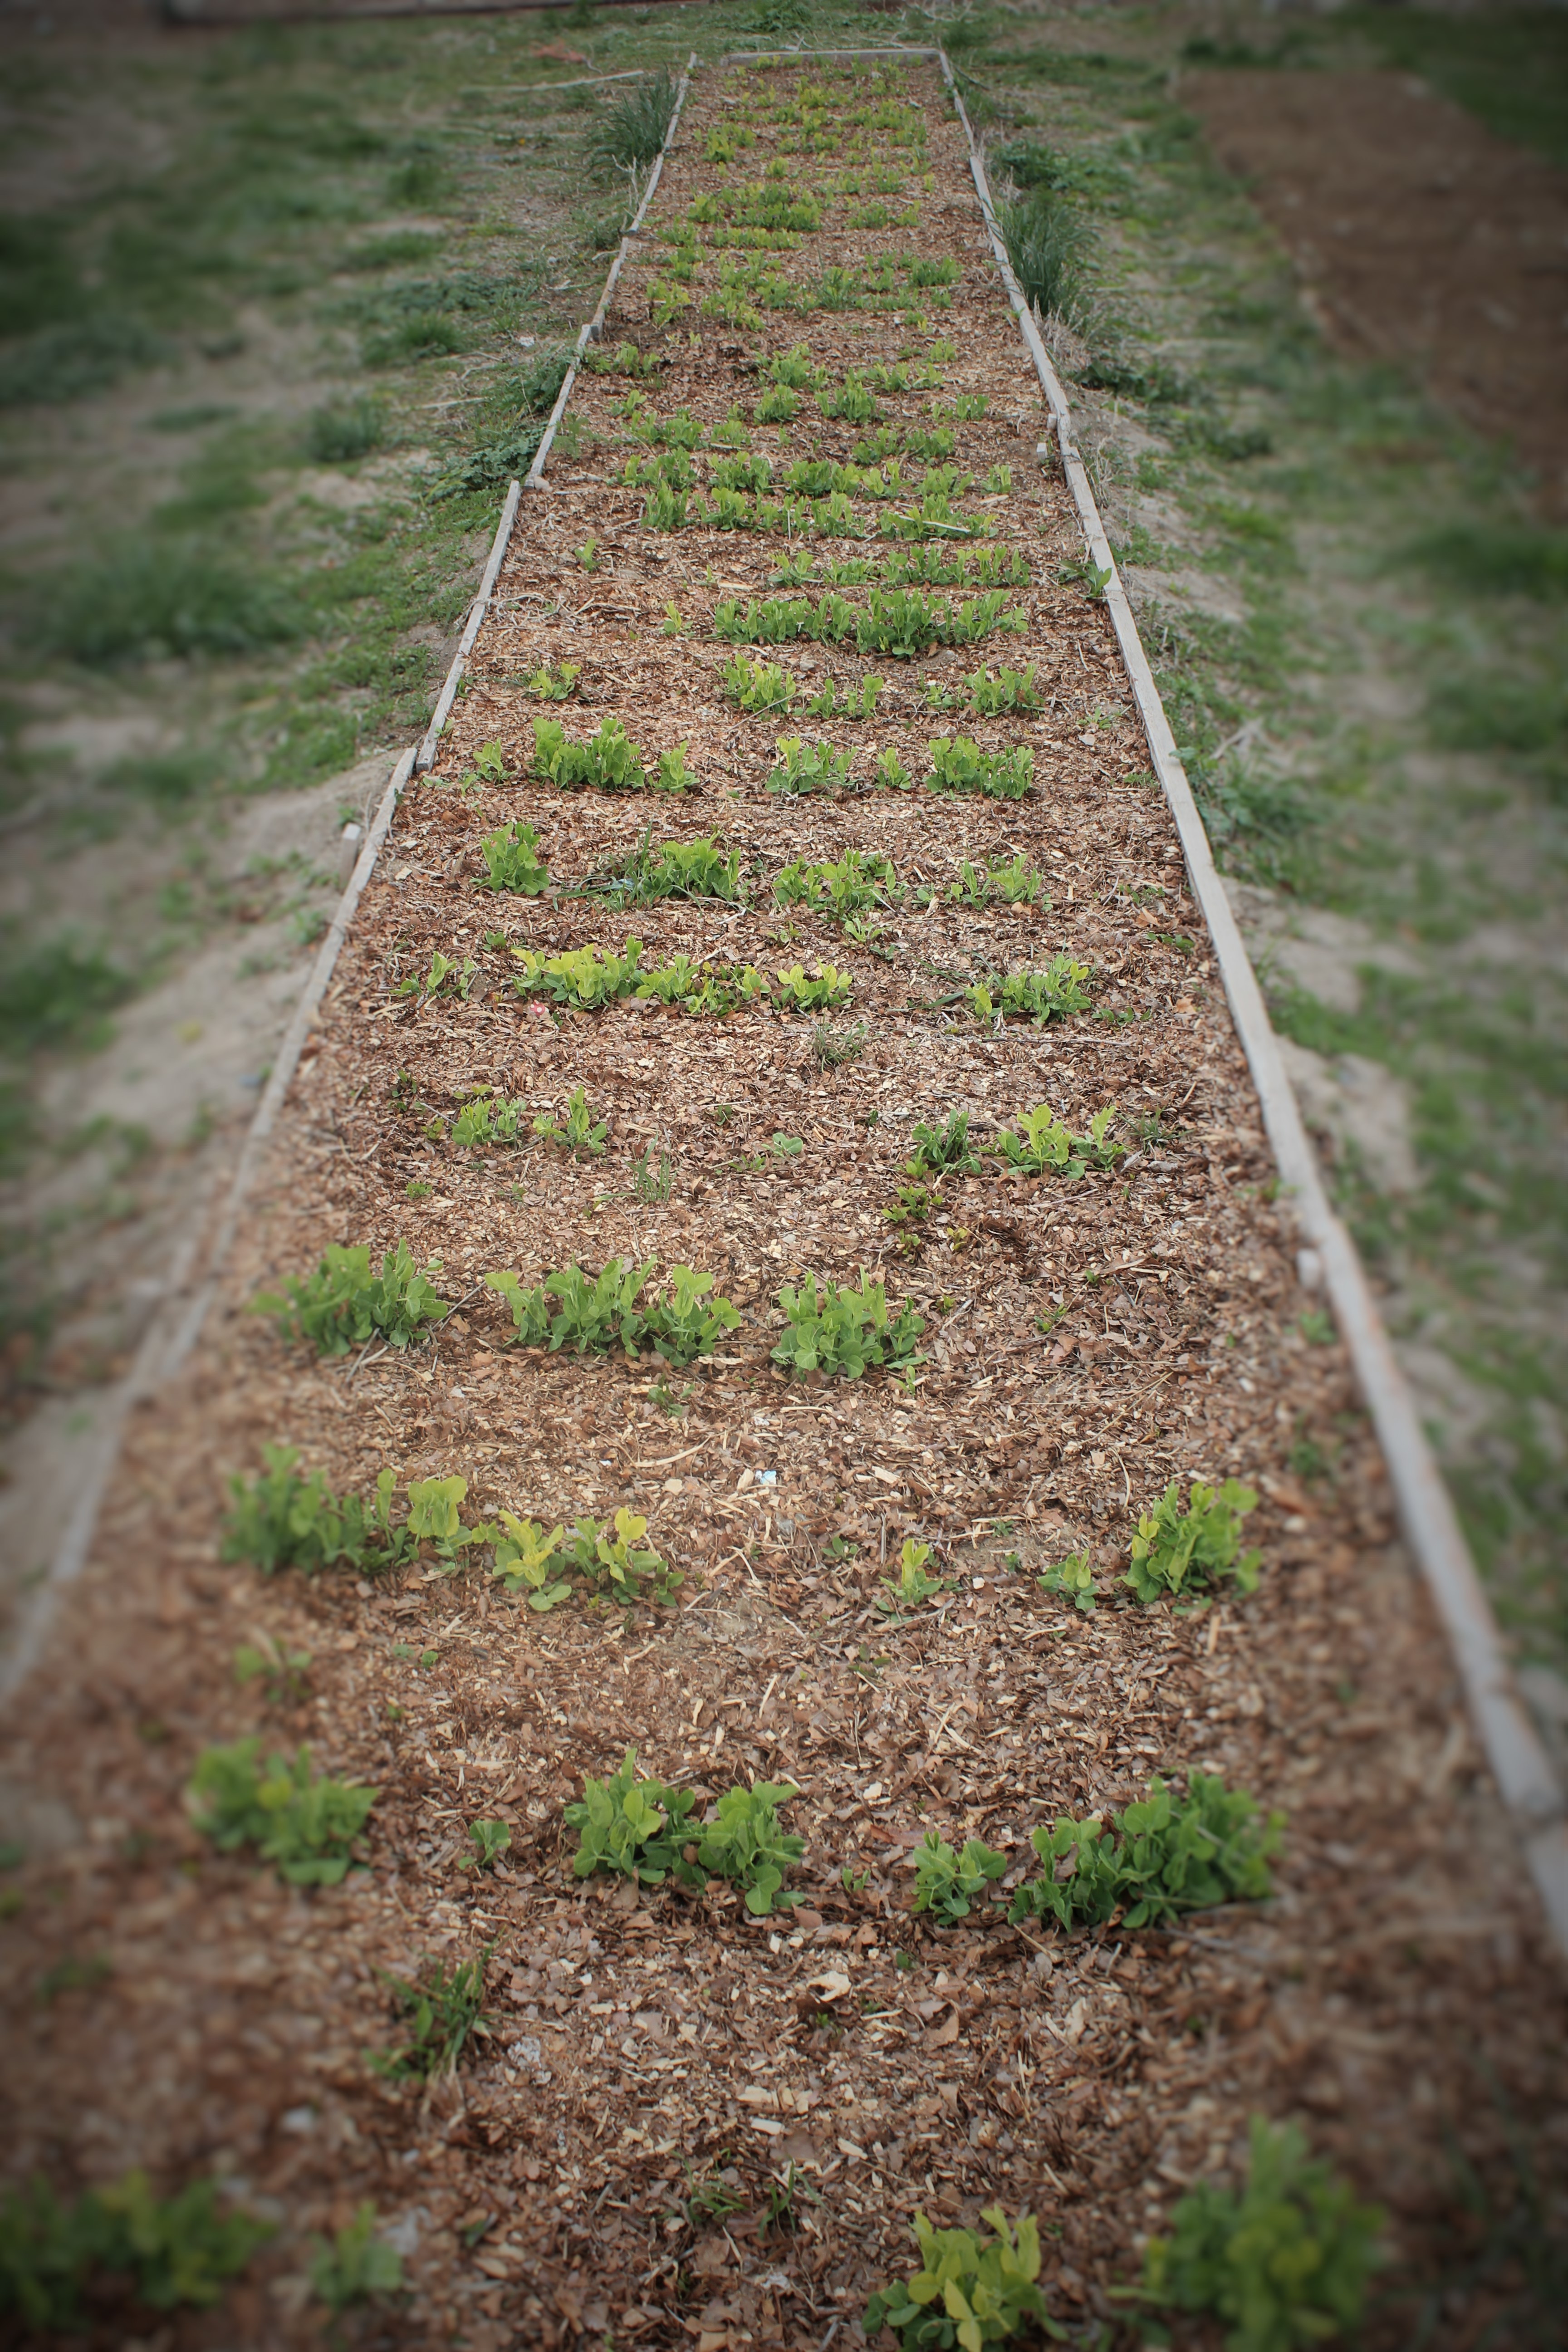
The pea beds are coming along, I am expecting to have blossoms showing up in the next week or so. Some of the peas are looking a little yellow, I will be making compost tea this weekend and feeding my babies. This is close up of one of my leaf lettuces, I am excited about this variety, its named “Flashy Butter Oak” and I think it looks like a lot of fun, definitely a splash of color to add to a salad!
I am optimistic that we will soon have fresh, local produce to offer our community.
Soil is defined as the top layer of Earth that allows the growth of plants. All areas have a different soil horizon, and that profile will change over time, and can contain all of the different types of soil discussed in this article. You can find out what your soil horizon is by digging a hole in the ground and then observer the cross sections in that hole.
Permaculture is not about changing one type of soil to another type of soil, but is about creating a top layer of soil, in your soil horizon, that plants will thrive in without having to change the underlying soil profile. BUT, it is very important to know what the soil type is that you are building your permaculture soil on. The underlying soil type will effect the temperature, water drainage, water retention, and the depth of your plants roots. Typing your soil can be very complicated. You will hear people classify soil by color, weight, and other measurements. I hope that this article helps in clarifying some of the different types of soil, and terminology used. Over time as you build your permaculture top layer, the underlying soil horizon will change. It will take years, but eventually the changes you make on the top layer will percolate down to the lower layers of the soil horizon. That is a great side effect of doing permaculture gardening, but it is not the ultimate goal.
According to the Unified Soil Classification system (USCS) there are 5 different types of soils. They include Gravel, Sand, Silt, Clay and Organic. But I would like to add an additional type, and that is of Peat. There are different grades of those types (poorly graded, well-graded, high plasticity, and low plasticity), but I will leave that for another post.
GRAVEL
Gravel is composed of rock fragments. These fragments can be in a lot of different sizes. It is pretty easy to identify gravel. There is really not a good test to verify it is gravel besides the look and texture. Because gravel has an inferior ability to retain moisture, nutrients, plant life in gravel soil is more sparse. One advantage to a gravel soil is that it does have a very high water drainage rate, so it can be good for plants that need a dryer root system. But it also does not retain nutrients.
SAND
Sand is more granular than gravel is, and is comprised of finely divided rock particles. It is finer than gravel, but is coarser than silt. Water drains rapidly, and also does not store nutrients for plants very efficiently. The nutrients are carried away usually to quickly for plants to be able to use them. You can test to see if your soil is sand by picking some slightly wet sand up. If you try to create a ball with it, it will not form one, will leave particles on your hands, and crumbles easily in your fingers.
SILT
Silt is finer than sand, but not as fine as clay. Silt is fine enough that it may also be found in suspension in bodies of water. Silt is usually what makes rivers, and lakes have a dirty look to them. When silt is wet, it will have a slippery feel, but when it dries, it will have a floury feel. Silt drains poorly, and is usually cooler than sand.
CLAY
Clay has the smallest particles. Clay can be easily molded in your fingers when wet, but when it dries, it becomes hard or brittle. If clay is wet, it forms into balls easily if rolled in your fingers, and feels sticky. Clay soil is cold, and takes time to warm, because it does hold moisture well. Clay also stores nutrients well. The downside is that when clay becomes dry, it becomes very hard and plants have a hard time growing in dry clay.
ORGANIC
Organic soil is soil that is primarily made up of matter composed of organic compounds. It usually contains the remains of plans, animals, and their waste products. Organic soil is usually created by the organic matter being broken down by bacterial or fungal action. Soil holds water, and nutrients, giving plants the capacity for growth.
PEAT
Some people classify peat with organic soil, but I feel it is in a class all of its own, because of how unique it is in its formation. It only forms in peatlands, bogs, and mires. Peat if rolled will not form a ball. It is spongy to touch and will release water if squeezed. Peat can be added to the other types of soil to increase its ability to retain water and nutrients.
So, which soil is the best?
The answer to this question is all of them in a mix. When you have some of all of the soil types mixed, you get what is called Loam. usually the composition is 40%-40%-20% (sand-silt-clay). The best type of soil to plant in is loam with the inclusion of organic matter. This way you get the best combination of draining, nutrients and moisture. But because it is almost impossible to create loam, permaculture may be the answer. It is impractical to create loam on a large scale in most environments. Loam is ideal for starting plants that then can be moved to your permaculture garden.
Loam is considered ideal for gardening and agricultural uses because it retains nutrients well and retains water while still allowing excess water to drain away. A soil dominated by one or two of the three particle size groups can behave like loam if it has a strong granular structure, promoted by a high content of organic matter. However, a soil that meets the textural definition of loam can lose its characteristic desirable qualities when it is compacted, depleted of organic matter, or has clay dispersed throughout its fine-earth fraction.
Loam is found in a majority of successful farms in regions around the world known for their fertile land. Loam soil feels soft and crumbly and is easy to work over a wide range of moisture conditions. [Source]
Besides doing the ball test, as motioned in the different soil types, you can do jar test. The jar test is explained at the end of this document: Soil Types and Testing. It will help you find where your soil fits, if it is sandy, clay, or loam soil.
Below is a video that explains loam a little better, with details on how to mix it.
Other Factors
Soil color can also tell you a lot about the soil, dark soils have high organic matter, aeration, available nitrogen, fertility, and a low erosion factor. Moderately dark soils have medium organic matter, erosion factor, aeration, available nitrogen and fertility. Light soils have low organic matter, aeration, available nitrogen, fertility and a high erosion factor. [Source]
Soil Temperature also has a lot to do with growing plants, and the type of soil you have under your permaculture can effect that as well. For the fastest growth, you want to try to keep your soil temperature at 65-70 degrees F. Above or 85 degrees and below 40 degrees you have no growth, and little to no bacteria or fungi activity.
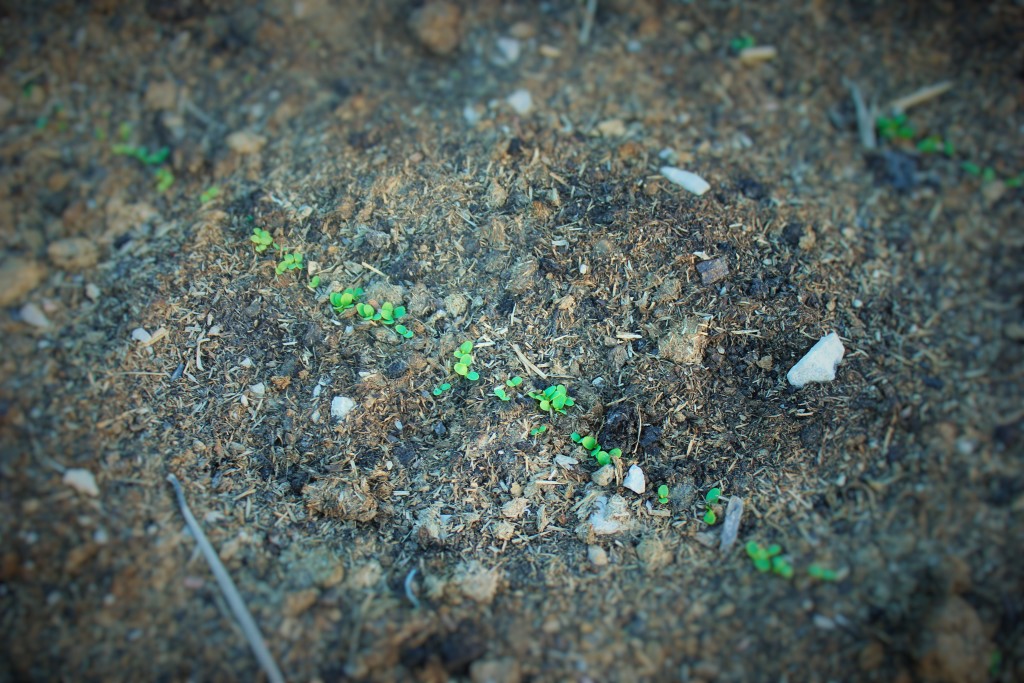
The lettuce is up! We are planning on have fresh lettuce available for sale in about a month. There is nothing better than a salad made from fresh picked lettuce.


 I. Have. No. Idea. None, nada, ziltch.
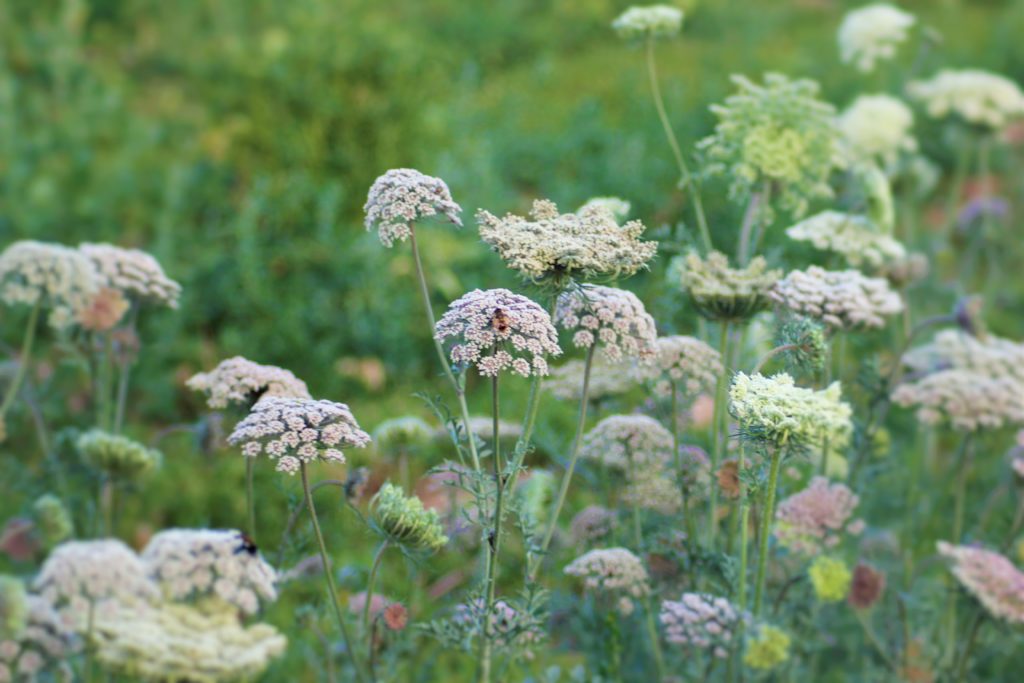 I was quite cross when I first realized what had happened and I almost pulled out every single one of them. Then I got curious and decided to wait and see. I’m glad I did. They are a delightfully un-expected addition to my boring vegetable garden, waving their pretty little colors in the breeze.
 I’ve fallen in love, and I believe that these little flowers are going to make a seed collector out of me after all, I want to duplicate them next year all over the garden.


 Carrots washed and peeled, I love the soft, translucent orange and light yellow of the roots when I peel them. I had planned on having dark purple carrots as well, but they had a different surprise in mind for me, something I will write about later.
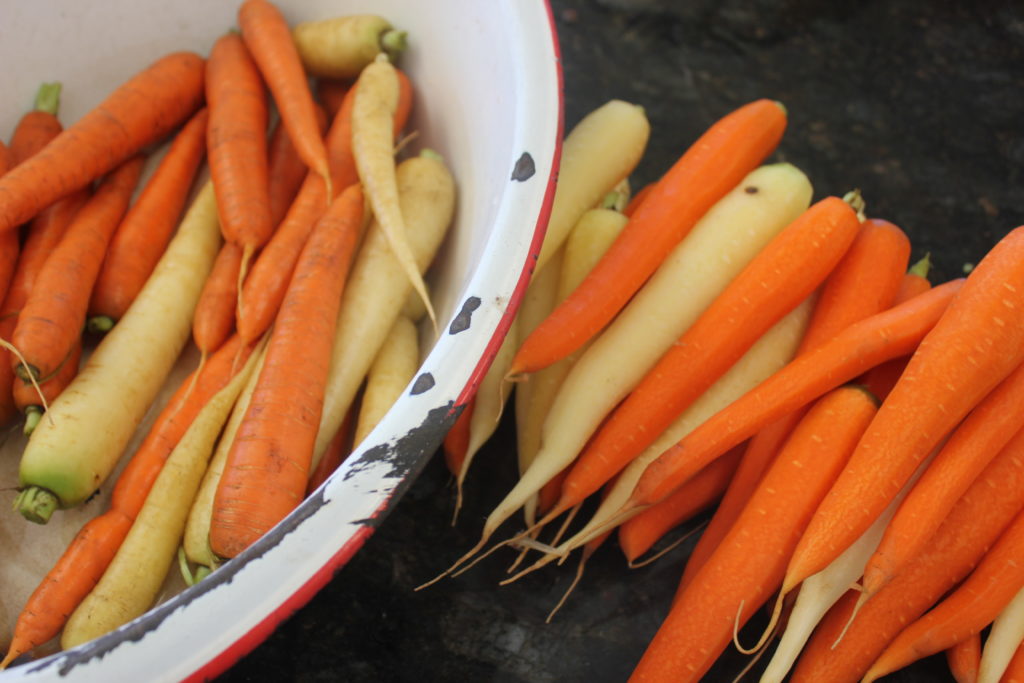

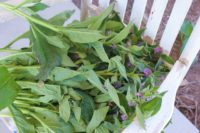

 Comfrey is quite easy to dry, but there are some considerations. The leaves are quite big and hold a lot of moisture, therefore they need to be dried loosely. Typically a person will gather a large bunch of plant materials, tie it in a bundle and dry. This won’t work with comfrey, I have ruined many batches by doing it this way, the comfrey will mold, and we don’t want that. Instead I have found that it is just as easy to hang each stalk on a nail and it drys very quickly this way, with out the mold.
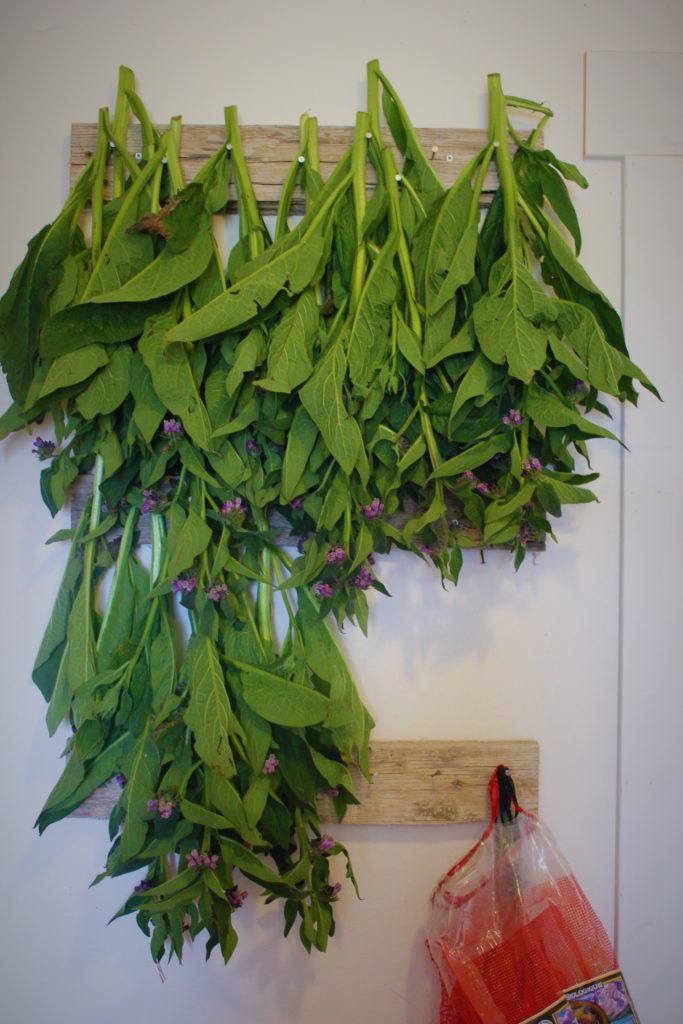
 After a couple weeks the comfrey will be nice and dry. At this point I will chop it up and store it in brown bags in a dark dry place. The reason I use brown bags is so any moisture that is left can be wicked out, instead of growing mold. I will use this through out the year in herbal infusions and poultices. Comfrey is one of my favorites for the garden, and for the body.
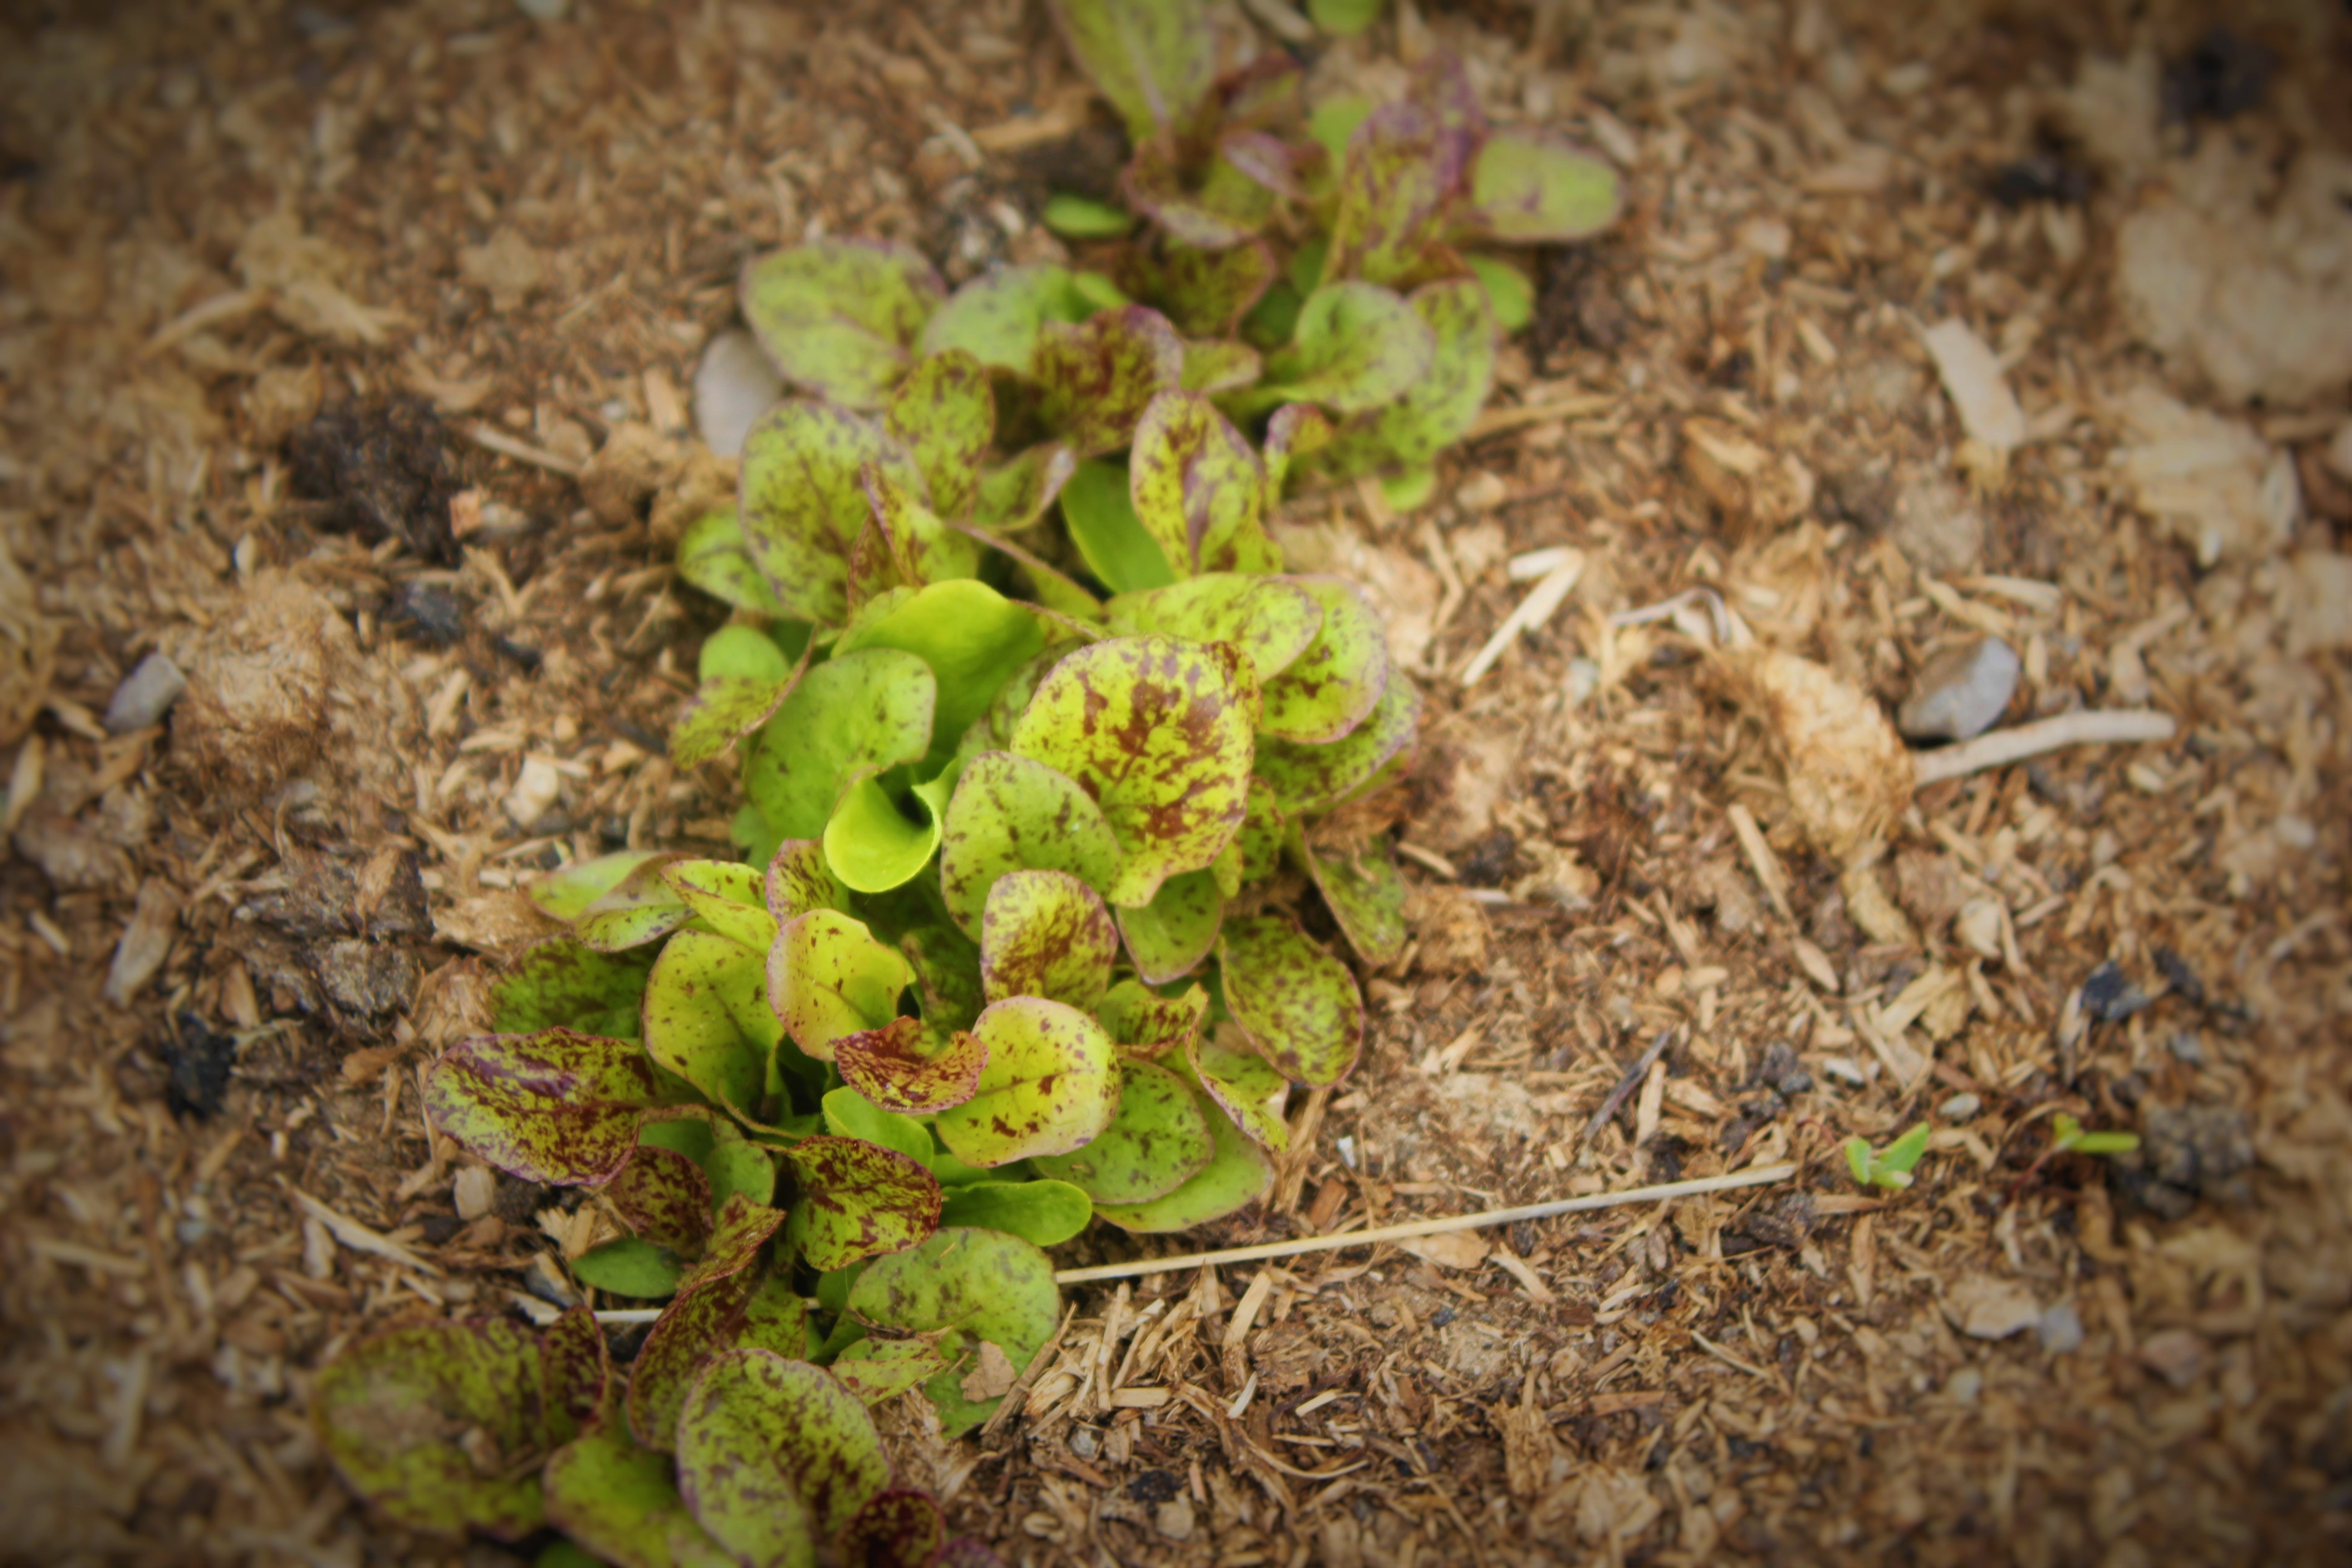 This is close up of one of my leaf lettuces, I am excited about this variety, its named “
 Soil is defined as the top layer of Earth that allows the growth of plants. All areas have a different